Simple DIY Cheerleader Halloween Costume for Kids
Hi Friends!
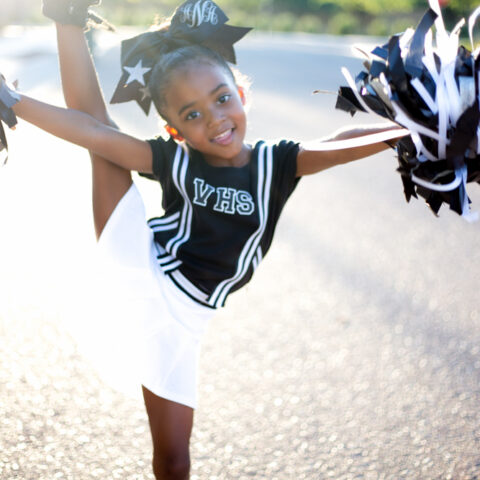
Today I’m sharing a simple kids DIY Cheerleader Halloween Costume! It’s one of the easiest costumes I’ve made and all it took was a few items from my local craft store! Livy was so excited to be a cheerleader this year and to be honest I hadn’t thought to much about the costume until the last minute. So if you’re in the same predicament then you’ll be happy to know you can do probably make this within a days notice! If it’s less than that, well good luck girl! haha
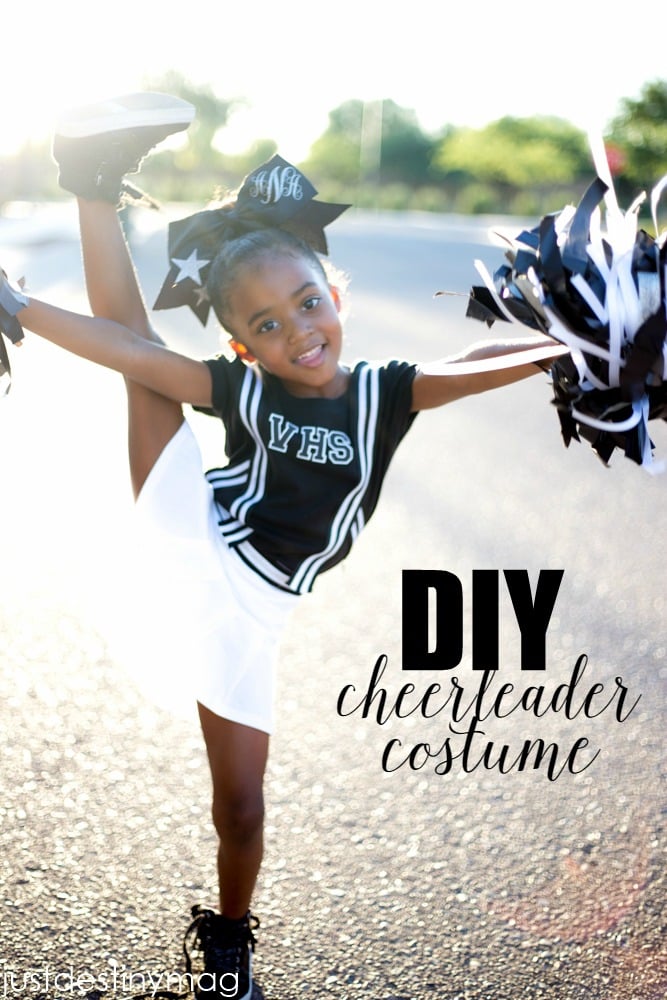
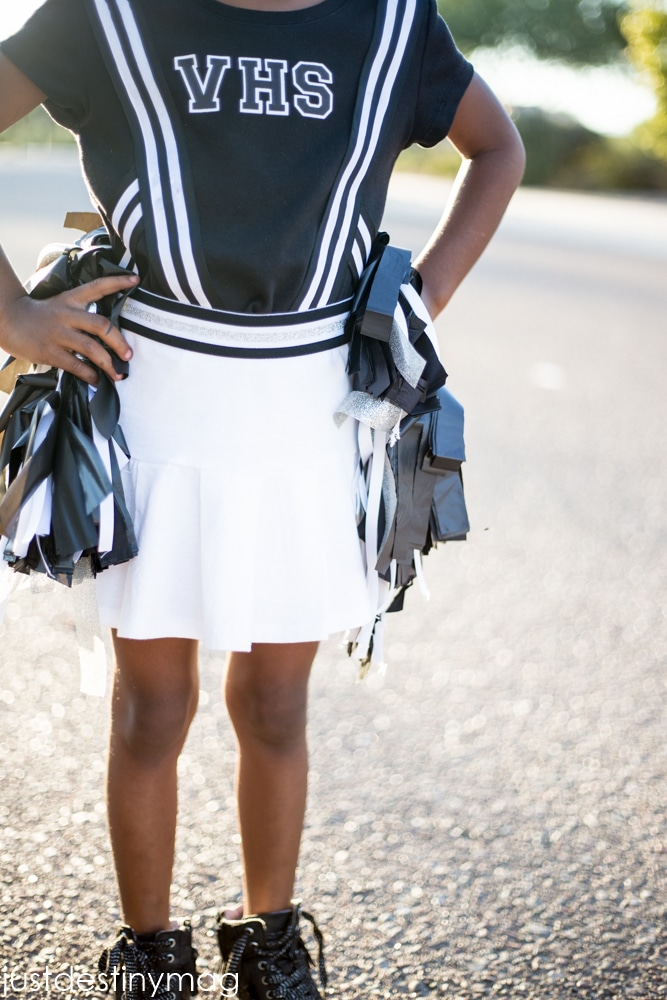
How to make a cheer halloween outfit with pom poms and a big cheer bow
I know all the kids are ready to get their trick or treat on! If you have a little girl in the family then you most likely have gotten a costume request that ranges from mermaid to princess warrior and everything in between. If you’re like me then a cheerleader has come up and instead of going out and getting an outfit you decided to make one yourself! Maybe you already have a blank shirt and a skirt and all you need are the details!
Or maybe you just want to challenge yourself to make one yourself! Either way I got you girl! Check out the details below to see how I made this cute little cheer costume for my little Livy! Nothing fancy, all things you might even have already.
Also this is a no-sew DIY! So no need to get out a sewing machine. HeatnBond will “glue” everything you need on to the shirt!
Here’s what you’ll need:
- black shirt
- cheer skirt
- iron on varsity letters
- black and white ribbon
- glitter ribbon
- heat n bond
- iron
- glitter transfer material
- duck tape
- black and white plastic tablecloths
- scissors
- cheer bow
Easily Shop all the supplies HERE:

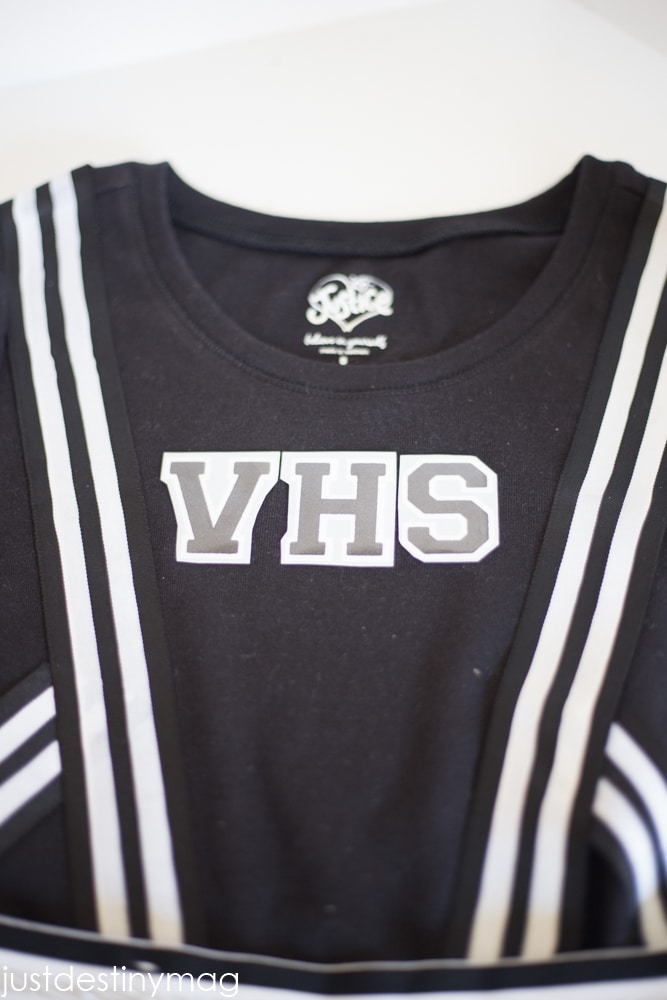
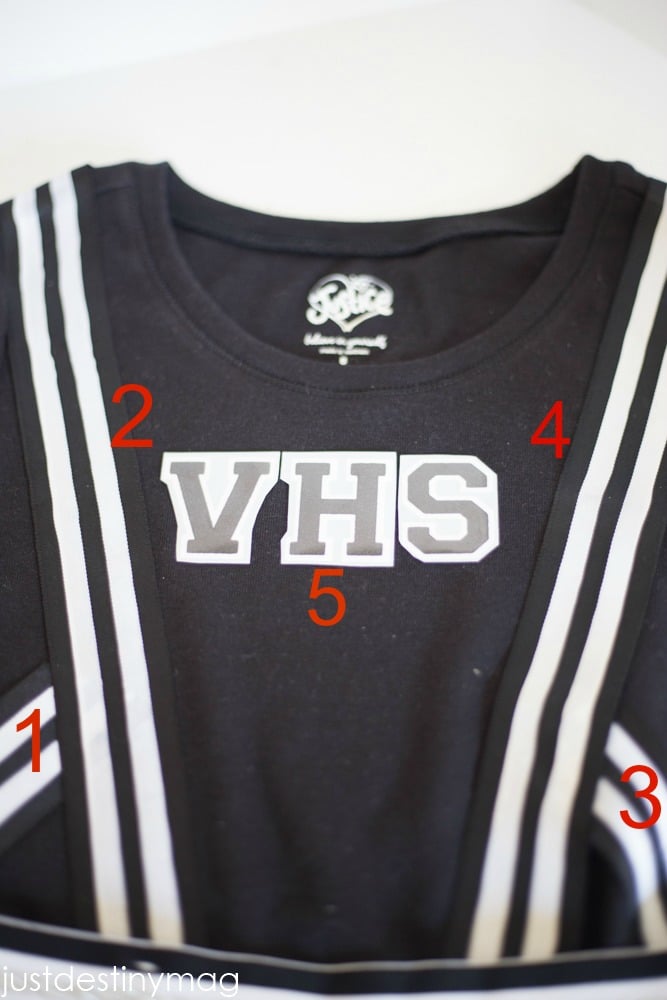
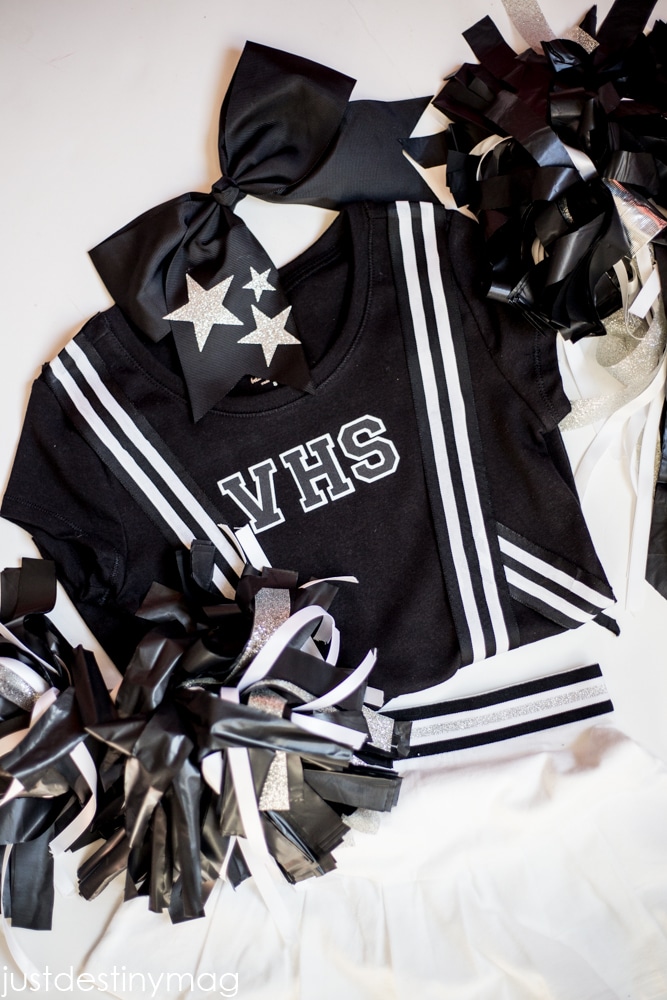
To make the cheer top, use black and white ribbon and section it off in four pieces. Two long ones for the front of the top and two short ones for the bottom. At the same time cut out the store bought iron varsity letters and place them towards the top of the shirt for placement.
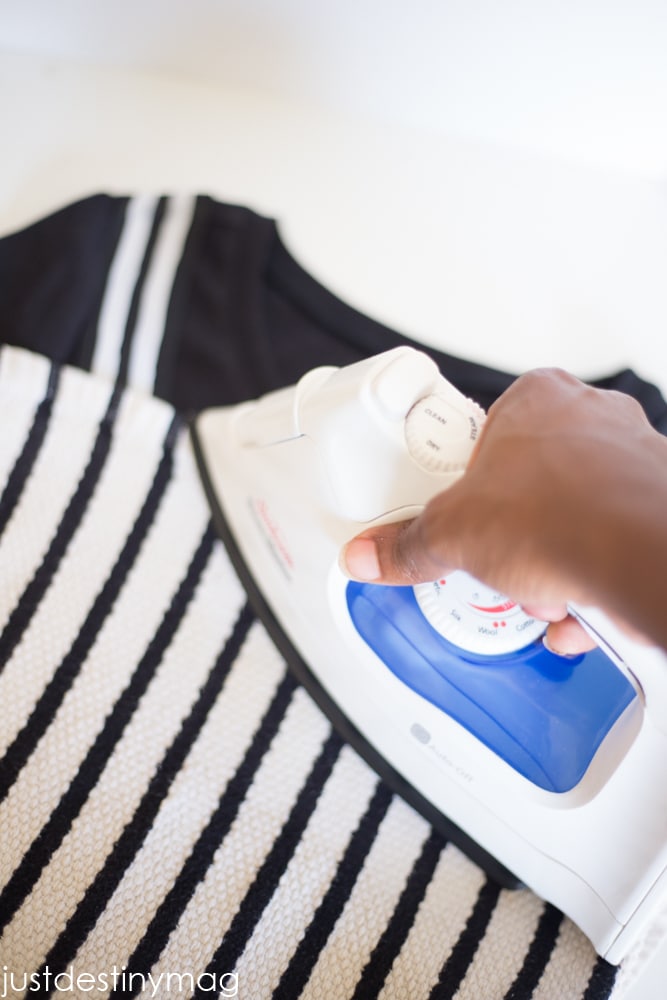
Next iron on each piece. For the ribbon use a roll of heat n bond.
Take each piece and fuse the heat n bond onto the ribbon by placing the textured side of the heat n bond down and ironing it.

Then peel back the backing. Turn the ribbon over onto the shirt and iron it on with the iron on medium to high heat. NO STEAM.
Place the ribbon and the varsity letters in this order…
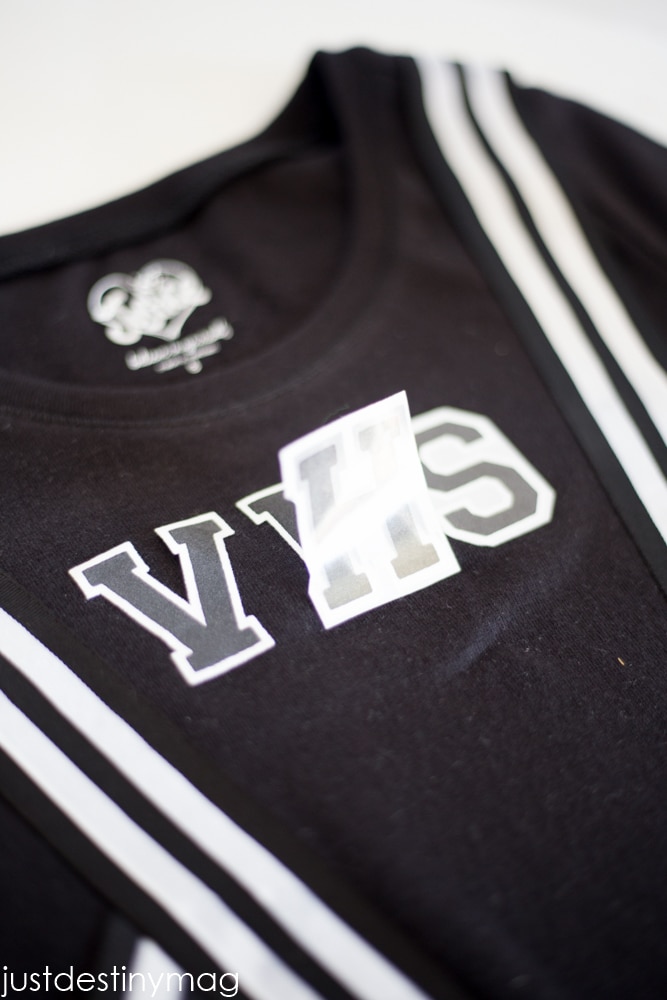
Once the ribbon is secure, iron on the varsity letters.
How to make DIY Cheer Pom Poms
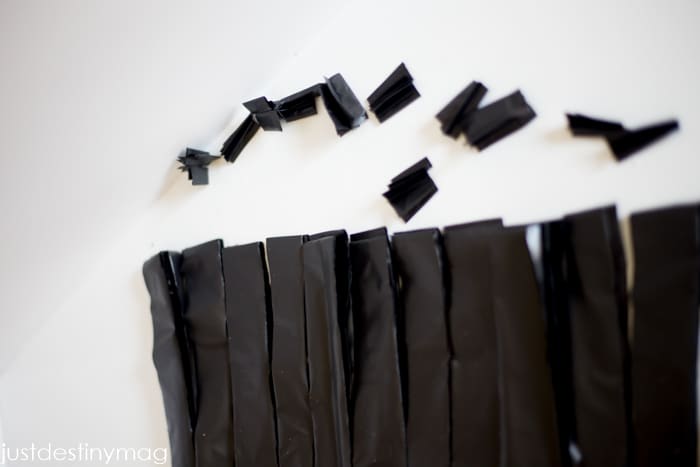
To make these adorable pom poms unfold the plastic table covers so it’s about 13.5 x 14. Then cut 1 inch strips on the sides and leave a 1 inch space in the middle.
Do this on both sides.
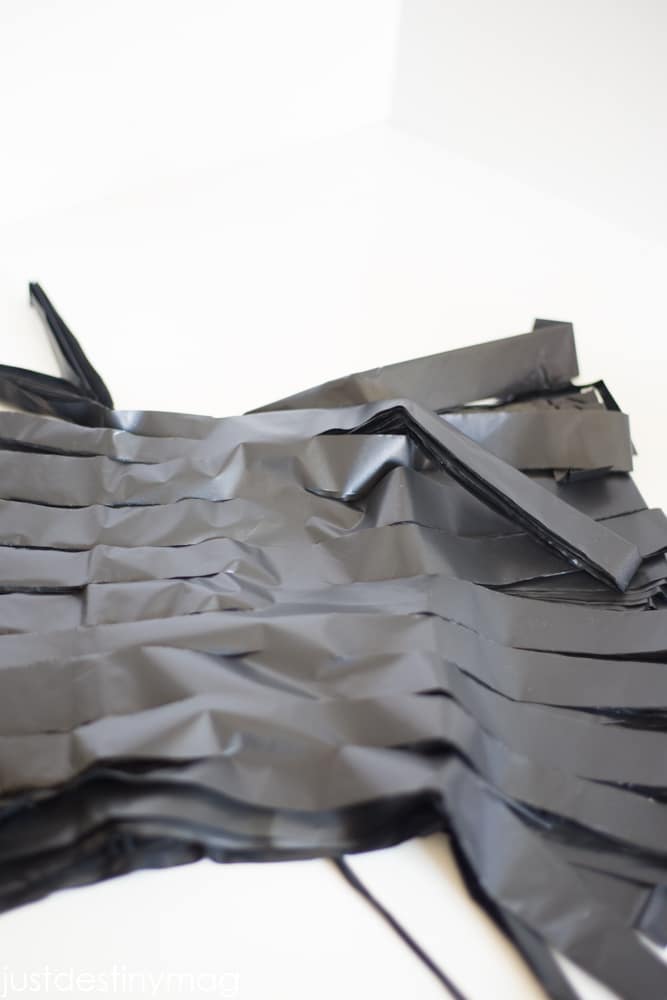
Then clip the ends.
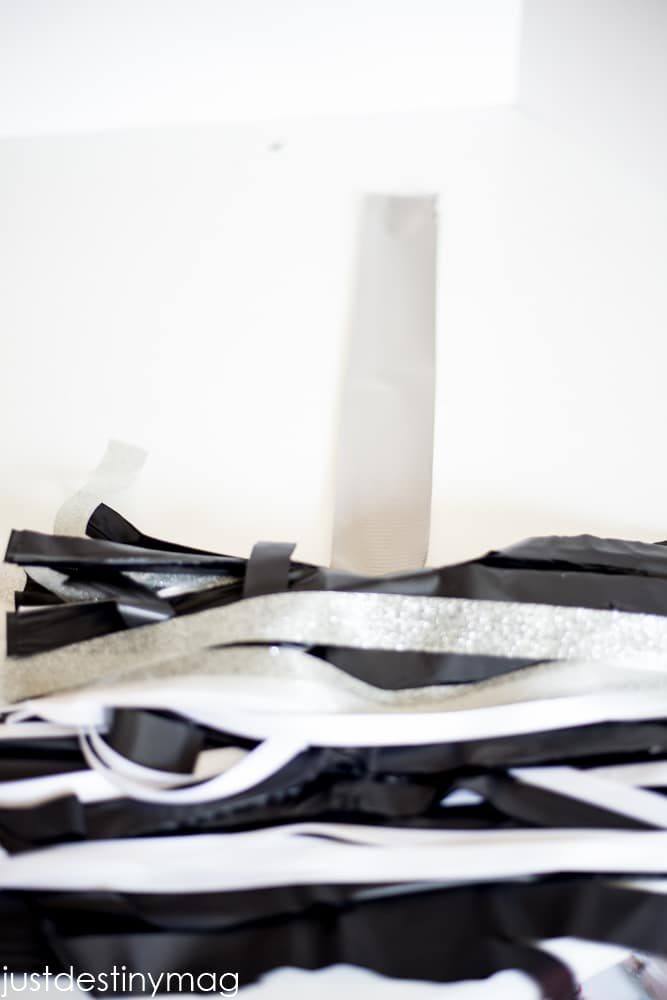
Next layout the duck tape (sticky side up) and place the table cloth in the middle of the duck tape.
Then place the white and glittered ribbons on top in different areas for a fuller look.
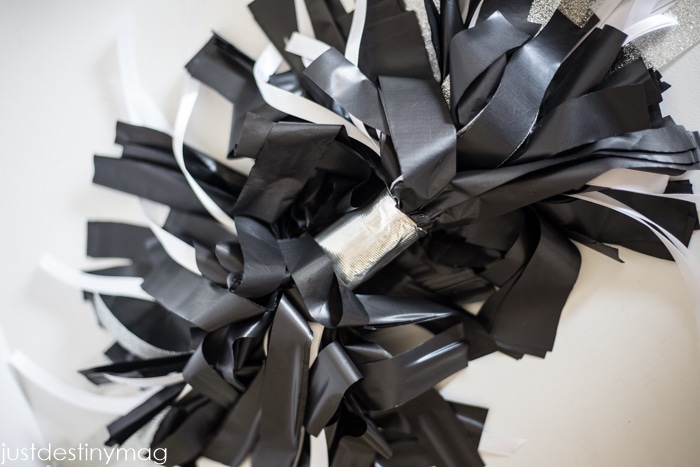
 Then fold up the duck tape.
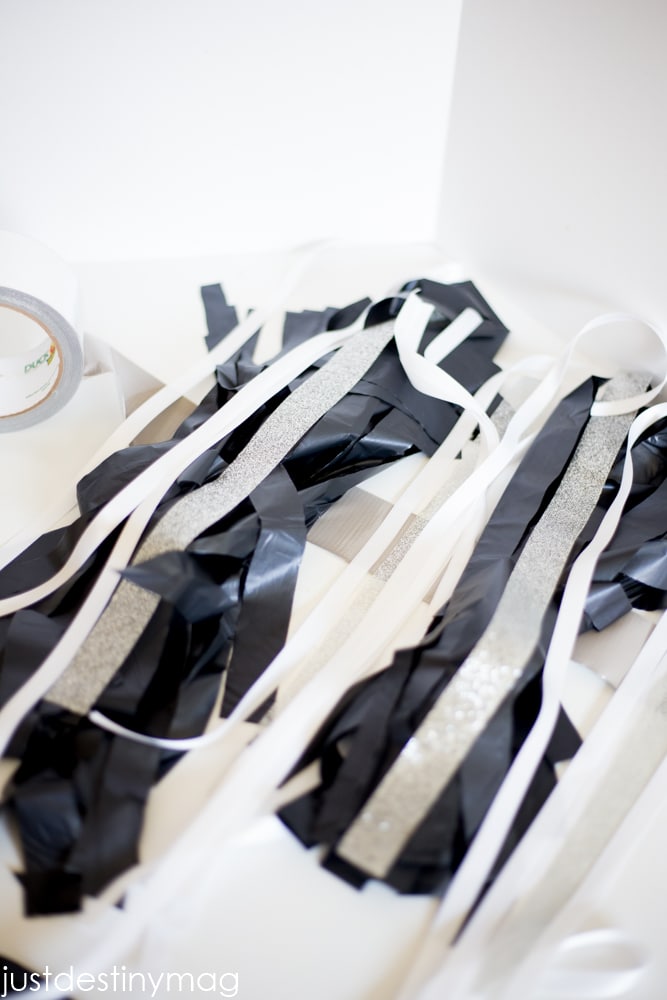
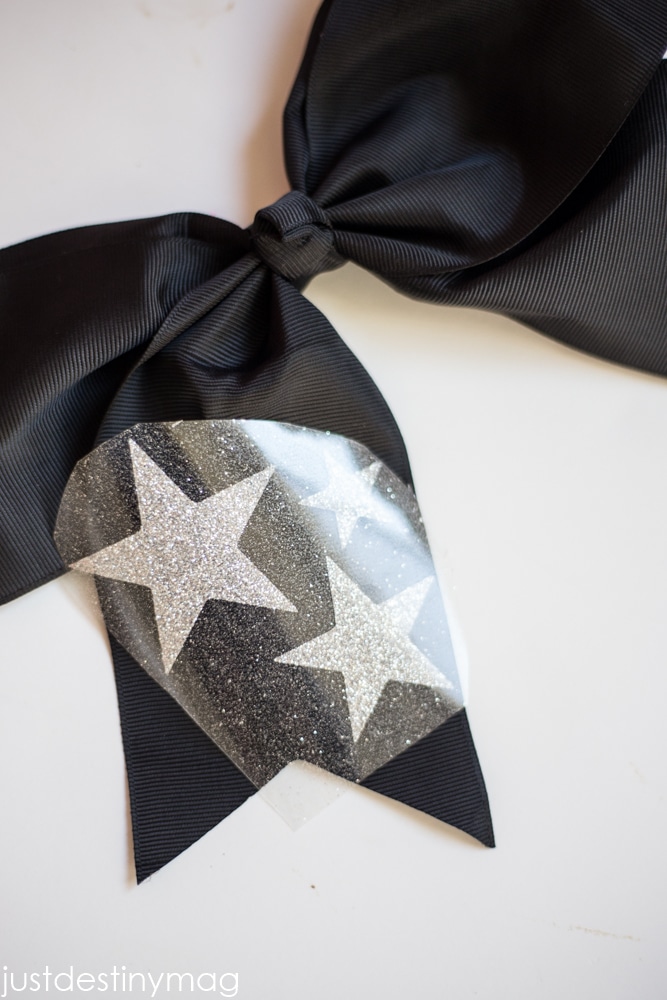
How to Make Cheer Bow Stars
To make the cheer bow, you can cut out a set of stars on your Silhouette machine using glitter transfer material. Then apply it to the bow using an hot iron!
Or you can buy iron on glitter stars! Either way they both will give you the same look!
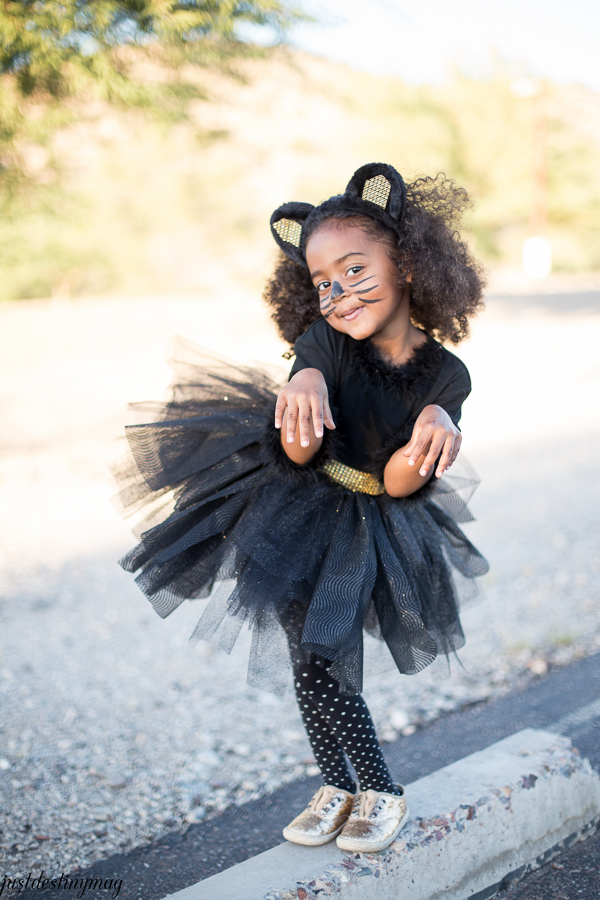
Check out last year’s costume here!
Take a look at the collection of costumes below from all the Michael’s Makers!
How to Make A Cheerleader Halloween Costume
This is a simply DIY on how to make a kids cheerleader halloween costume. All you need is a few items from your local craft store!
Materials
- Black shirt
- Cheer skirt
- Iron on varsity letters
- Black and white ribbon
- Glitter ribbon
- Heat n bond
- Glitter transfer material
- Duck tape
- Black and white plastic tablecloths
- Cheer bow
Tools
- Scissors
- Iron
Instructions
Cheer Costume
To make the cheer top, use the black and white ribbon and section it off in four pieces. Two long ones for the front of the top and two short ones for the bottom. ( See photo below)
At the same time cut out the store bought iron varsity letters and place them towards the top of the shirt for placement.
Next iron on each piece.
For the ribbon use a roll of heat n bond.
Take each piece of ribbon and fuse the HeatNBond onto the ribbon by placing the textured side of the heat n bond down and ironing it.
Then peel the backing off the HeatNBond. Turn the ribbon over onto the shirt. Iron it on with the iron on medium to high heat. NO STEAM.
Place the ribbon and the varsity letters in this order...
Once the ribbon is secure, iron on the varsity letters.
Cheer Pom Poms
To make these adorable pom poms unfold the plastic table covers so it's about 13.5 x 14. Then cut strips on the sides and leave a 1 inch space in the middle.
Do this on both sides.
Clip the ends.
Next layout the duck tape (sticky side up) and place the table cloth in the middle of the duck tape.
Then place the white and glittered ribbons on top in different areas for a fuller look.
LOVE the costume! But I am also impressed by that leg above the head! :0
haha! right? I was so impressed!
ha
Lol I’m called Sophie not sophieu
Your cheerleader costume looks great! Your kid should feel SO proud. I have a kid Emely who is 3 years old. I wanna make it ASAP. I also want, my kid should fell so proud of me. Thanks for great work.
Beautiful costume…! I am also impressed by that leg above the head. I like your creativity. Nextime I will be trying to my kids. Thanks for sharing your post.
I love this outfit! Where did you get the cheer skirt?