

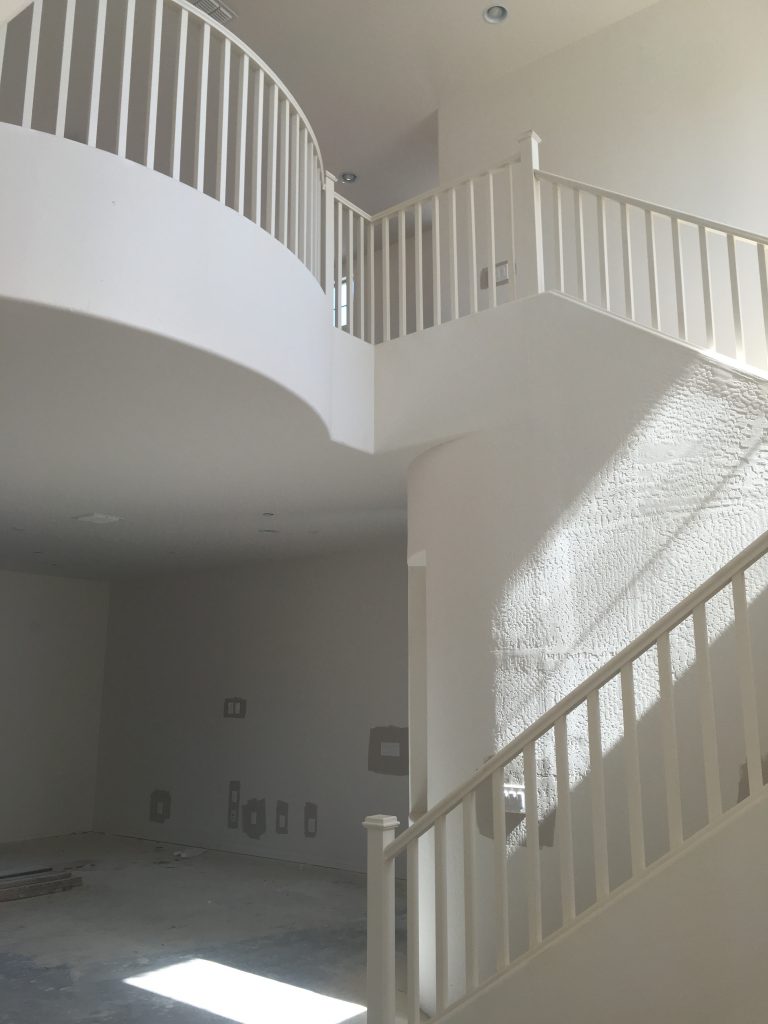
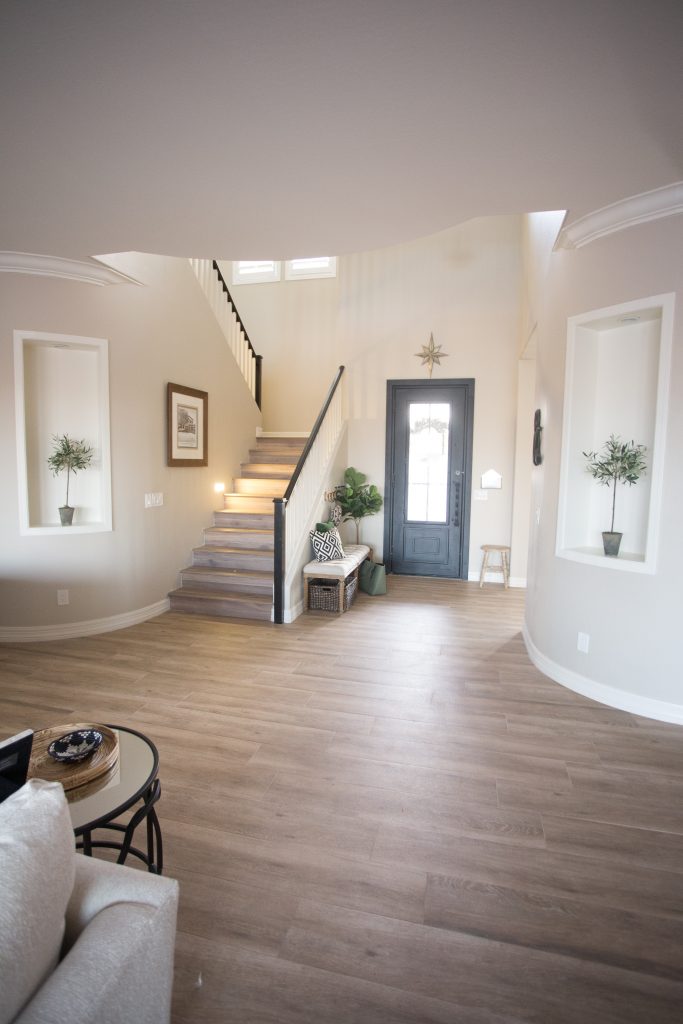
The Best Way to Paint your Stair Rails Black
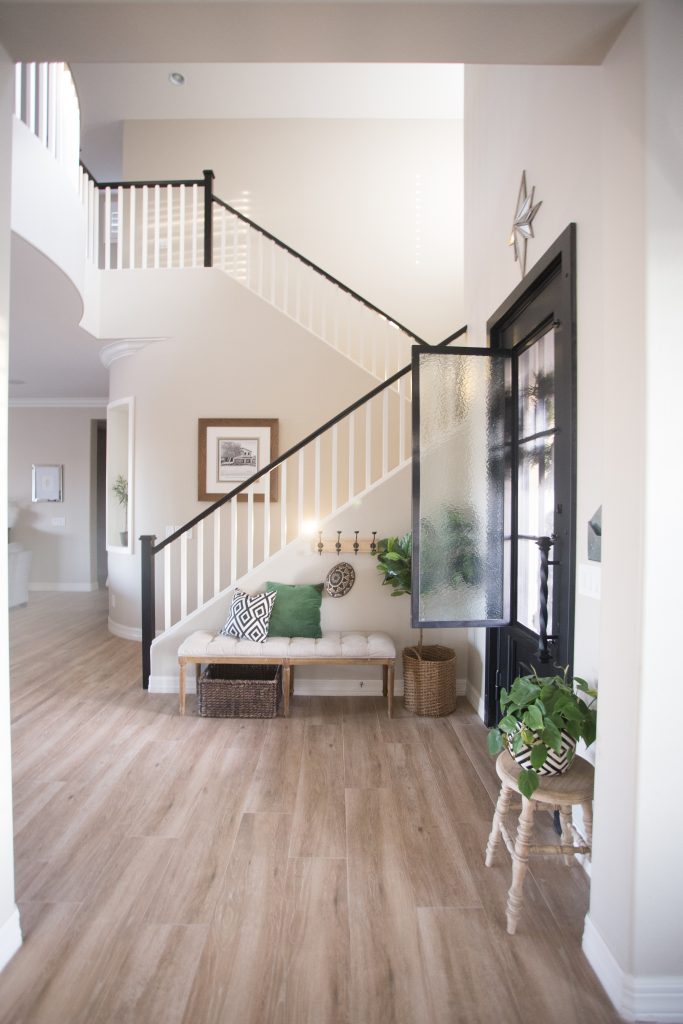
Painting my stair rails black is a project I’ve wanted to since the moment we bought this house. Our builder gave us the option of upgrading to a white stair rail or have a tuscan style iron rail. Since the second one wasn’t my style, I opted for the first option. But I knew I would need to make the railing a little more special by painting the rails black. I did a ton a research before hand and finally decided to tackle this DIY myself. Below you will find some helpful tips and a step by step so you can paint your stair rails black too!
Tools you’ll need for this project:


This post contains affiliate links. If you use these links to buy something we may earn a commission. Thank you!”
Optional:
Sandpaper
Mild Soap
Lint free cloth

Prep
Wipe the stair rails clean. Using mild soap and water give your rails a good cleaning from top to bottom and dry them with a lint-free cloth.
This part is optional but I always like to give my surfaces a light sanding. But the Satin Enamel Paint by DecoArt makes it so you don’t need to do this step! After it’s dry take sandpaper and give your rails a nice rub. No need to take any paint off. Just give it a nice run over the sandpaper until there is no gloss on the paint or stain that was on the railing.
Then take a lint-free cloth and vacuum and clean up any dust.
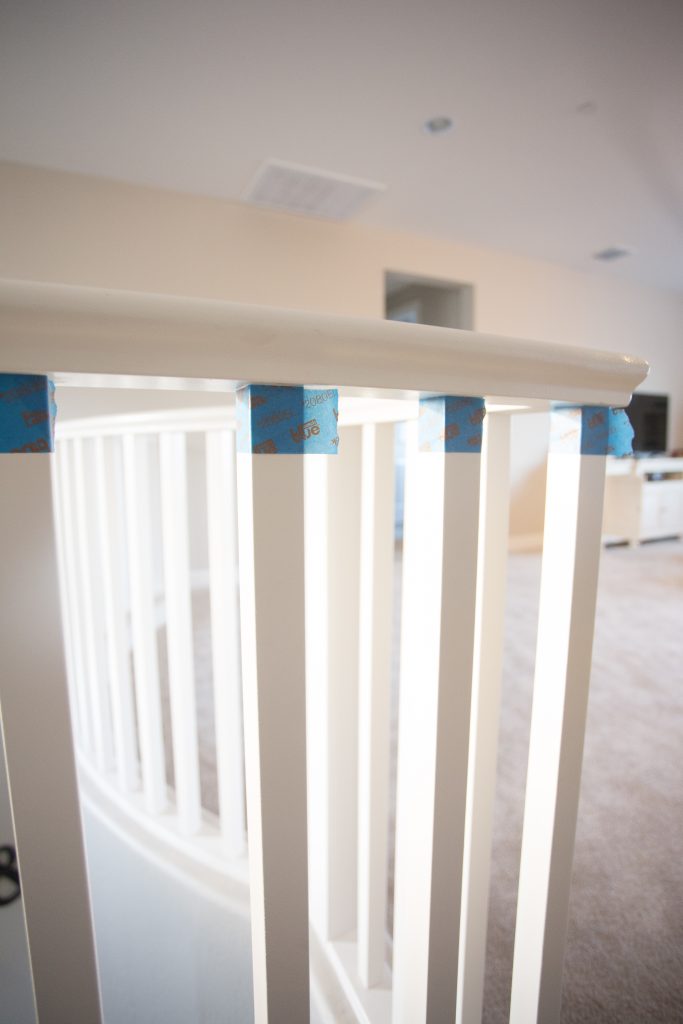
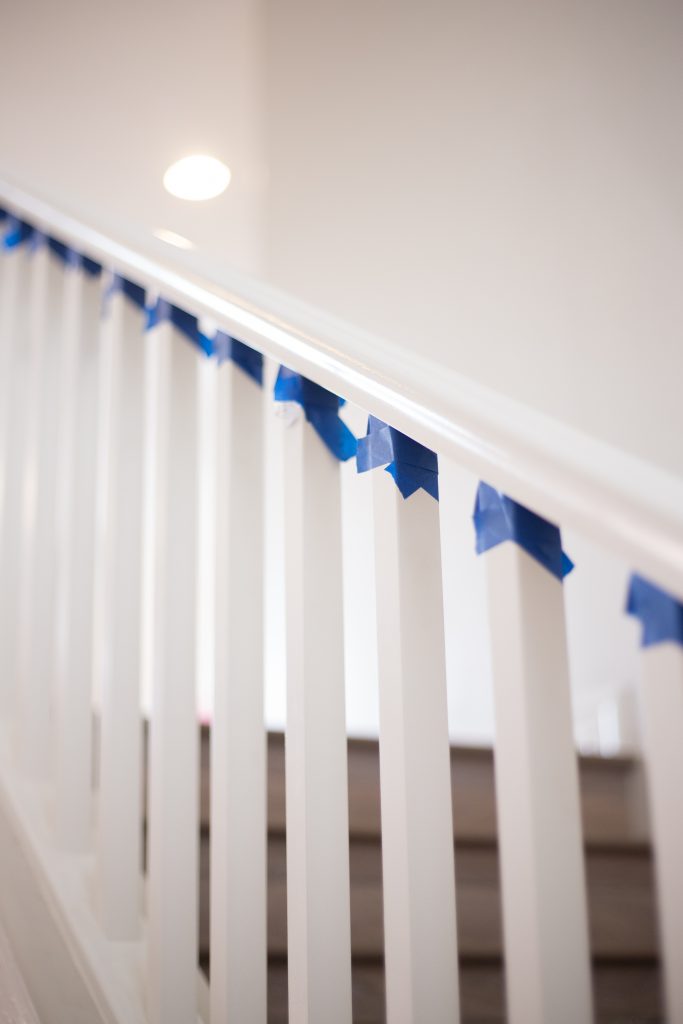
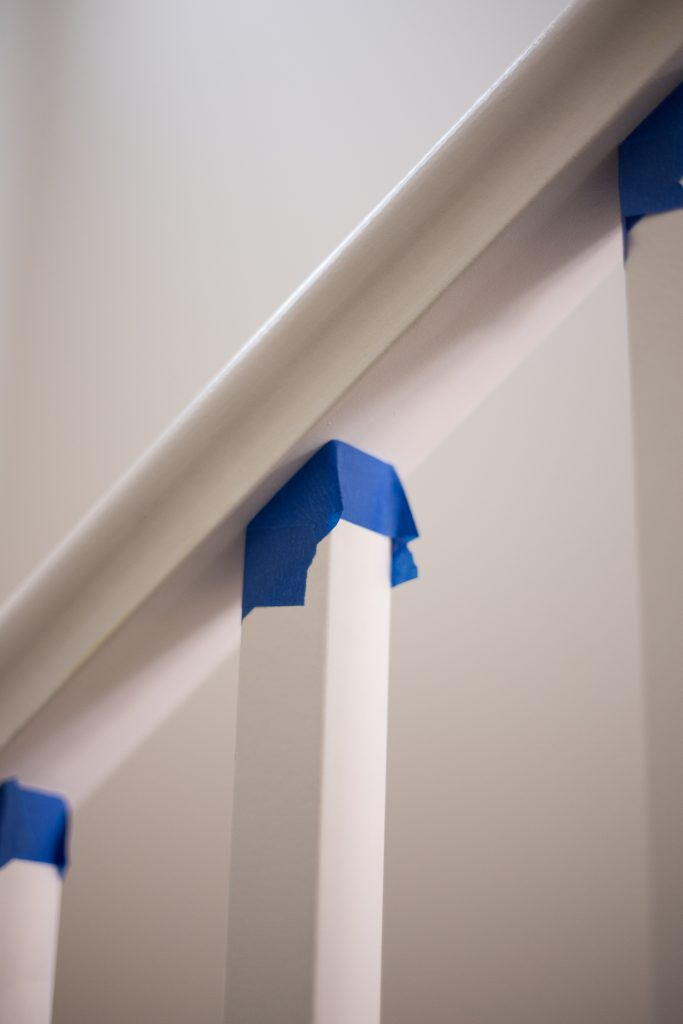
Tapping off the Spindles
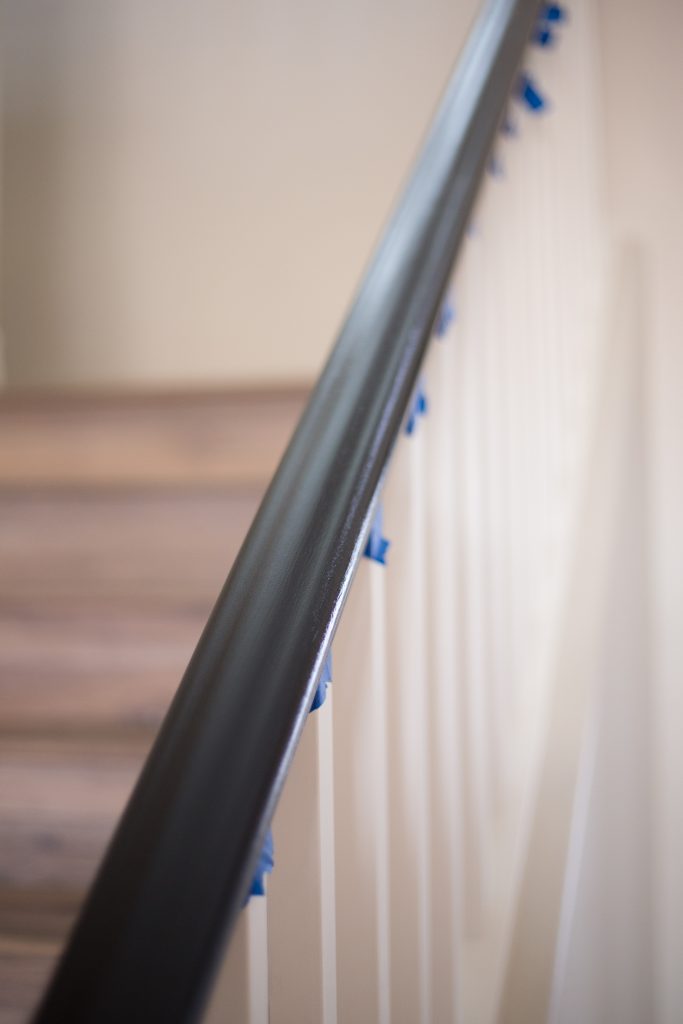
Because I was only painting the tops of the railing, not the spindles, there was A LOT of tape prep work. I used blue painter’s tape to tape off each spindle. My spindles were square so it was even more challenging. If yours are round, consider yourself lucky..haha.
I used a couple of different tapes on this project, but I recommend the blue painter’s tape edge lock and regular masking tape!
Tape off each one as tight as you can so paint doesn’t leak through.
Paint
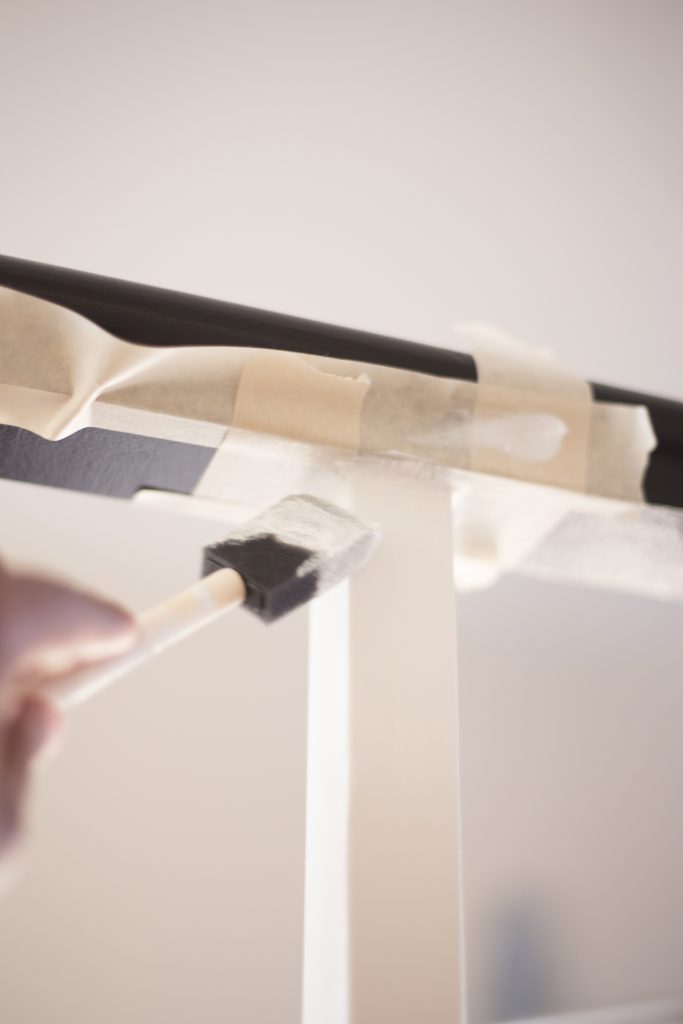
To paint I used a small touch-up brush paintbrush and a cheap little foam brush. These two items are key because they keep paintbrush strokes to a minimum. I LOVE LOVE LOVE the cheap little foam brushes! For whatever reason they just get the job done!
As far as the paint, I used DecoArt Satin Enamel in Black. Remember that bed project I did for my mom? Well, I fell in love with it so I knew it would be perfect for this project too.
Satin Enamel dries to a hard finish and it’s not too glossy or too flat of a sheen. It also dries quickly so you need to work fast.
Start from the bottom and work your way up the stairs.
One tip I must give is to make sure the paint is dry before you give it a second coat. Satin Enamels is fast drying so you won’t need to wait too long to paint and then move on to the next section. I know it’s tempting to go over spots before it’s dry but trust me, you don’t want to do that!
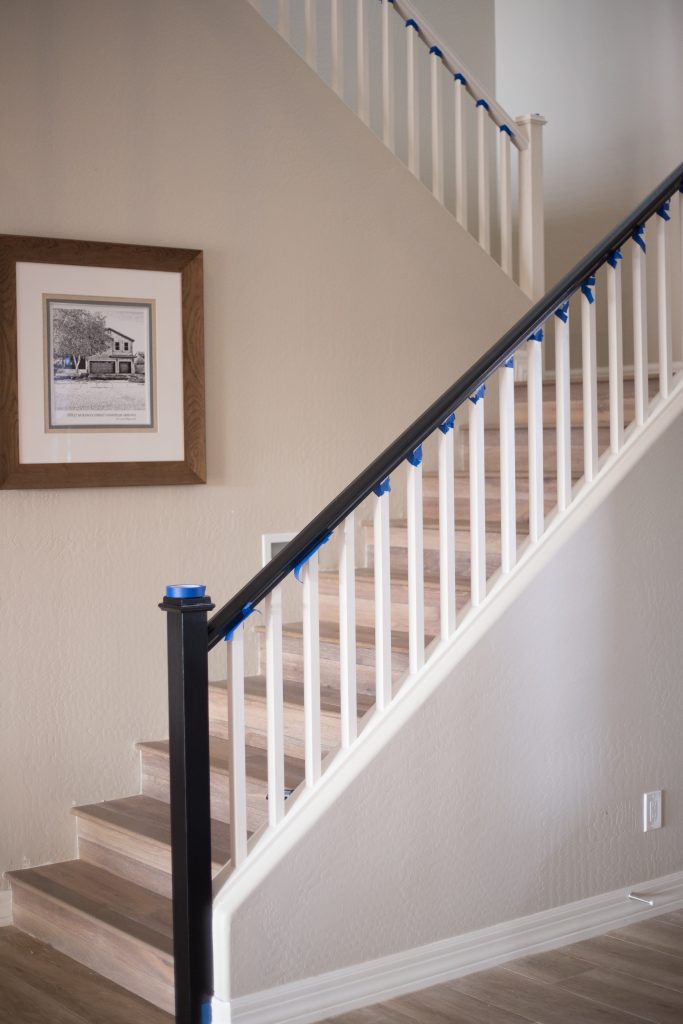
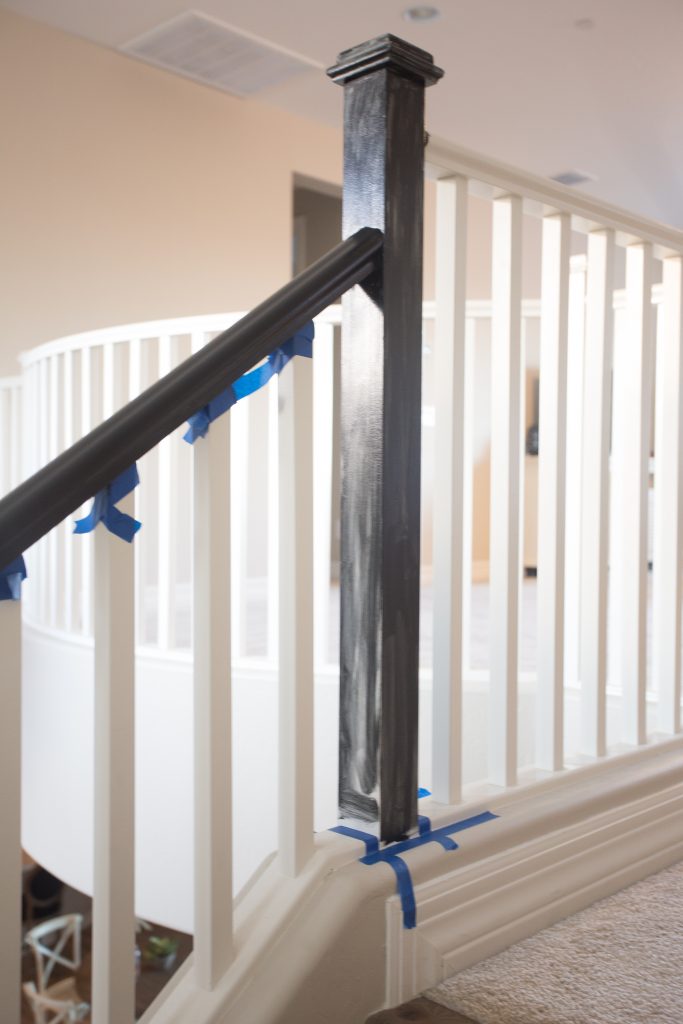
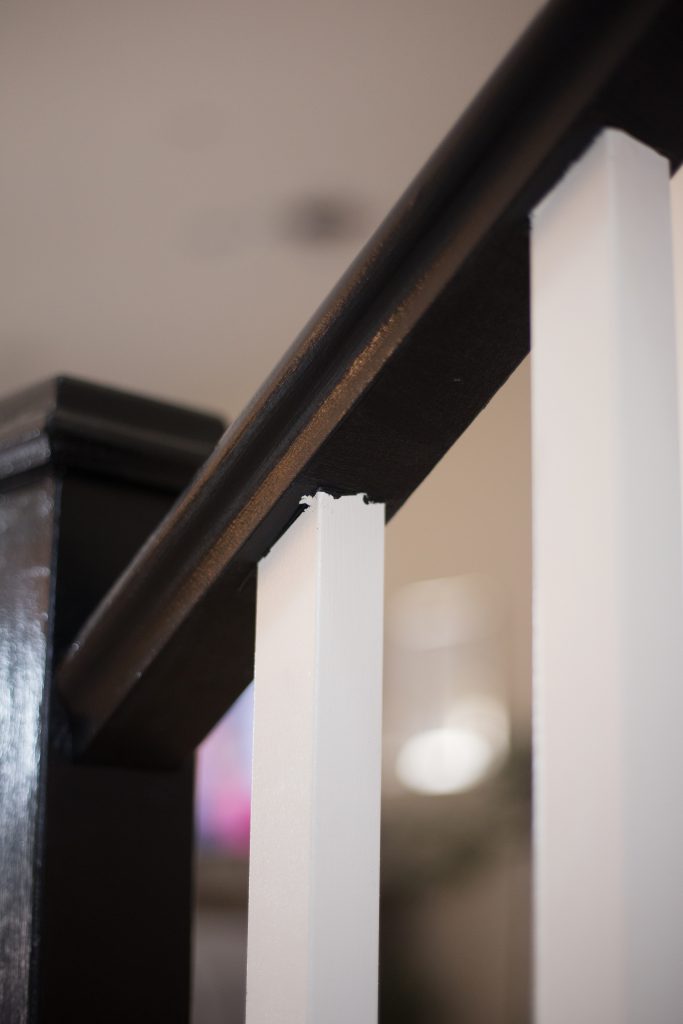
The first coat is going to look something like this so don’t freak out! haha!
Remember don’t use too much paint on your brush. Take your time and do it right!
Touchups
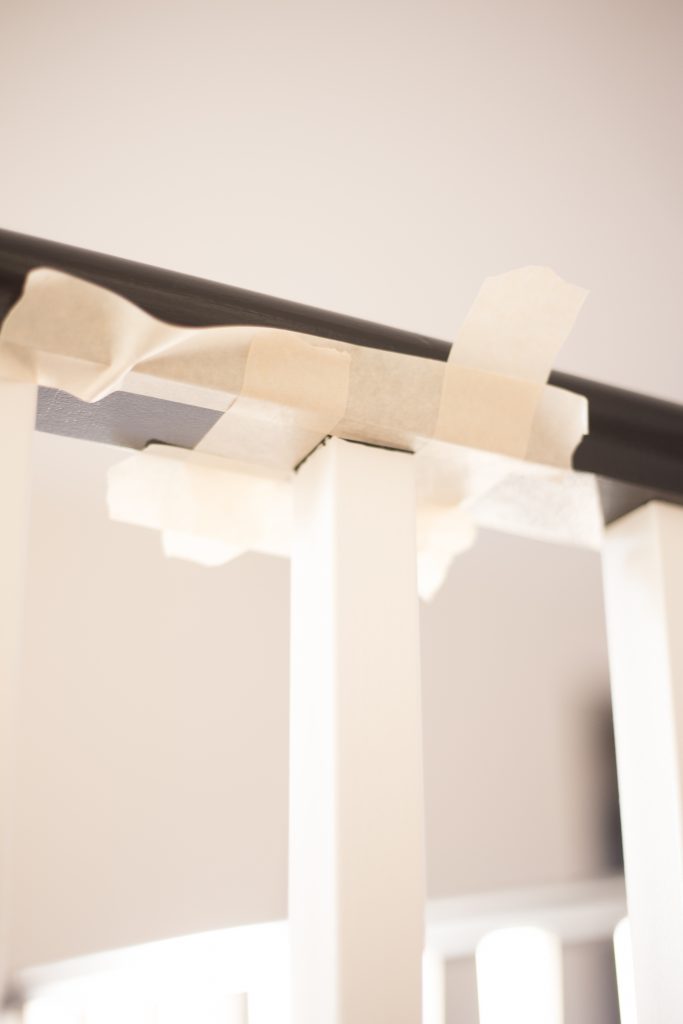
This is the part that took me a while to figure out. How do I clean up those pesky leaks? I just couldn’t leave it because well certain projects need to look professional. Plus I didn’t see any help on the internet for this part when it came to painting the rails so I thought I would share it with you!
Take masking tape or painter’s tape and tape off the top of the railing like this…
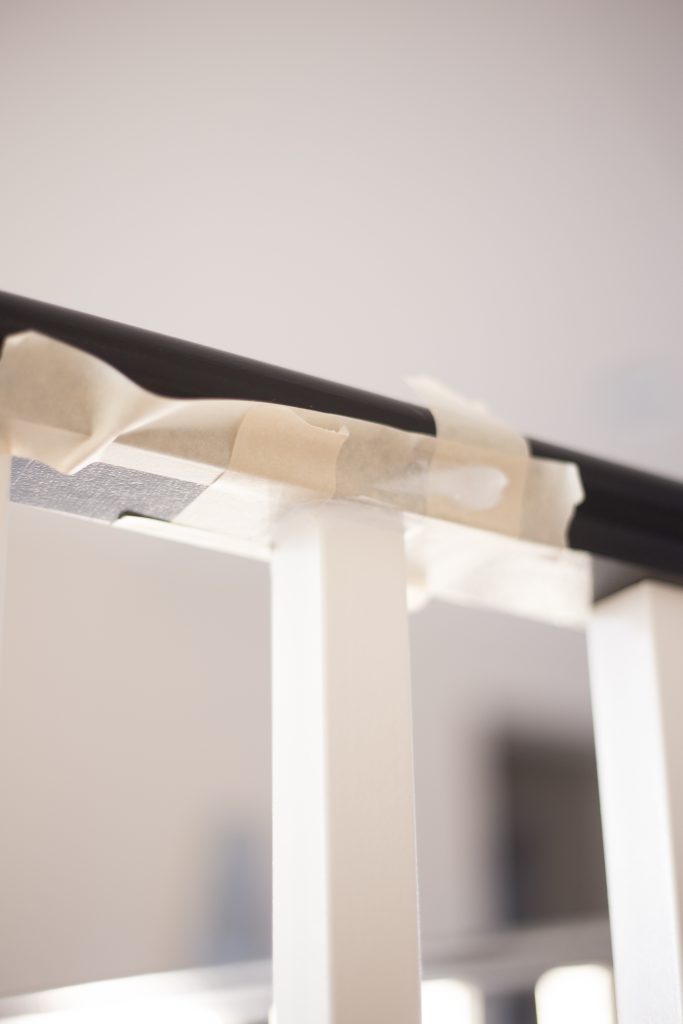
Then use paintable caulk to seal…
Then take the matching railing paint and paint over the caulk immediately and remove the tape. Don’t allow the caulk or paint to dry.
Once the paint is fully dry feel free to add a clear matte topcoat for extra protection. Those handrails get a lot of traffic so you’ll want to make sure you do this for longevity.
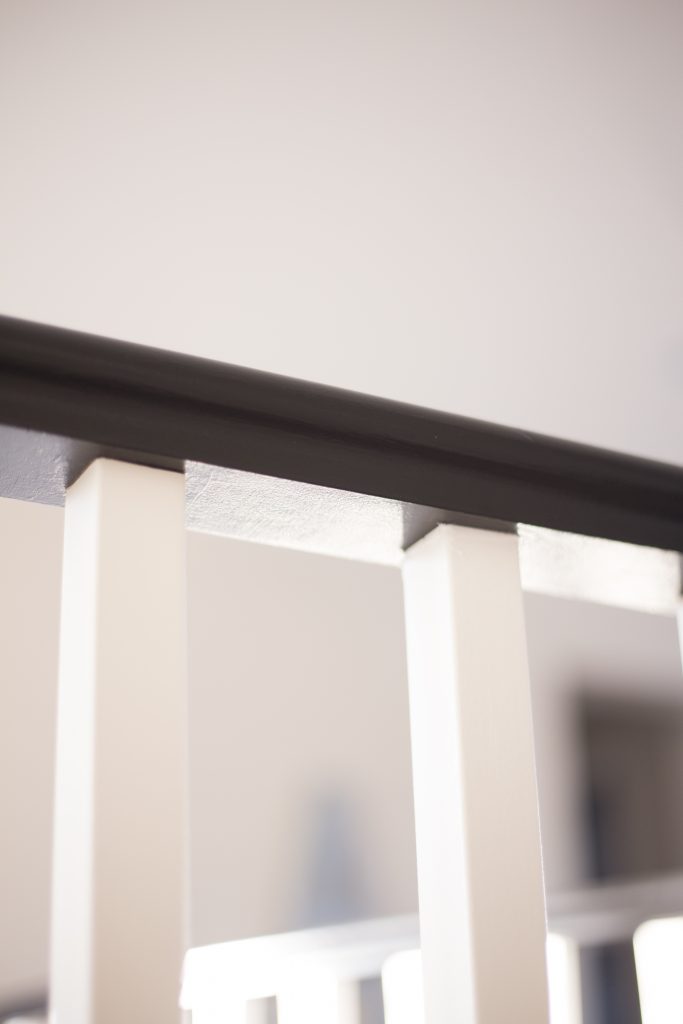
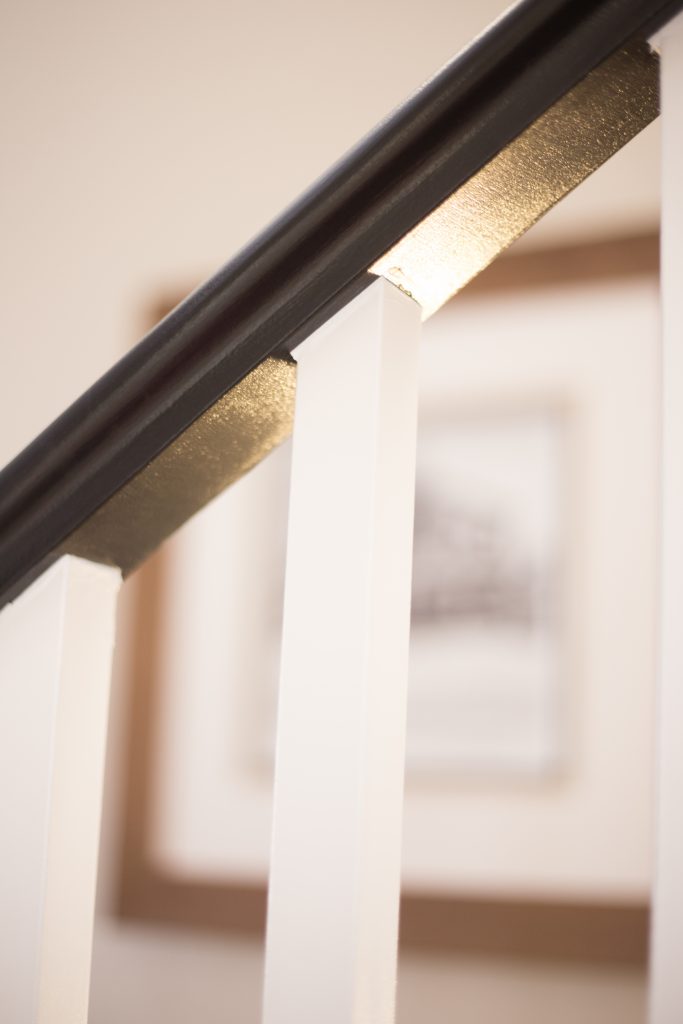
I can’t tell you how much I loved the final result!
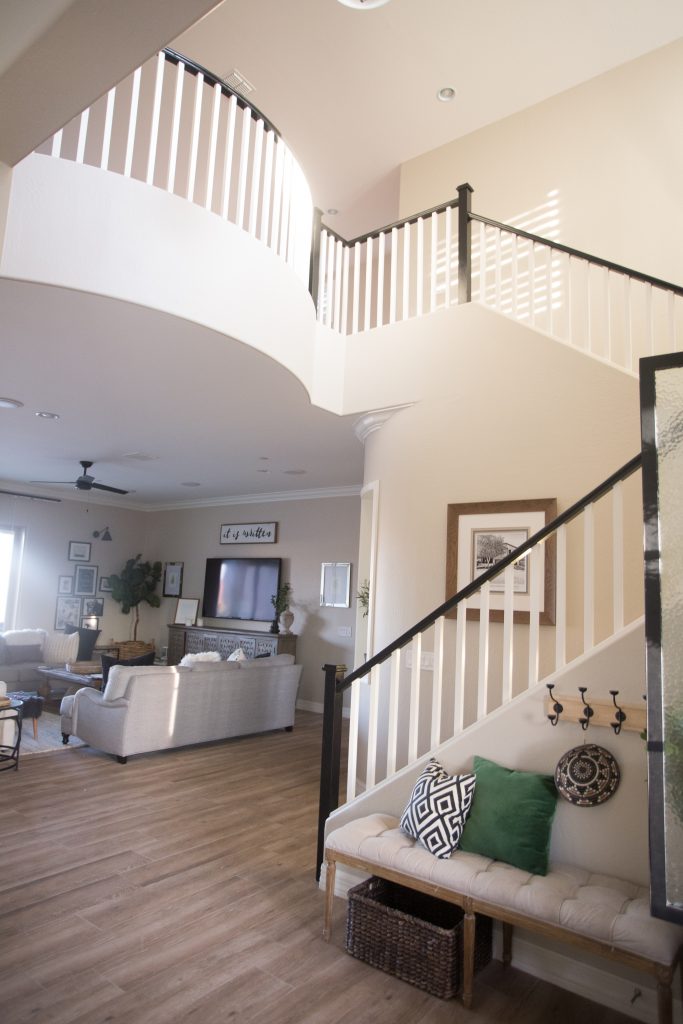
Oh it looks totally amazing.
It is absolutely gorgeous! XO
Looks so good! I love your tip about getting rid of the little leaks, because they always seem to happen, no matter what tape you try. I’ve got a railing project in my future that I am debating whether to DIY!
Really beautiful!!!!
Looks really beautiful!!!
Hey, it’s Deb. Thank you so much for this! Out of all the blogs I read on this, yours was the most detailed. Will be attempting this soon!
Thanks a bunch!
We just fired our paint crew because they were doing such a crappy job. We were perfectly capable of doing the staircase ourselves but it was “time” that we didn’t have. Enter the painters. I may have convinced my Husband we need to start our painting company, teehee! Anyway…espresso gel stain for the handrail and posts has been an absolute nightmare to apply. I was on Valspar white satin finish spindle duty. Dried to a super dry chalky consistency. Can I ask how your dark handrails dried and if they are durable to scratching? House goes on the market in 2 weeks, thanks to the paint crew, and I can just envision a fingernail running down the handrail. THANKS so much!
This is a stunning makeover of yours. this is amazing, you stair railing is awesome in that black paint. It looks simple but elegant. Thank you for sharing this one.
https://www.spring-bolt.com/
your blog is informative to get 50% discount on all products just click on the link below
https://onlinemarket.com.pk/
Thank you for your tip to use cheap little foam brushes to paint the rails black. I’ve been wanting to add some iron railing to my balcony and the stairs up to my house. I’ll be sure to keep in mind how to paint the rails in case they aren’t the color I want.
I absolutely love this project and I’m going to attempt it in my home as well! Can you share the color of your door as well?
Great job! Love your end result. Love your attention to details and getting the leaks and runover!
I love your design esthetic! I just have to ask what brand and color are your wood floors?!? I absolutely love it!
Hi! Thank you! So those are tile floors from Floor and Decor. Truewood Cream
Thank you so much for your detailed article with pictures! I have been wanting to update my staircase, and feel this is exactly what I want to do!
You are so welcome!!
What is the name of that flooring?
Hi! This is Truewood Cream from Floor and Decor
what color did you use on your walls? I wanted to do white, but it think all white walls and base boards is too much. Your walls have that smooth transition of white that I’m looking for.
sarae0316@yahoo.com
Thanks,
Sara Cason
Hi Sara! I used accessible beige throughout the house and for the trim Extra White by Sherwin Williams.
Looks Great. Is your door a black too or is it a dark charcoal? Thanks!
HI! Our door is a true black!