Hello! Happy Thursday!
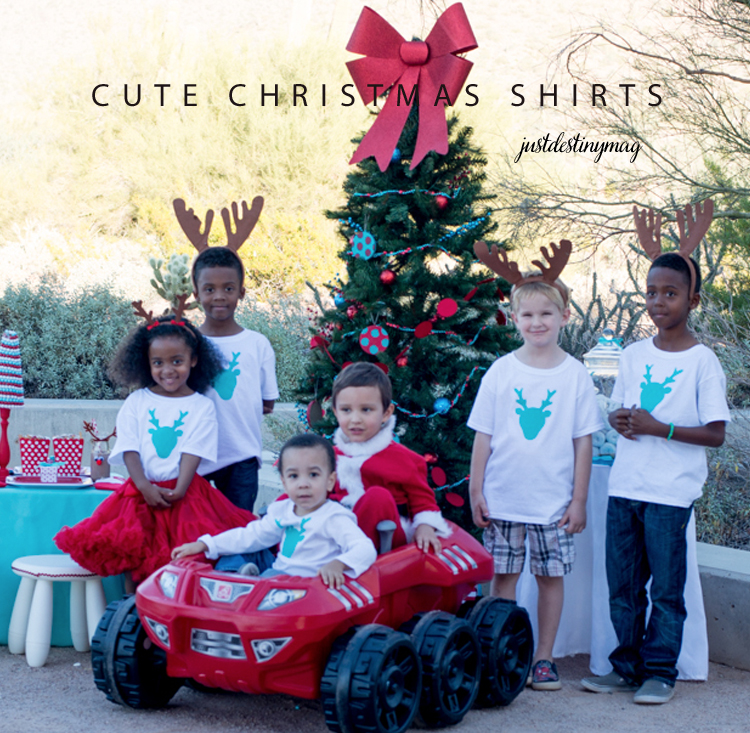
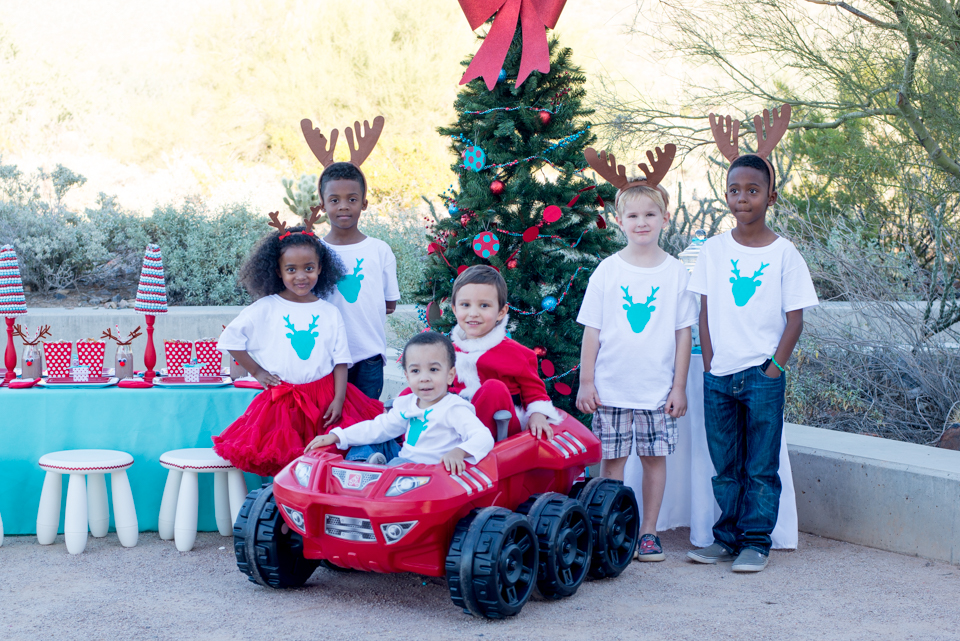
Today I have a fun tutorial on how to make cute Christmas T-Shirts for kids! I was invited to collaborate on a party with See Vanessa Craft here in Phoenix this month! She’s such a crafty girl! Along side A Night Owl Blog, Around My Family Table and Kate Photography. It was a fun step up of aqua and red and fun toys like the Step2 Spin & Go Xtreme Cruiser that everyone wanted to sit in! ha
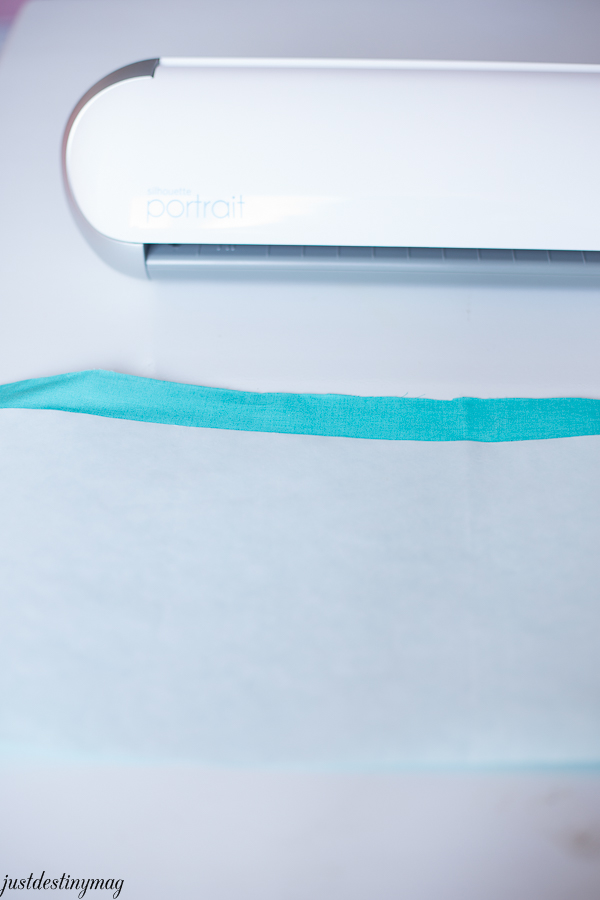
Then iron on the interfacing and fabric together. Make sure the fabric is right side up so your interfacing is underneath your fabric. The paper should be facing the ironing board.
After that cut your fabric down to match the size of the interfacing.
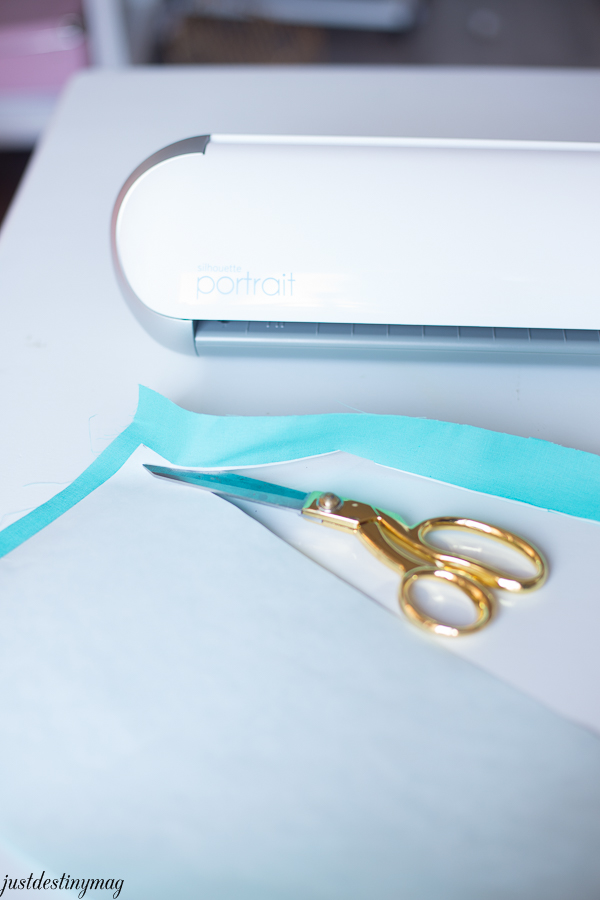
Your fabric should have a shiny side and a fabric side now.
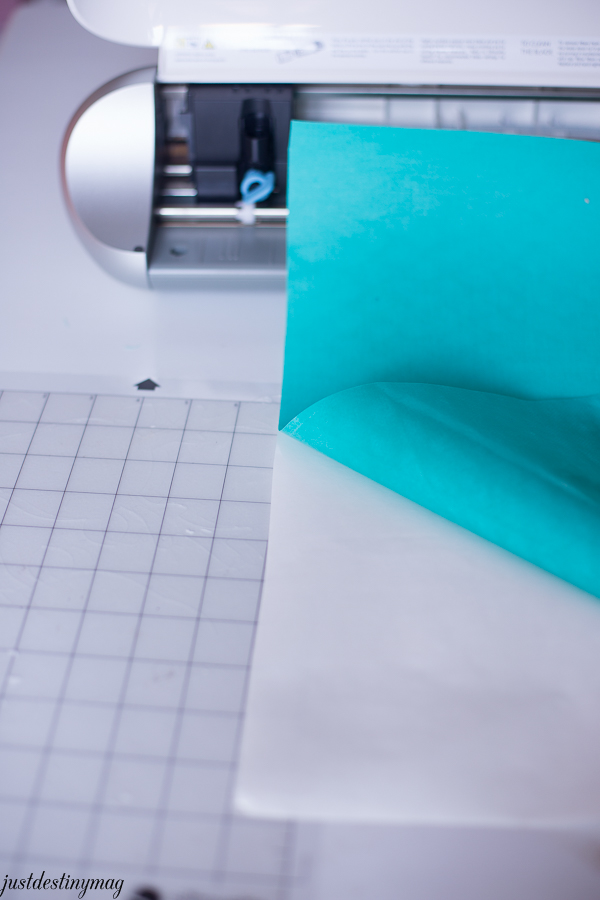
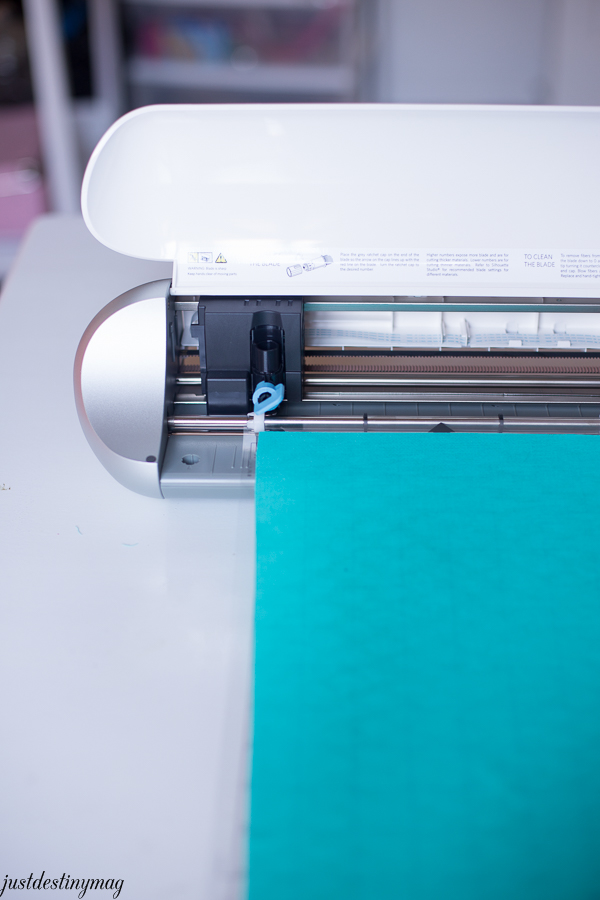
Press the fabric onto the cutting mat, making sure the fabric side is down against the cutting mat. Run your hand over it to make sure there are no bubbles and that the fabric lays flat and secure on the mat.
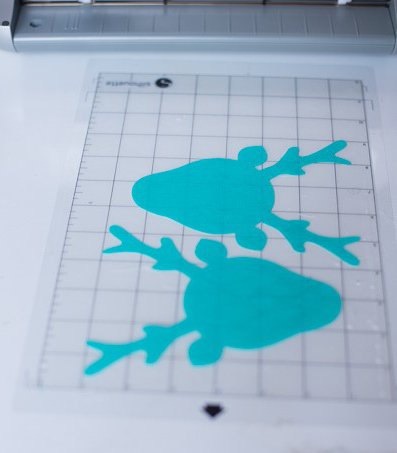
Pull up the reindeer silhouette onto the screen. My shirts are kid sizes so 5-6in reindeer’s should be big enough. When your design is ready to be cut, load your cutting mat into the Silhouette and load the settings to cut fabric. Make sure the fabric doesn’t hit the white rollers on the side.
Next remove the design from the cutting mat and iron it on to each t-shirt. Make sure the shiny part is parallel to the t-shirt. Iron for 8-10 sections each or until the silhouette is securely adhered to the shirt!
Thats it!
I wanted my shirts to be super simple but how cute would a little red nose be?
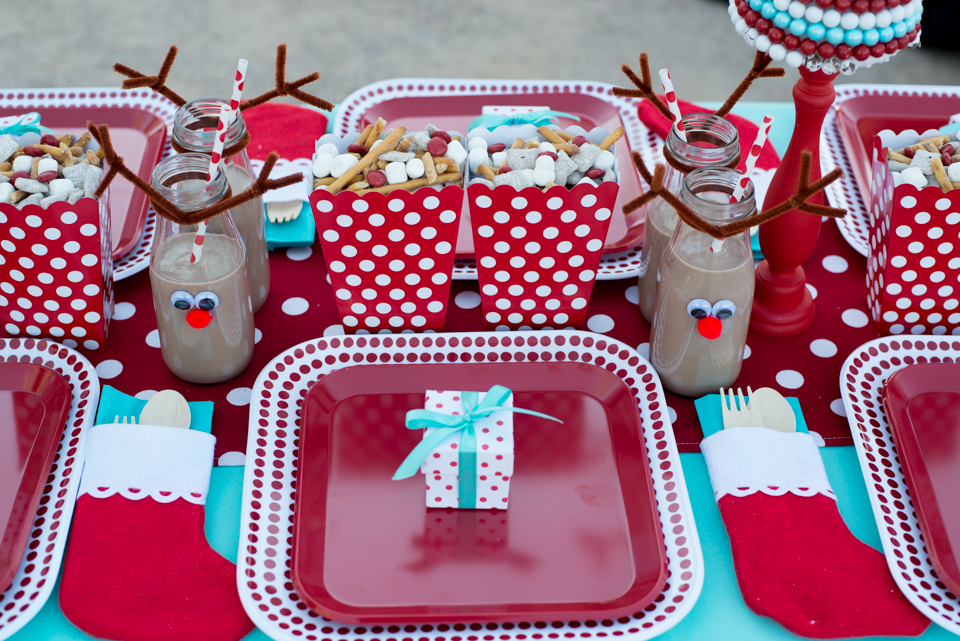
Check out the rest of the party below and see all the beautiful details!
Candy Tree Holiday Centerpiece
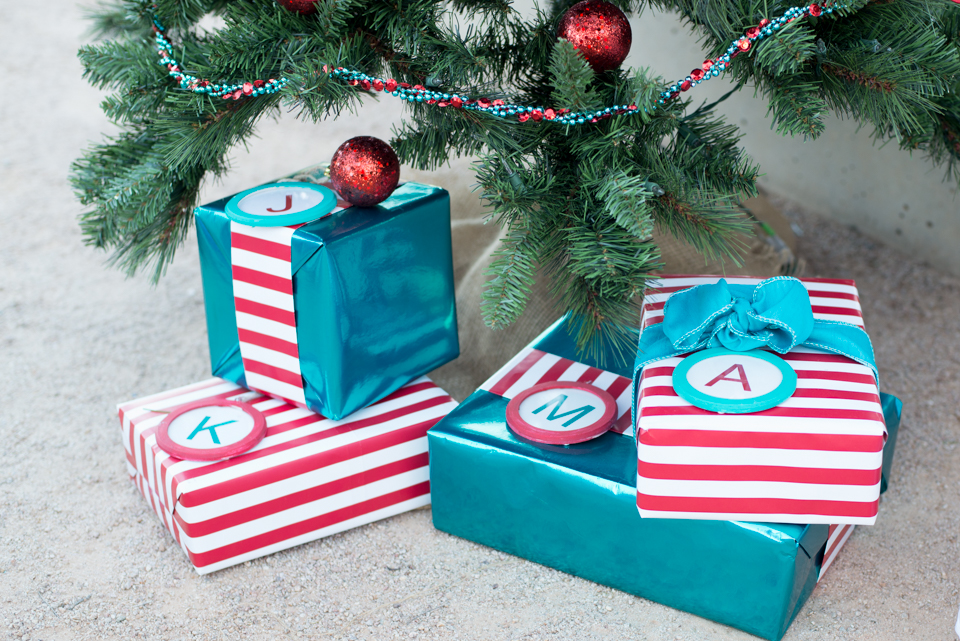
DIY Christmas Ornaments and Gift Tags
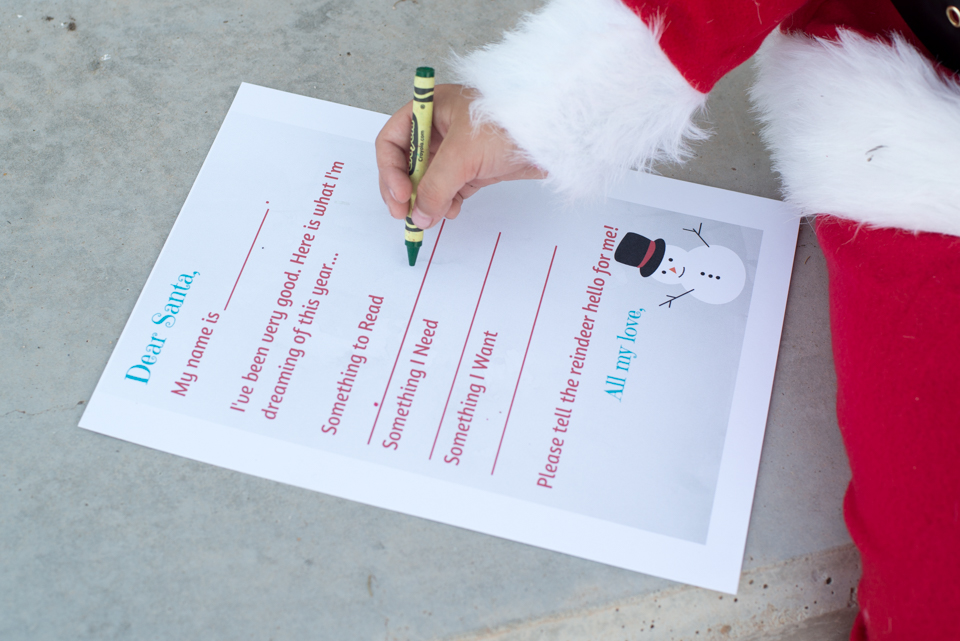
Letter to Saint Nicholas {Free Printable}
All Photography by Kate Photography








OMG! You all make me dream of living in AZ, just to be near all of this creativity!!!
Thanks Chelle! AZ is wonderful:0)