

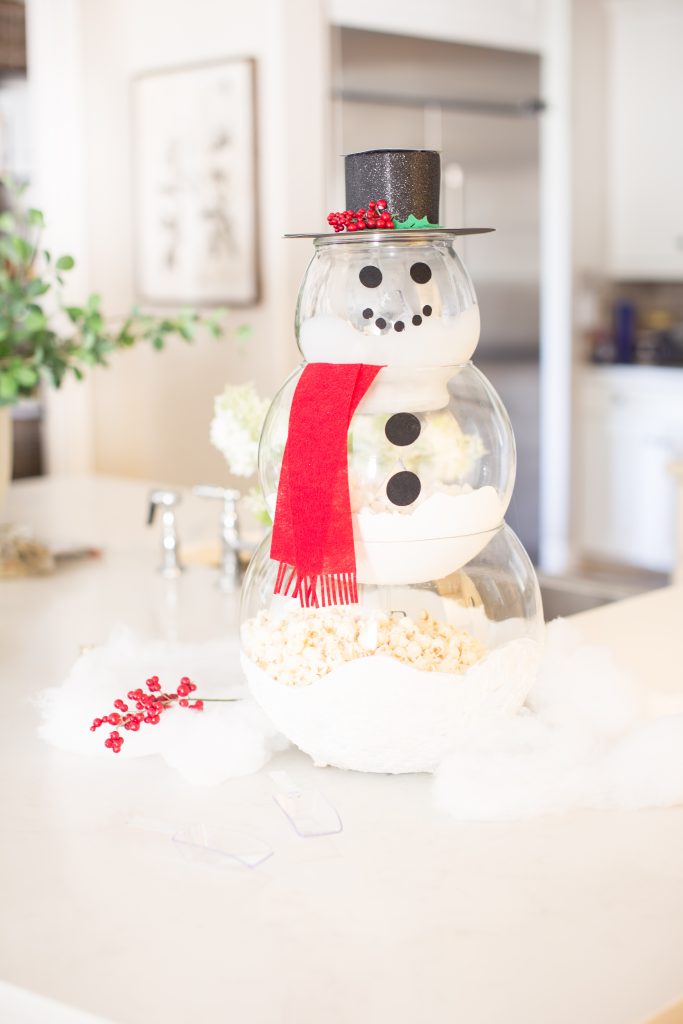
Snowman Snack Stack
This post is sponsored by the kind and crafty team at DecoArt!All opinions are mine!
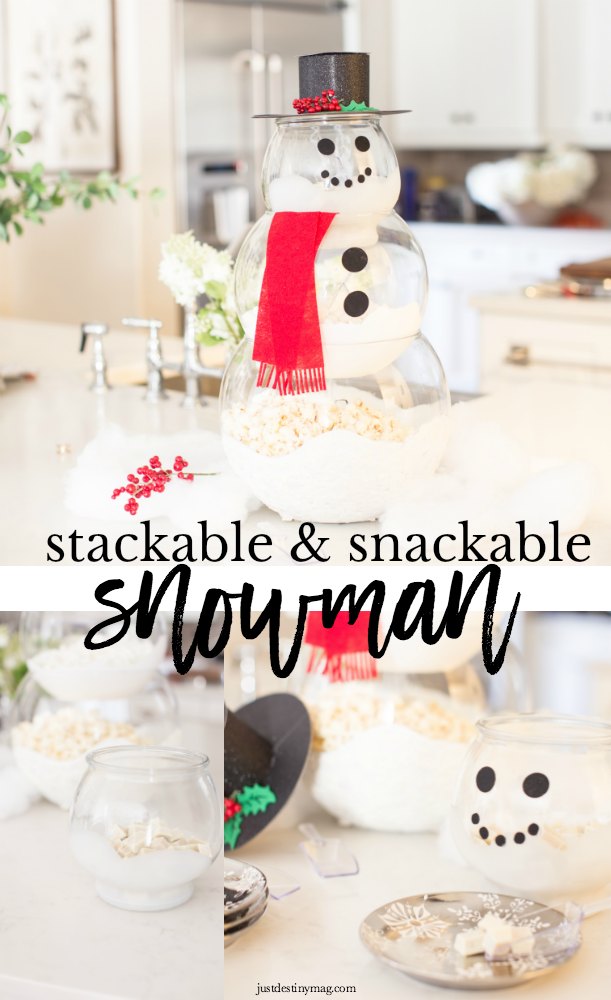
Do you want to build a snowman? Sure you do! How about a stackable, SNACK-able snowman for your next Christmas party? Or even just for looks?
This cute craft is easy and so simple even you can do it. Yes, you.
I’ve teamed up with TWO incredible crafting companies to help me knock out this DIY. DecoArt and Cricut! If you’re even the littlest bit of a crafter I promise you’ve used some of DecoArt’s paint. You know that small paint bottle you needed to paint that one project. Yep, that was probably DecoArt! So they will be helping me with the paint part of this project! If you’re a more seasoned crafter then you’ve probably heard or seen a Cricut machine. It cuts just about any crafting material you need right on the spot. If you’re a super fan of Cricut then you know that they just came out with the newest machine, THE MAKER! That’s what you’ll be seeing my using here!
So if you love DecoArt AND Cricut products, head over to the DecoArt site for an exciting giveaway each week in the month of November! Each weekly entry will also be counted as an entry into week five’s Grand Prize!
So to get started you will need the following supplies. Start this craft a day in advance to give your paint some time to dry!
[su_heading]DecoArt[/su_heading]
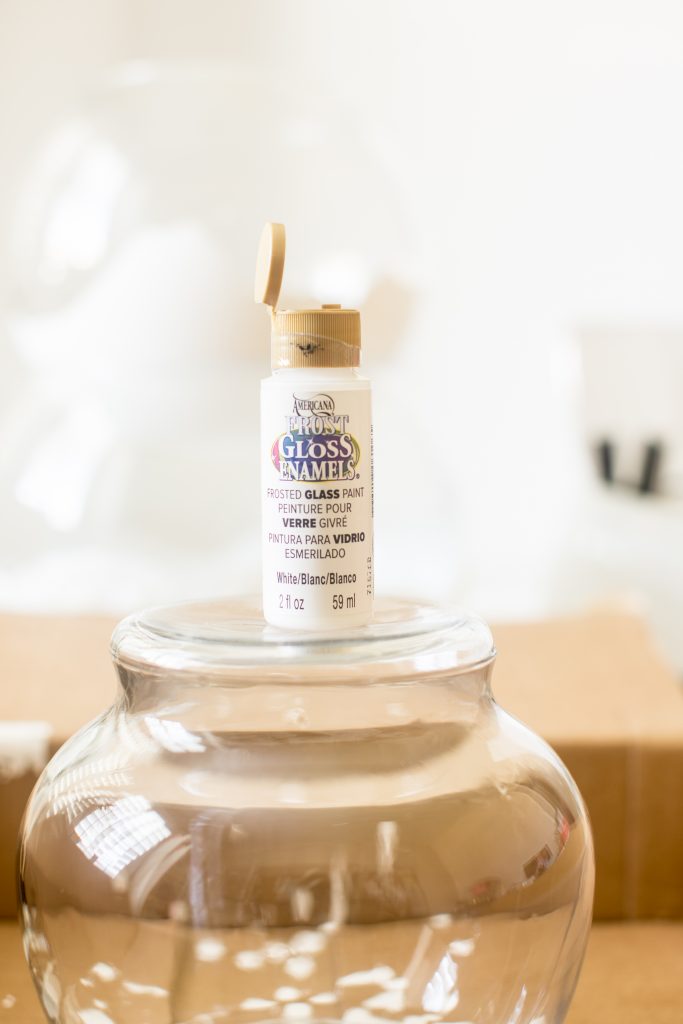
Frost Enamel Frosted Glass Paint
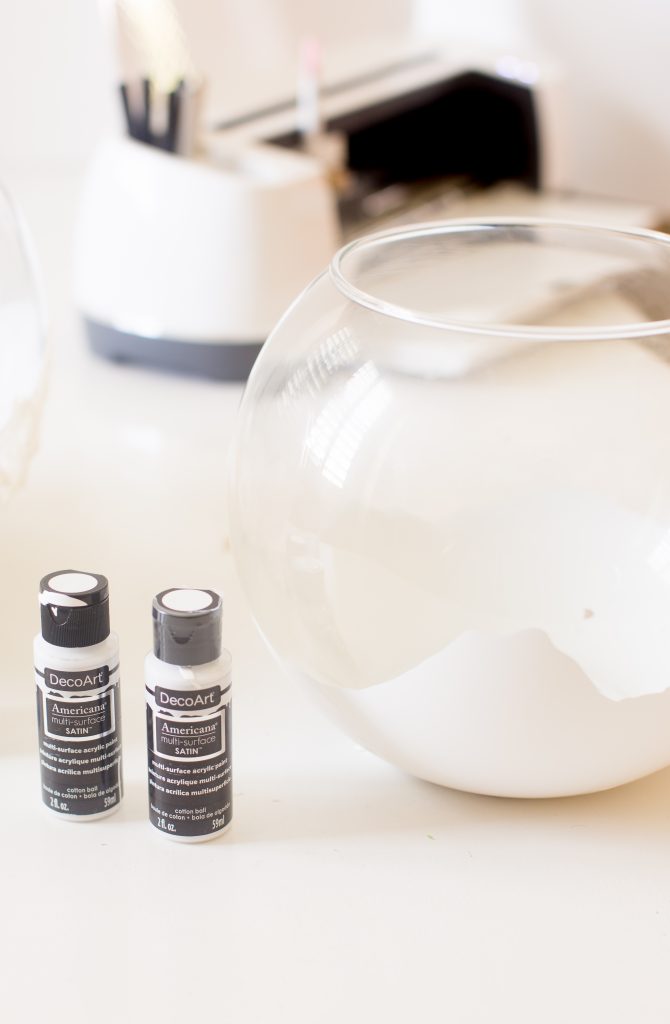
Americana Satin Multi-Surface in White Paint
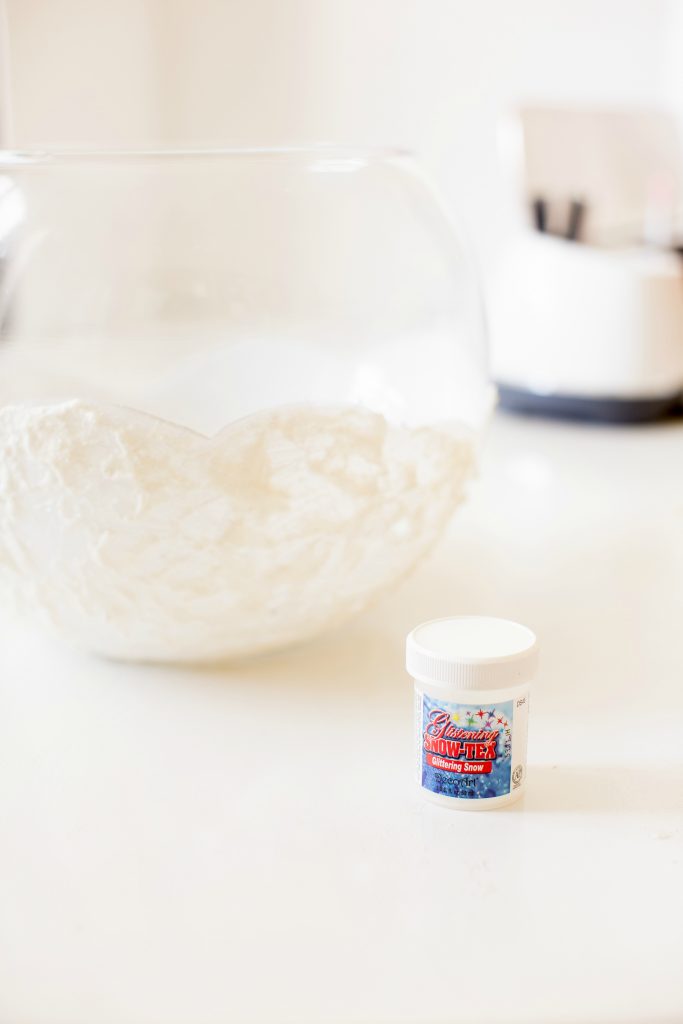
Snow Tex White
[su_heading]Cricut[/su_heading]
Cricut MAKER Machine or any Cricut Machine you have!
Snowman SVG
Black Glitter Card Stock
[su_heading]Other[/su_heading]
1 12 inch Glass Bubble Bowl
1 10 inch Glass Bubble Bowl
1 1/2 Gallon Glass Terrain with Lid
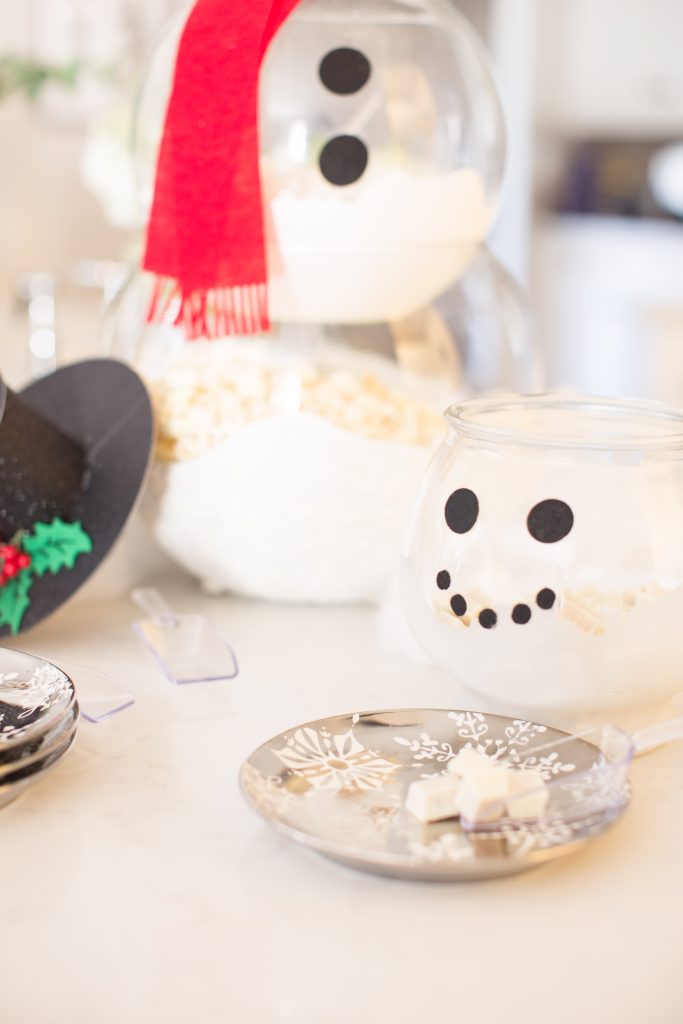
3 bags of white treats like popcorn, marshmallows, etc.
3 scoops
Hot Glue Gun or Glue
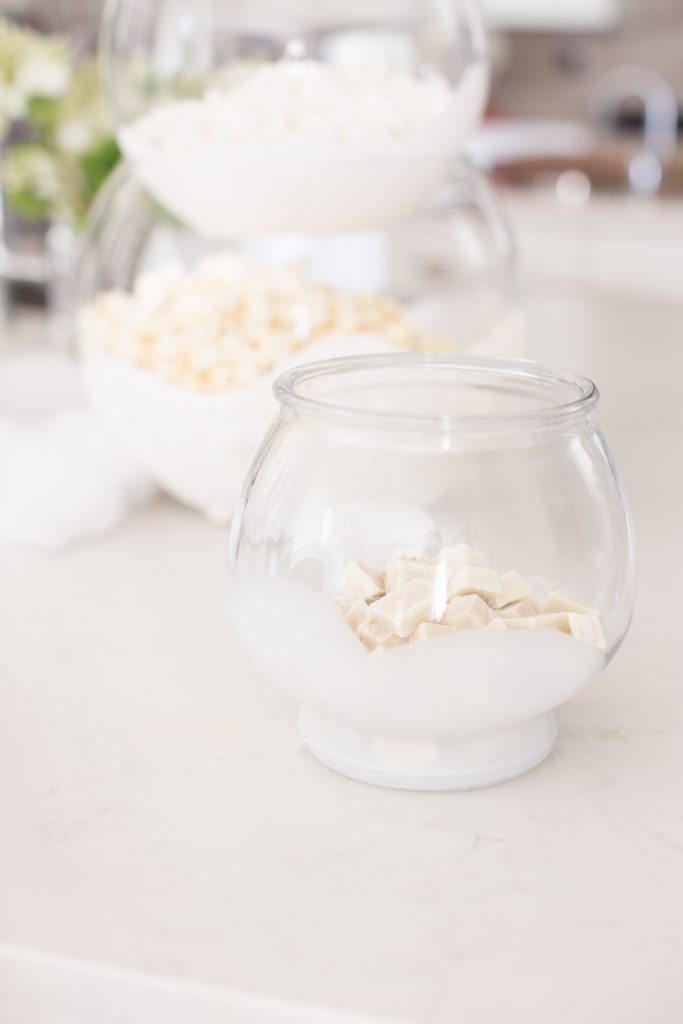
First, make sure all your glassware is clean. Paint goes on ALOT easier when you have a clean surface. Start off by applying a light coat of all purpose satin paint in white to the bottom of the largest glass bowl. Let that dry and then apply the snow tex material. Use your finger or a spatula or even a paint brush to give it some texture! I sort of made this up along the way so sorry I don’t have any progress shots. lol! But it’s pretty simple. Leave a comment if you have any questions about it though! The DecoArt Snow -Tex drys on hard and had a bit of glitter in it to give the surface some shine! Perfect for our snowman right?
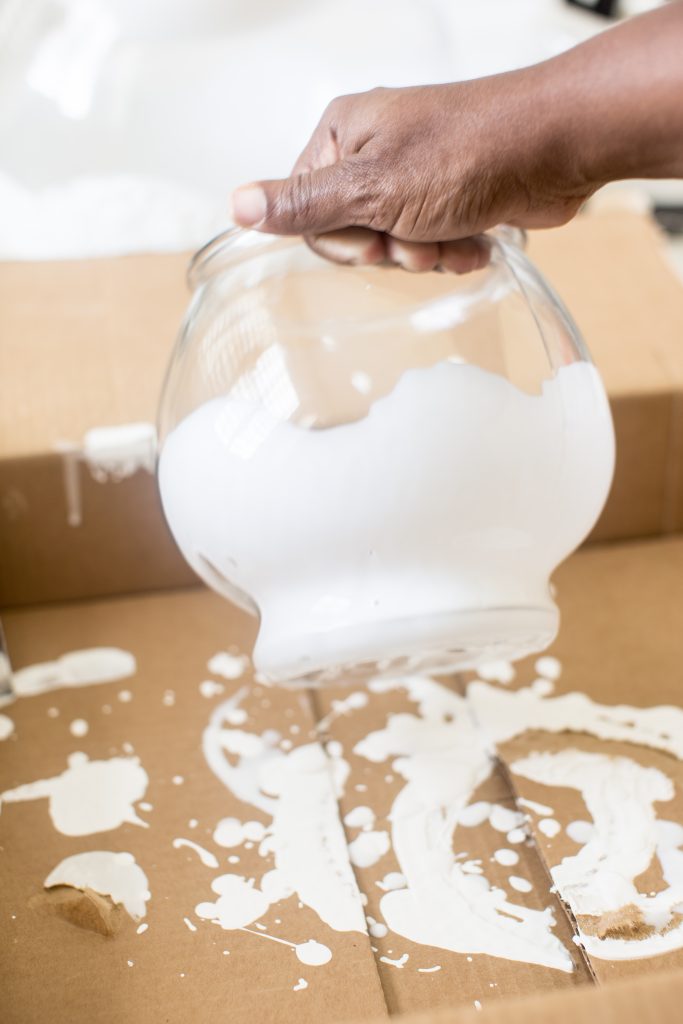
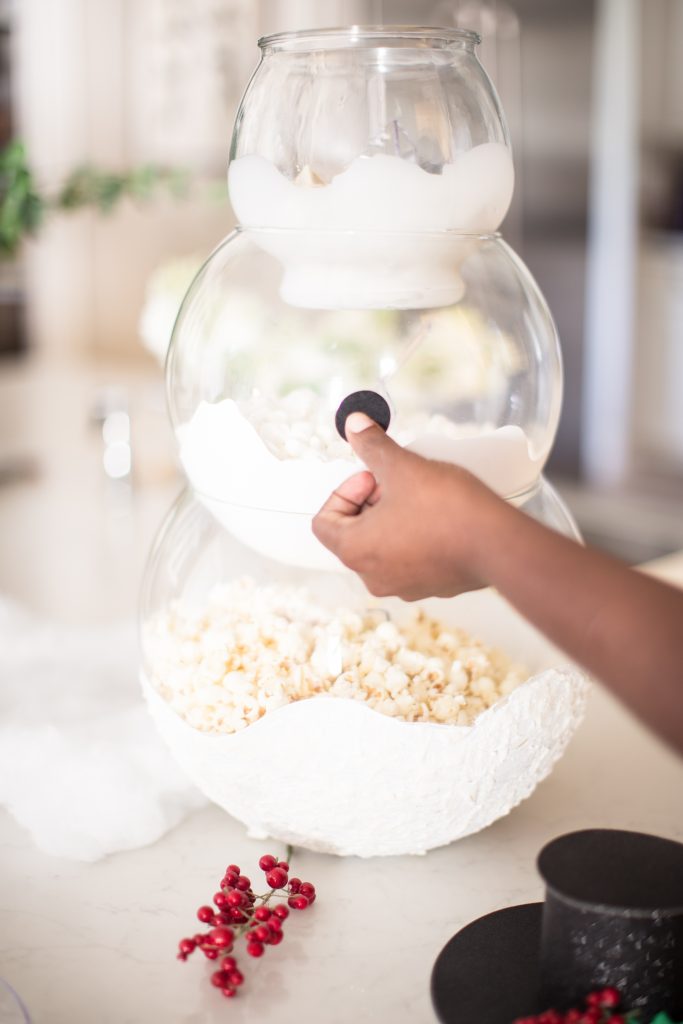
Next take your medium sized bowl and turn it upside down. Have a piece of cardboard or plate to catch the paint as it will fall and drip. Apply the Americana multi-surface paint in white, starting about halfway up in a hill like patten. Think snow hills. As the paint starts to fall apply more paint to the empty spots. Every now and then give it a bit of a shake to help distribute the paint evenly!
Last use that same technique on the top part. Take off the lid and instead of the the all surface paint apply the Frost Gloss Enamel frosted glass paint in white!
Allow all of them all to dry for at least 24 hours!
[su_divider size=”2″] Cut with the Cricut [/su_divider]
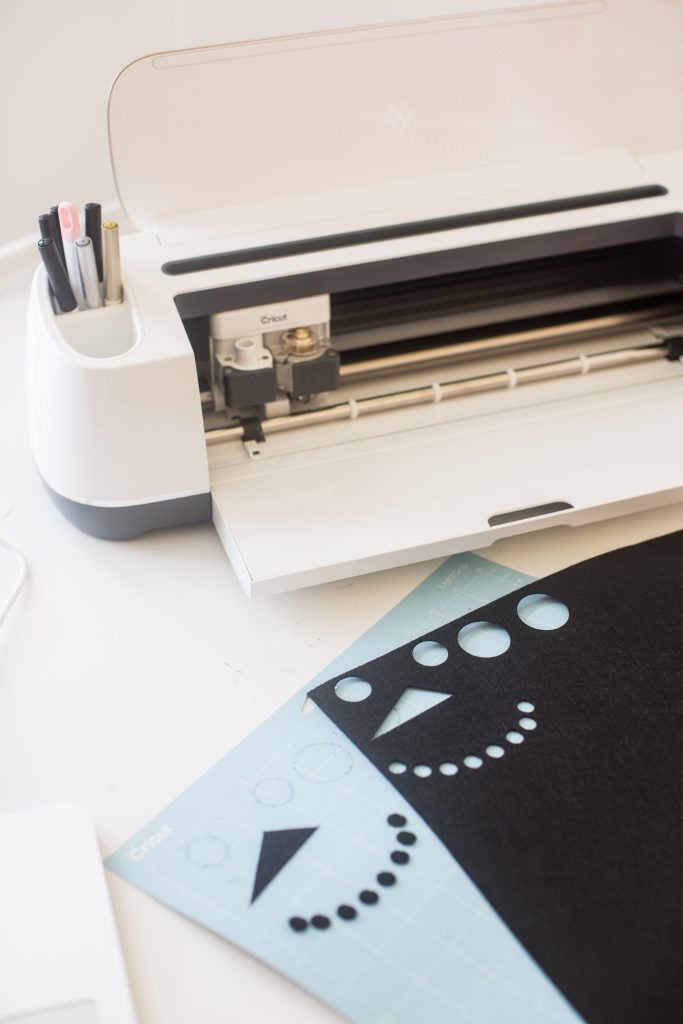
While the bowls are drying you can use the Cricut Maker to cut out some snowman accents using flet and gittler paper! The Cricut Maker can do SO much more than just cut felt! It’s a machine that can
[su_quote]”Handle fabrics, leather, and balsa wood with effortless precision.” Cuts sewing patterns in just a few clicks. And places more creative possibilities than ever at your fingertips. “[/su_quote]
It’s the ultimate smart cutting machine!!
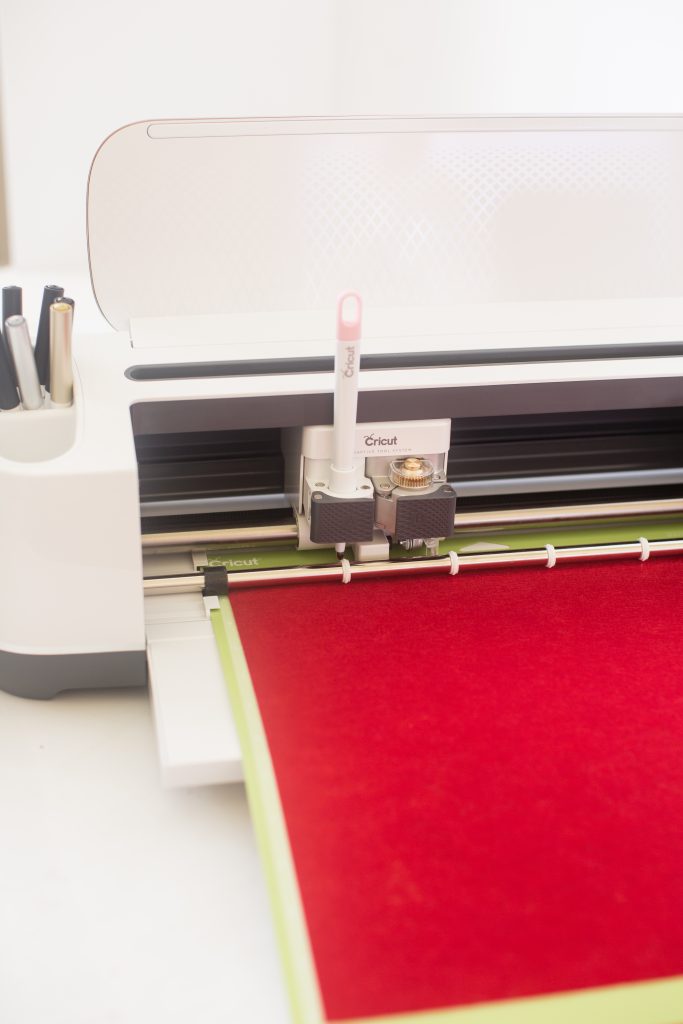
You will need red, green and white felt for this project along with some glitter cardstock in black.
To cut the felt you will need to change the blade to the rotary blade. This will allow you the machine to cut out any details perfectly.
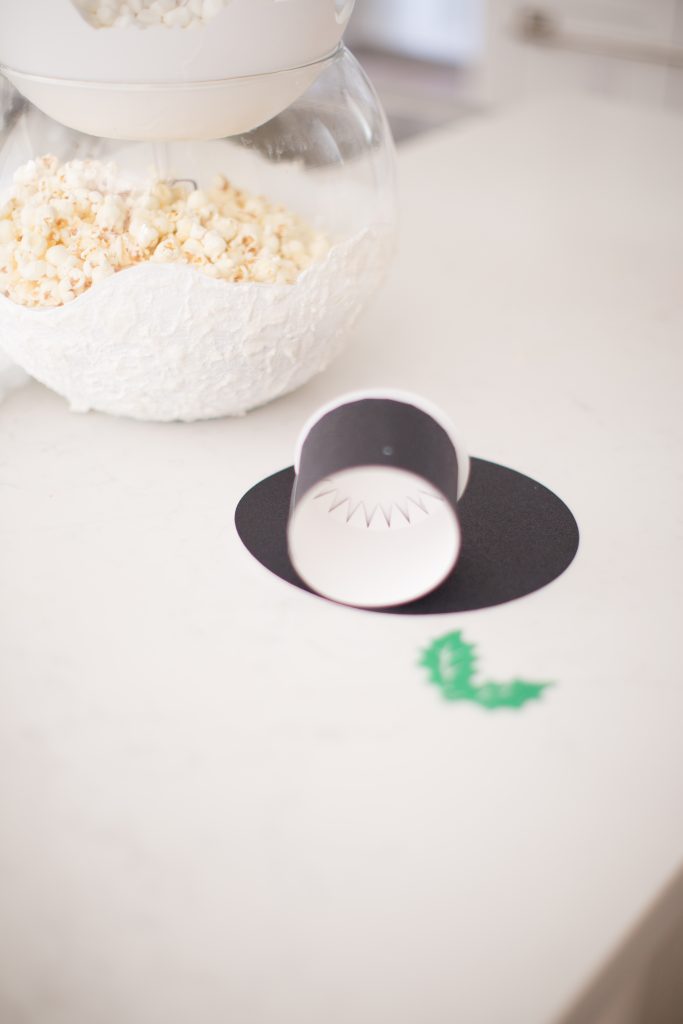
I uploaded a few different designs to my Cricut Design Space to help with the snow man parts and some I just simply made myself! For the hat I used a snowman SVG that I purchased and used the black glitter cardstock to cut it out and then I assembled it.
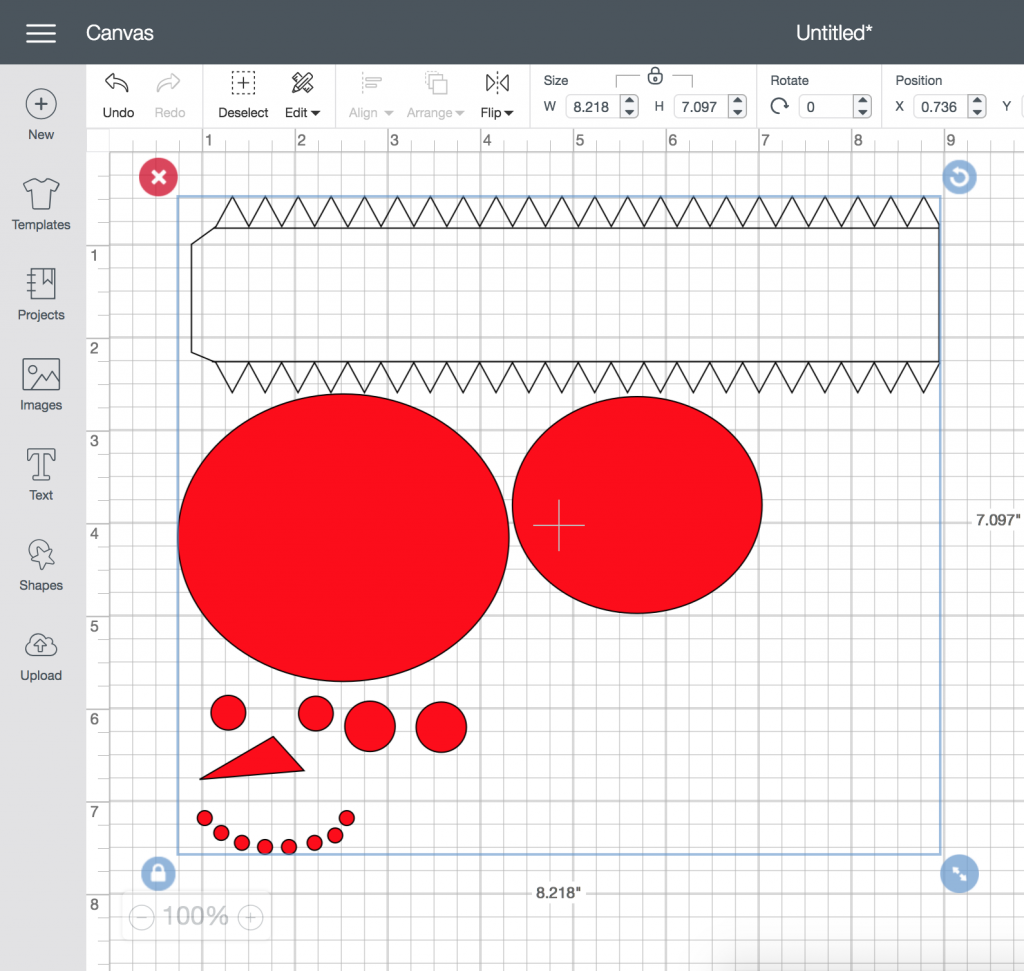
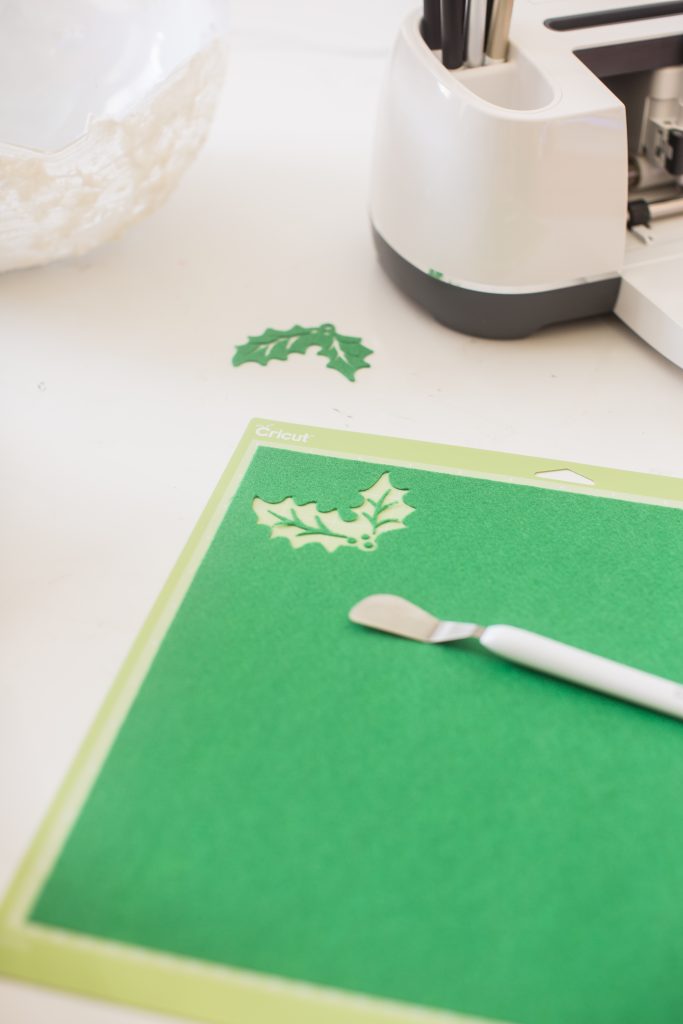
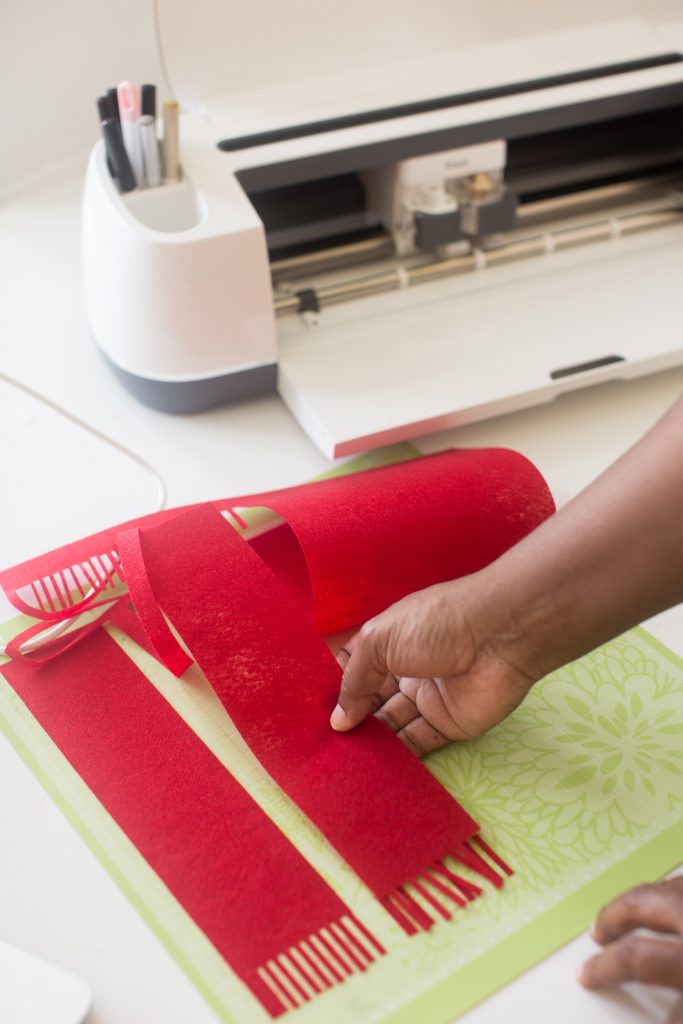
For the felt pieces I used a holly design that I purchased and cut those out as well! The detailed cut is amazing. Gets me every time.
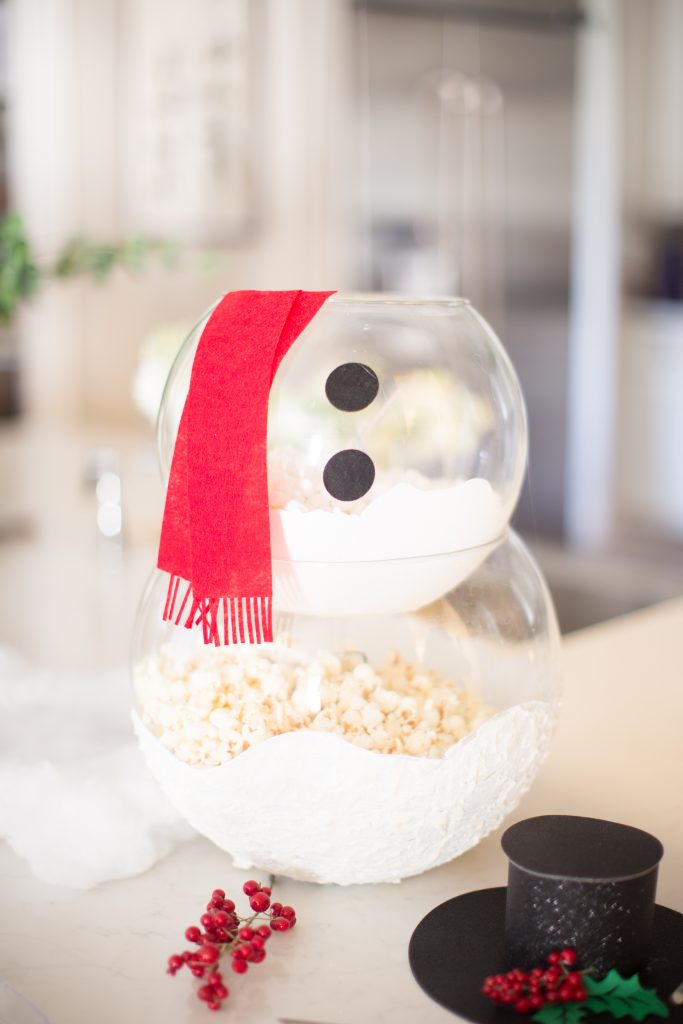
For the scarf I simply made a scarf like design using the rectangle tool. The large one for the base and small ones for the fringe and cut it out with the red felt. Then I welded them together on the program so it would become one piece!
![]()
PEFECT!
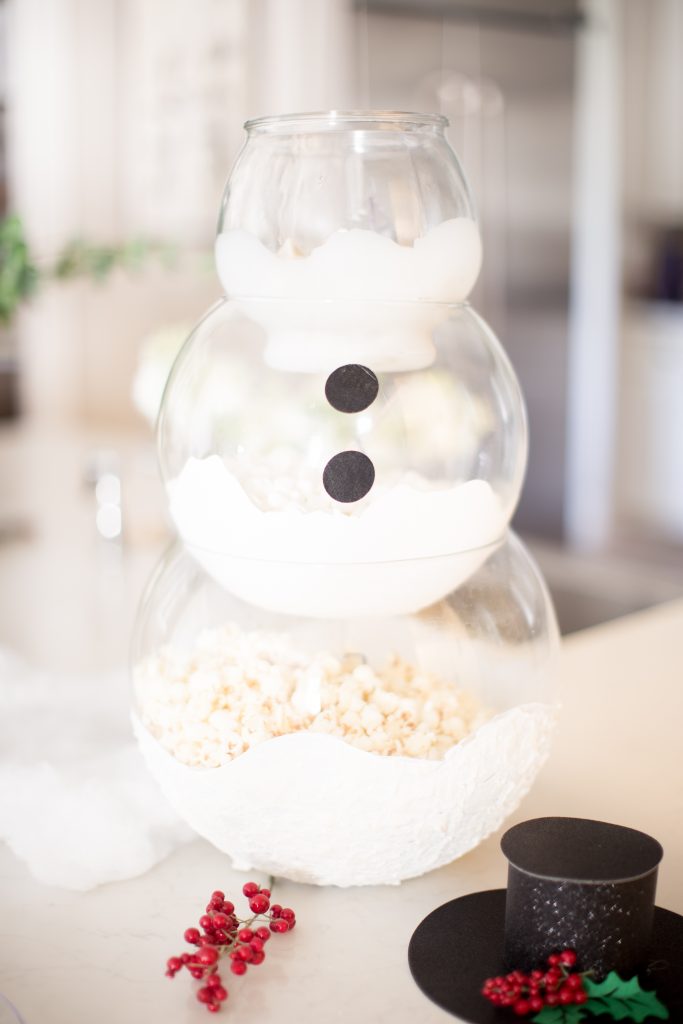
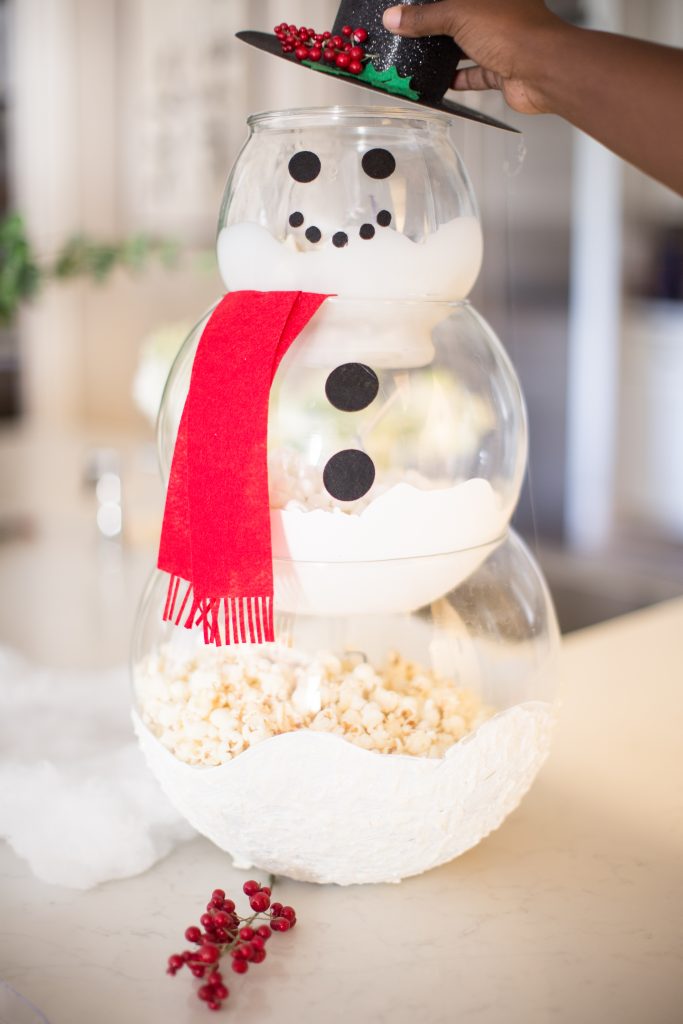
[su_heading]Assemble[/su_heading]
Once your glasses pieces have dried, start to assemble your snowman! I took a paper towel and made sure to give the glass pieces a little wipe down before I inserted the snacks.
Then I added some black felt pieces to the middle…
and then the scarf…
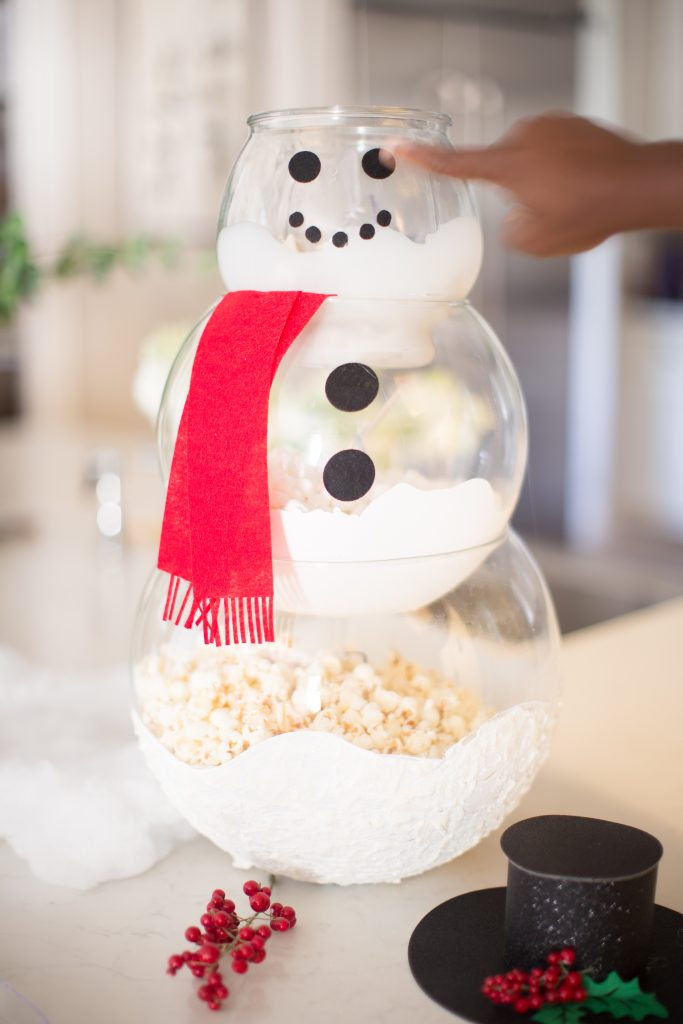
and then the face!
The black hat was fully assembled by folding the middle section and gluing down the top and the bottoms with the ” teeth”
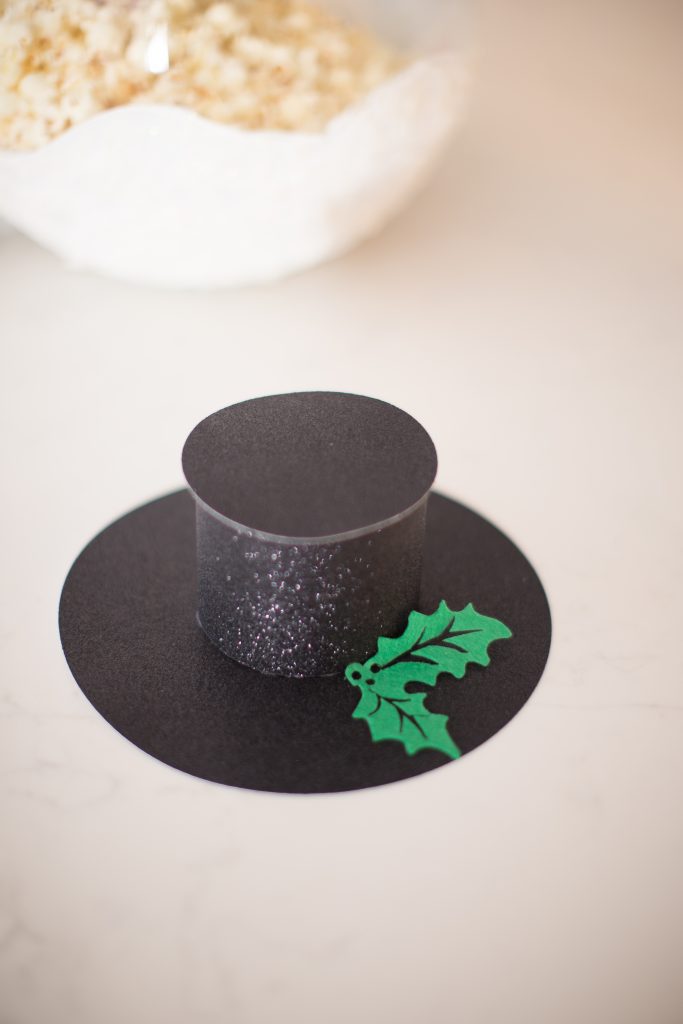
I also added little red berries for embellishments!
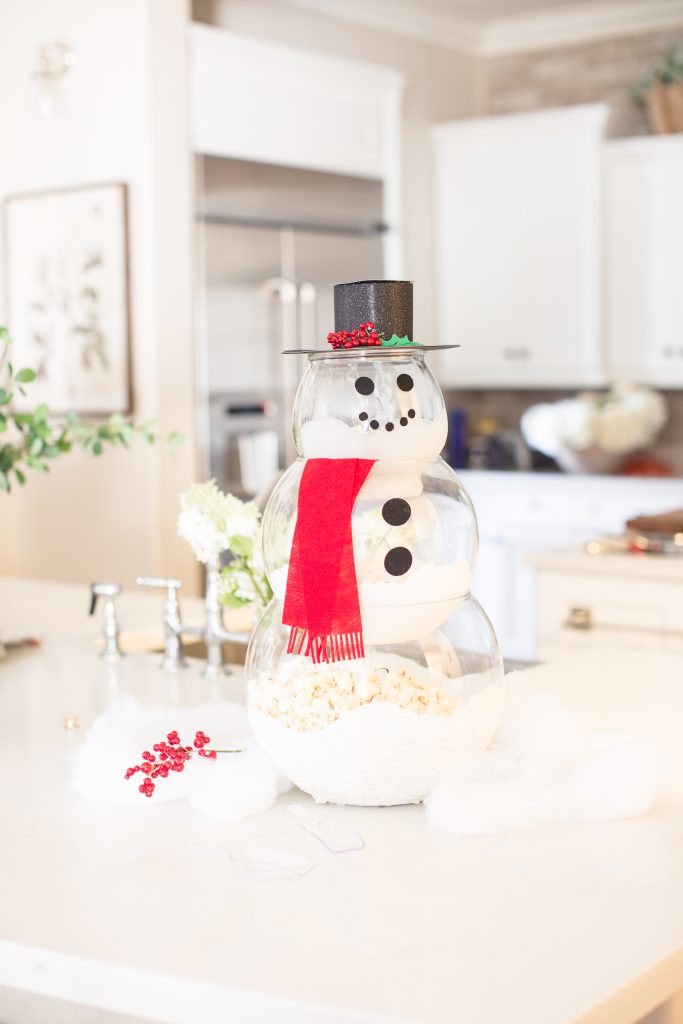
THATS it!
A perfect snack filled snowman that’s holiday ready!
Don’t forget to enter that BIG giveaway!!
EEP, SO Cute!!!! Thank You for sharing this Creativity!!!
You are welcome!!