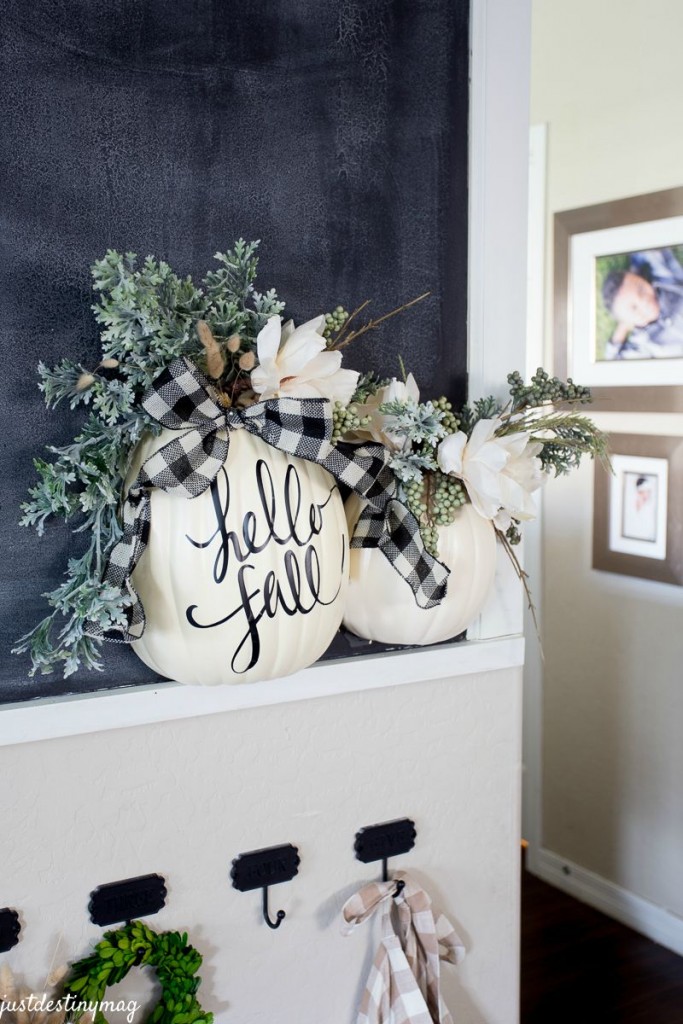
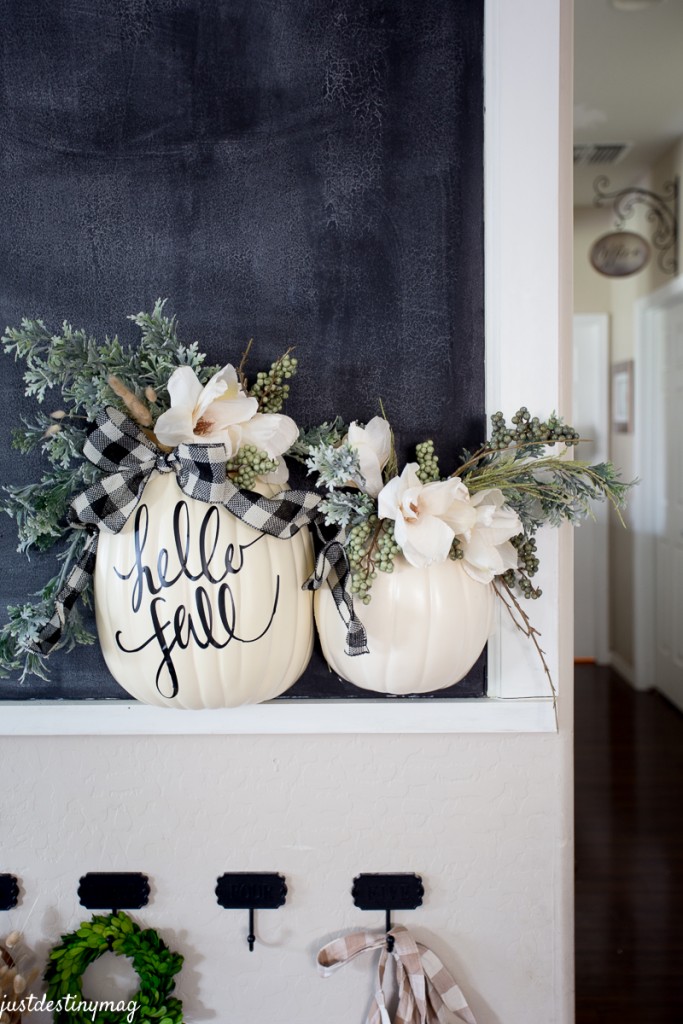
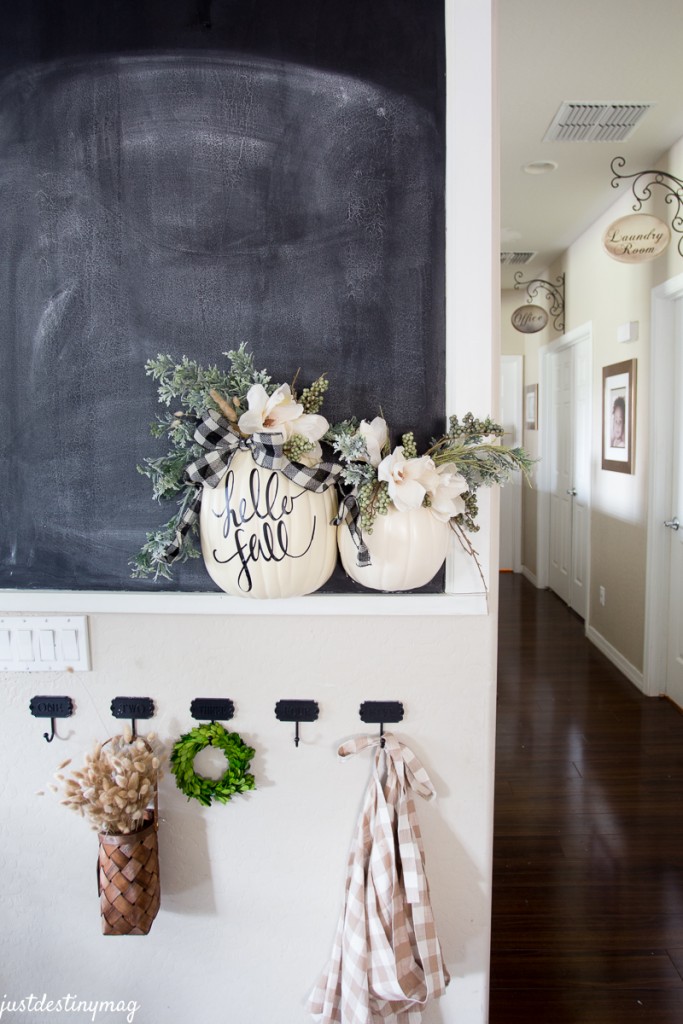
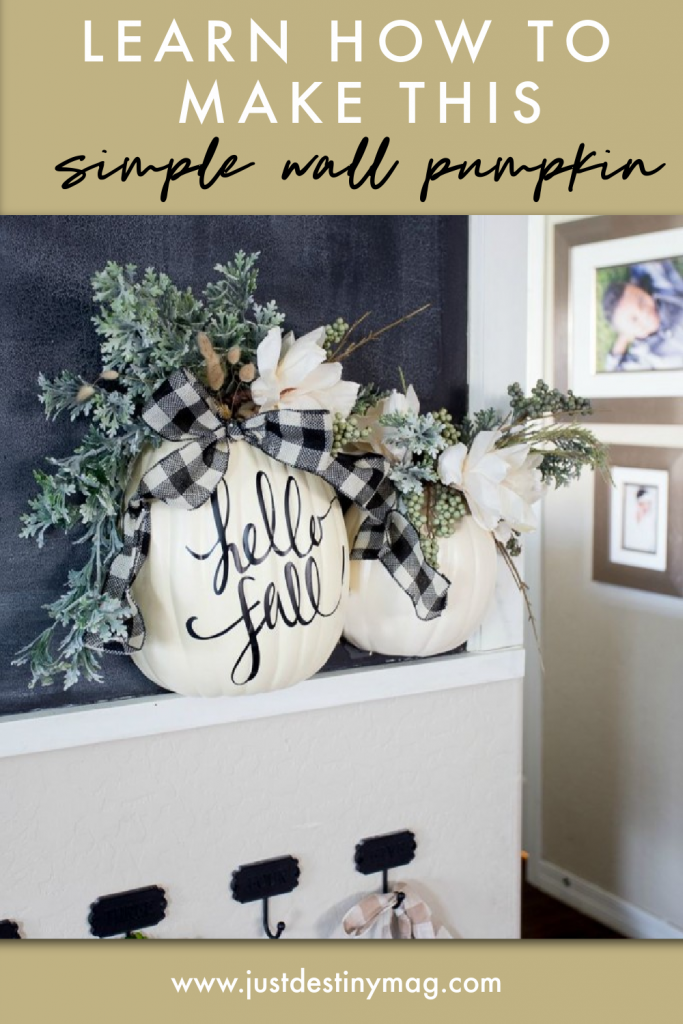
DIY Pumpkin Ideas:Learn How To Make this Simple Wall Pumpkin
This months DIY is with Pumpkins! Today, I’m sharing an easy DIY with Michael’s craft pumpkins. I was so excited when I saw these in the store because it gives you the ability to hang your beloved seasonal pumpkins on the wall! So fun right? Scroll of the way to bottom to see all 50 DIY Pumpkin Ideas! ( Michael’s no longer sells half pumpkins but you can still use those very popular craft pumpkins they sell each season!
Here’s what you’ll need to make this project:
- 1 large pumpkin cut in half
- 1 small pumpkin cut in half
- Drill and drill bit
- Narrow Velcro Command Stripes
- Vinyl Cut Out ( Hello Fall)
- Various Foliage and Flowers
- Hot Glue Gun
- Ribbon
Do you want to make this project? Easily Shop all the products by clicking on the links below and adding them to your cart!

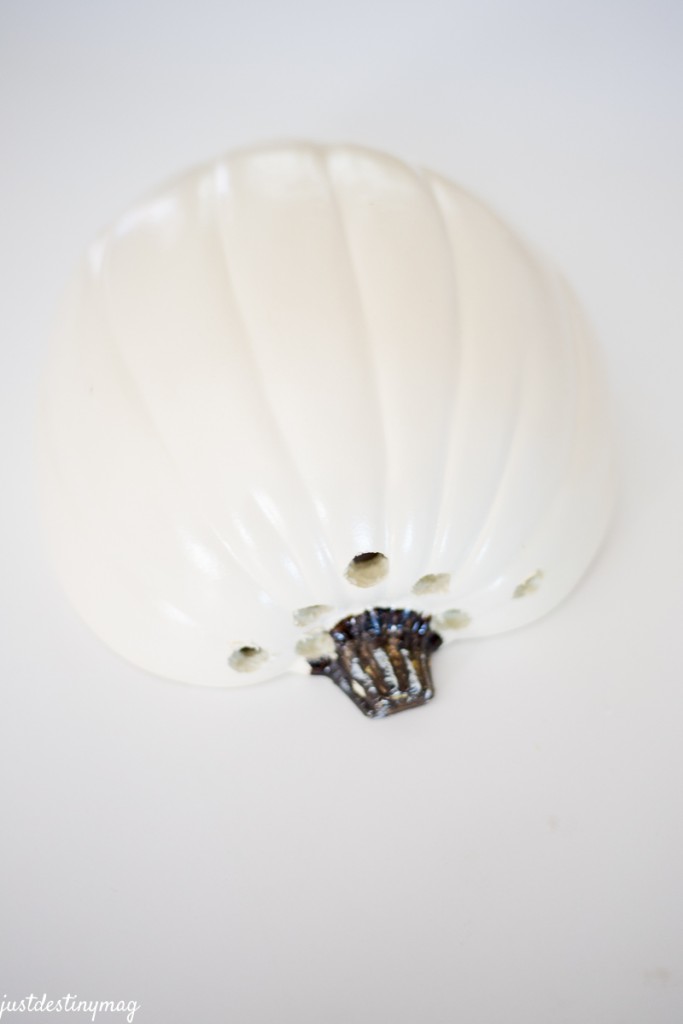
First take your pumpkins and drill small holes at the top of them using a 1/2 in or 3/4 drill bit. These holes will hold all of your foliage.
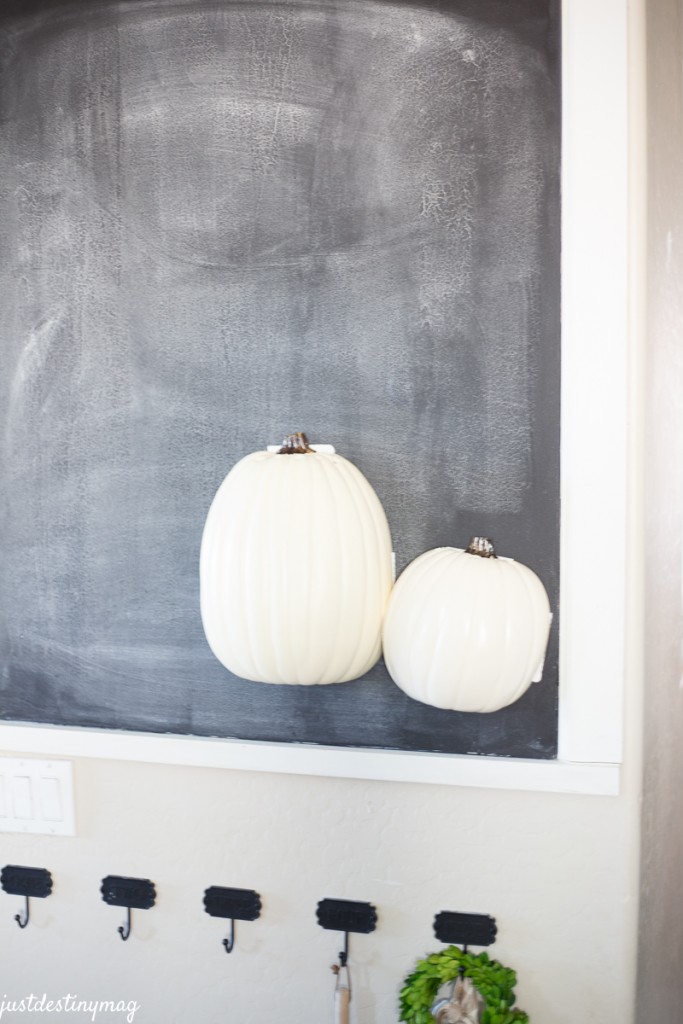
Next attach the pumpkins to the wall by using narrow command strips. I LOVOOOOOOVE these. I use them for almost anything that I hang on the wall.

Place them on the sides and at the tops of the pumpkin. Don’t worry if the attachment velcro shows a little bit. They will be covered by the foliage. Press firmly onto the wall. Make sure they are positioned exactly where you want. Once you remove them you will need a new set of strips.
Next transfer your vinyl decal onto the larger pumpkin. This can simply be done with your Silhouette Cameo! If you dont have one you an use a stencil!
I bought this design in the design store and uploaded it to my library.
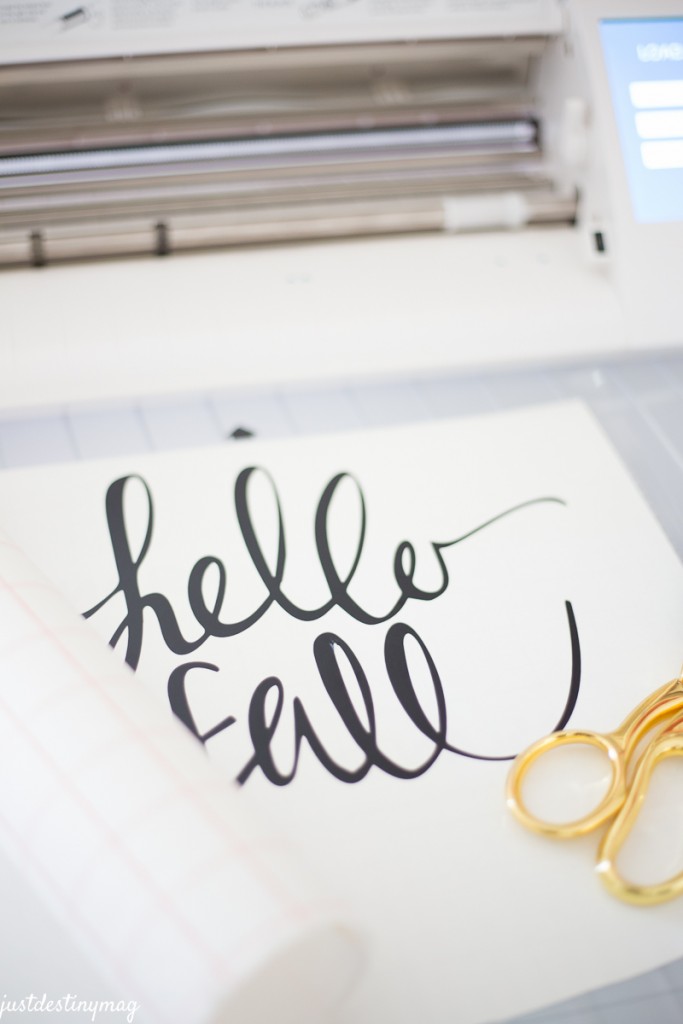
Position the design on the screen so that it’s about 9×9 .Set the Cameo for vinyl cutting, set your cutting blade and attach your vinyl to the mat to be cut.
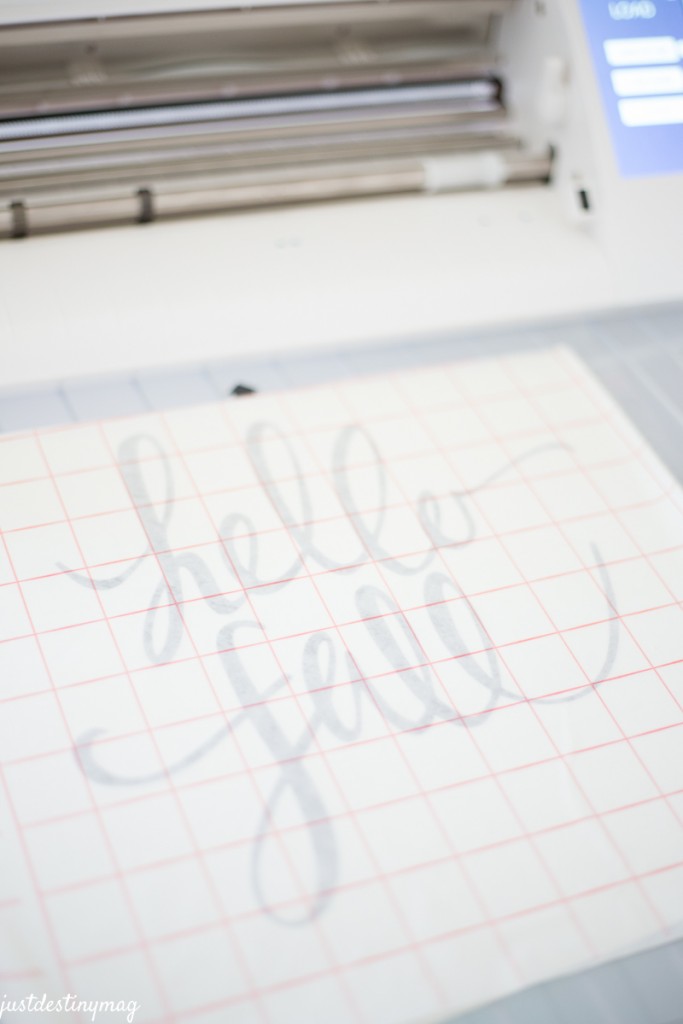
Unload and attach the transfer material to the cut out.
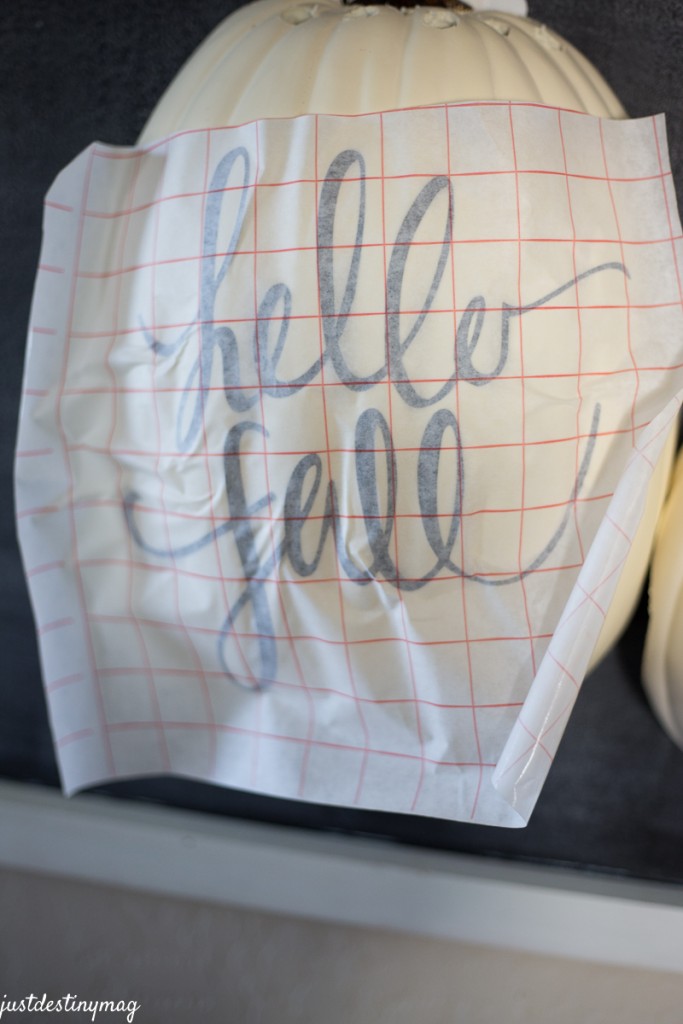
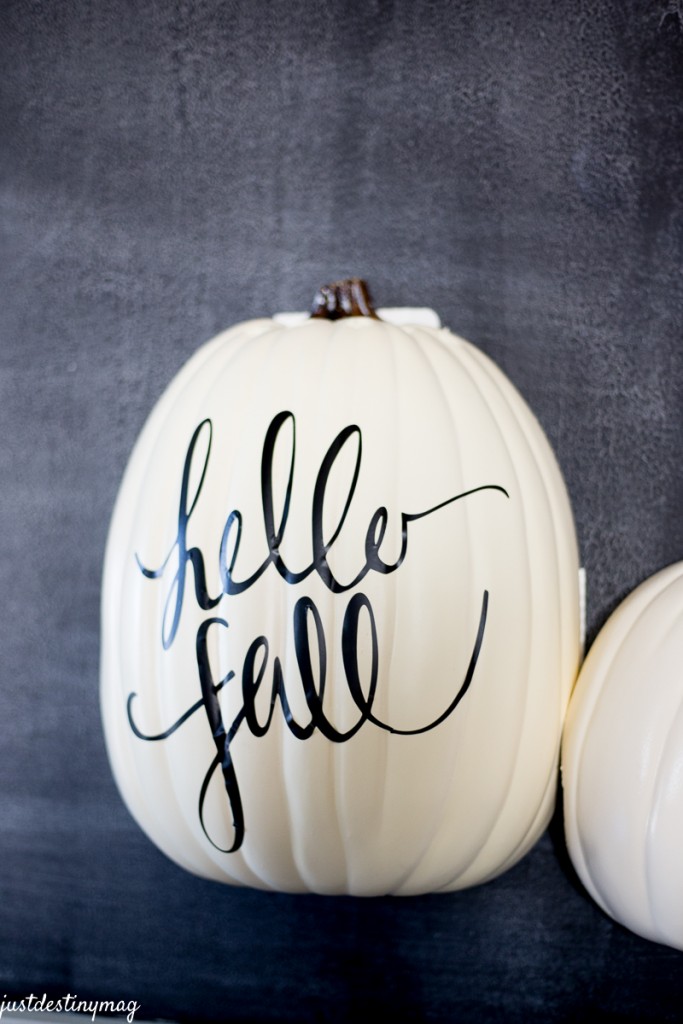
Next transfer it on the the pumpkin, by slowly pressing the letters onto the pumpkin firmly. Lift the transfer material off as the letters stick to the pumpkin.
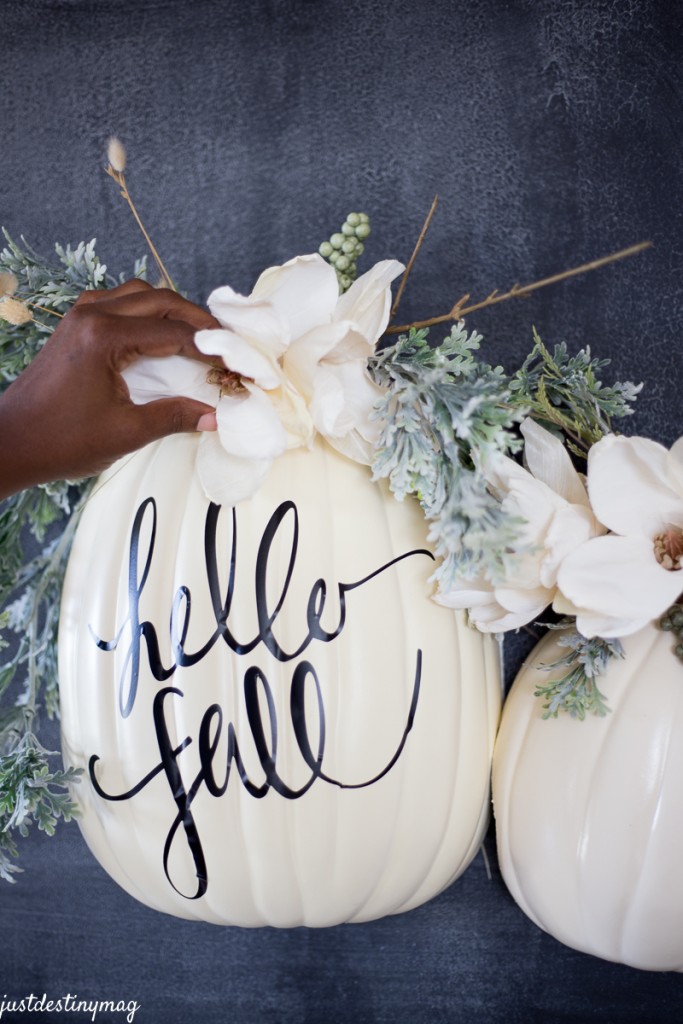
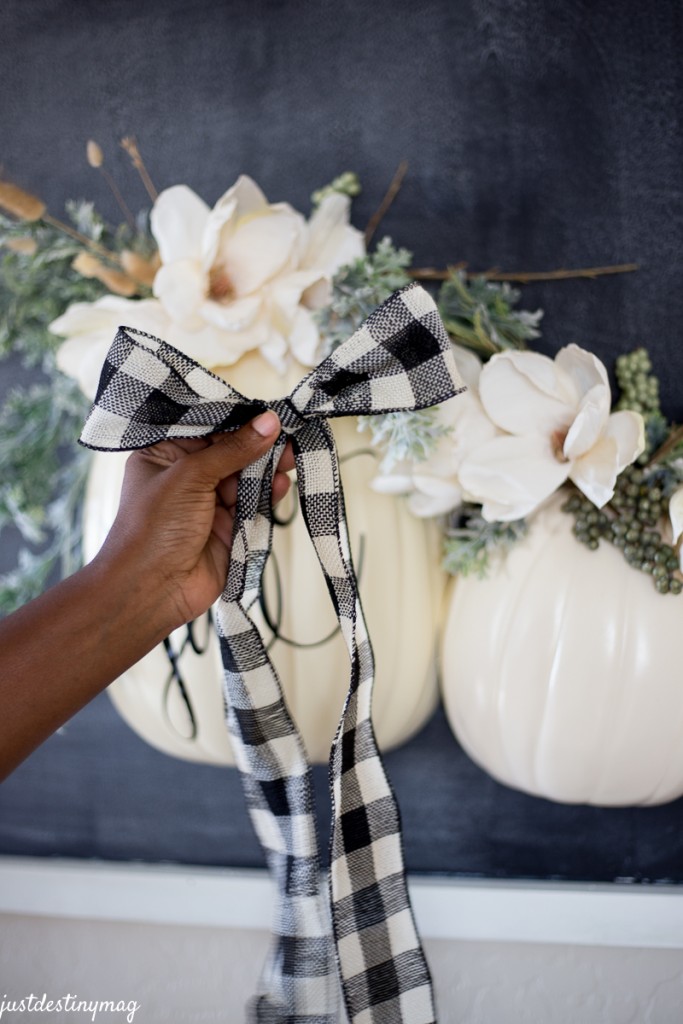
The last step is to insert your foliage into the pumpkins and arrange it! You can also attach using a hot glue gun for those trick parts.
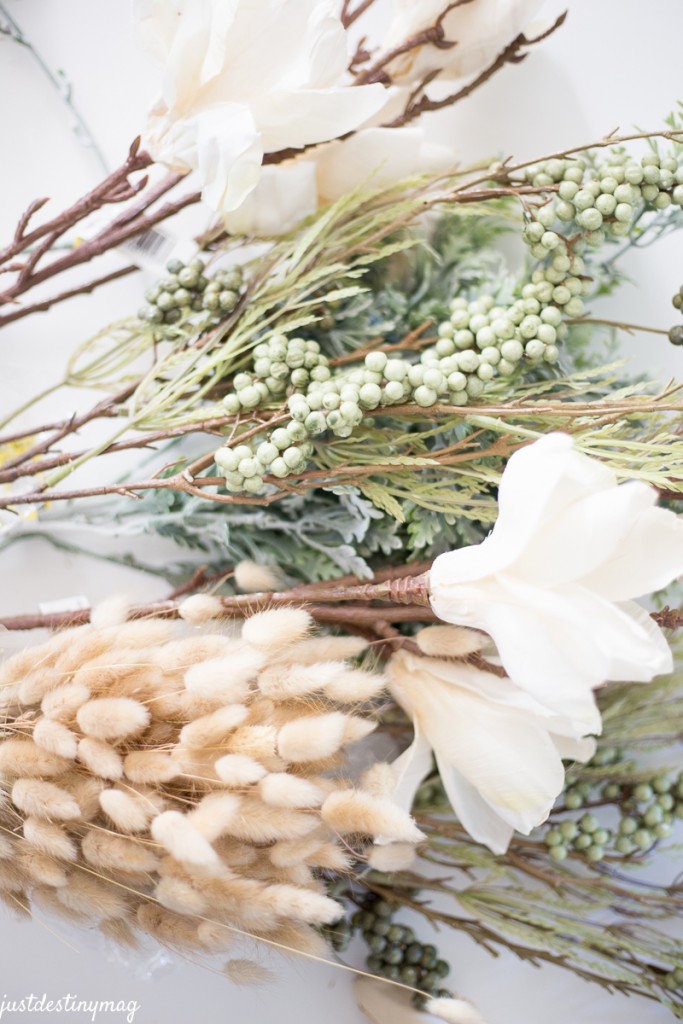
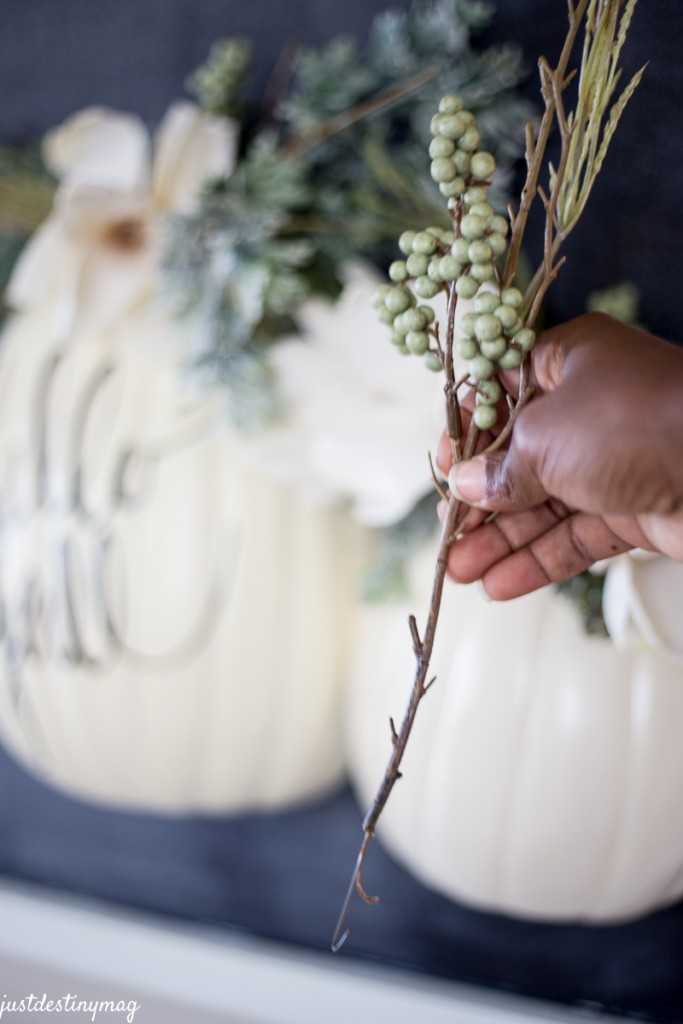
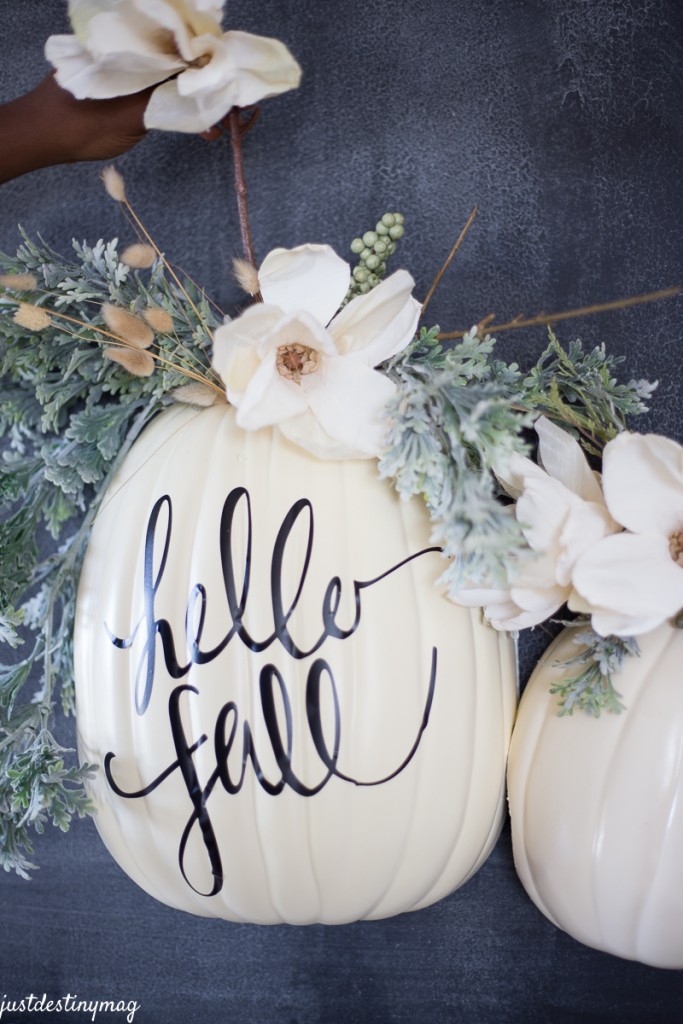
When your arranging your flowers make sure you manipulate them by bending and twisting them towards the front of the pumpkin. Otherwise everything will sit straight up! So use that wire!
Attach a bow using this gorgeous buffalo check ribbon and small push pins. I found both at Michaels!
Learn how to make this fun DIY Fall Pumpkin vase that can be attached to a wall. As an Amazon Associate and member of other affiliate programs, I earn from qualifying purchases.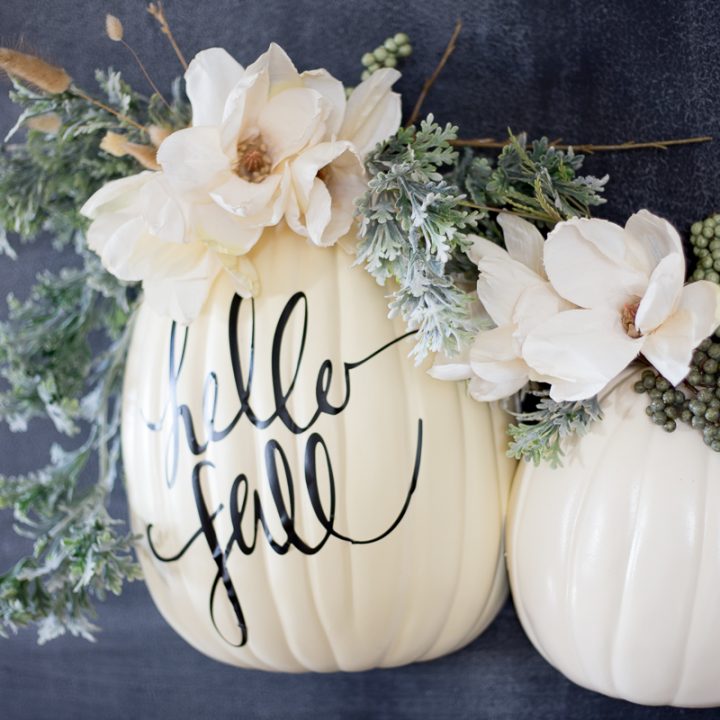
DIY Wall Vase Pumpkin
Materials
Tools
Instructions
Recommended Products
See even more pumpkin crafts below!
Super cute girl! I’m obsessed with that plaid ribbon. And yes to half pumpkins!!
This is beautiful, Destiny! You always have the best ideas. I am definitely inspired. I walked around my Michael’s store in search of the striped candles you shared, but unfortunately they didn’t have them. 🙁
Love it! Such a beautiful idea!
Debbie
Very pretty!
These are so pretty! Pinning.
Thank you AMY!!! xoxo
You are way too awesome. This is so gorgeous!!
Thank you so much Jen! xoxo
What a classy arrangement!
Thank you!!!
Love your pumpkins , they are so pretty!
Have a great day!
Thank you very much!
So cute! I love how this all came together.
I made some boo Halloween pumpkins but, I love your fall ones. I have one big one left & might just have to use your diy. Thanks for the sharing.
Hello!
Can you tell me what font you used? Also, how does the silhouette work? How does the vinyl stick to the pumpkin?
I just found the link to this on another blog. It is absolutely beautiful!! I would consider myself somewhere in between a beginner to intermediate level (probably closer to beginner 😉 ) crafter. I would love to make this, but it looks like it might be difficult. What do you think? Honestly? Do you think I should have more experience before I attempt it? Thank you so much!!!
(I’m saving this on my DIY Pinterest board, because it is so gorgeous and for future reference if I think I can make it)