

Smart Home Guide for Busy Moms: Chamberlain Smart Garage Door Opener
Hello!
I hope you’re enjoying our Smart Home series in partnership with The Home Depot over here on the blog! Remember to start from the beginning! You’ll learn what a smart home is and WHY you just might want one!
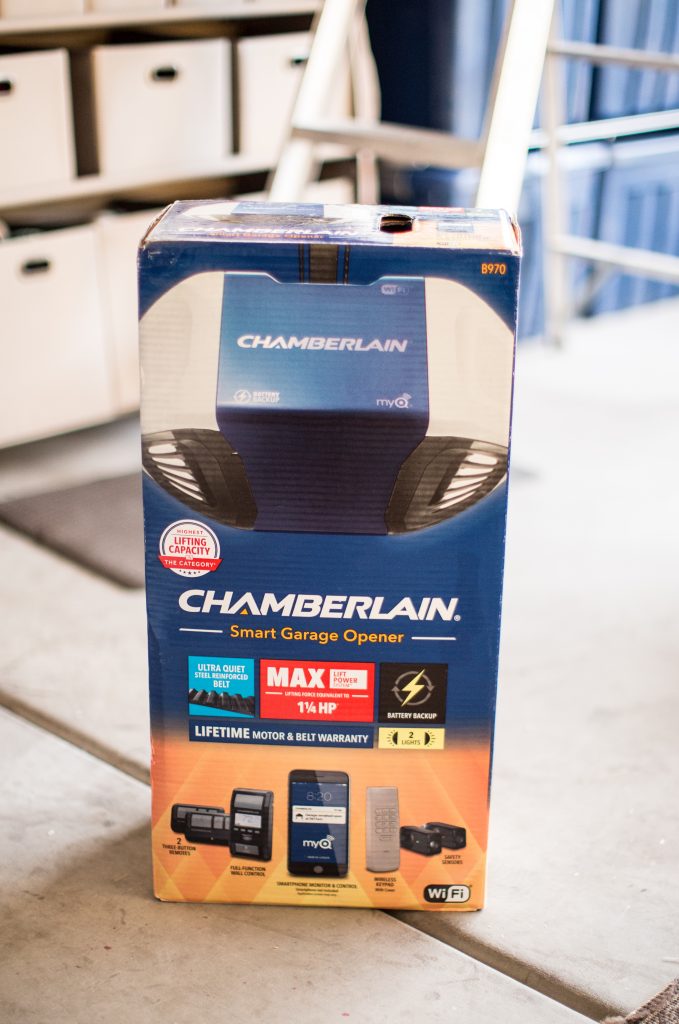
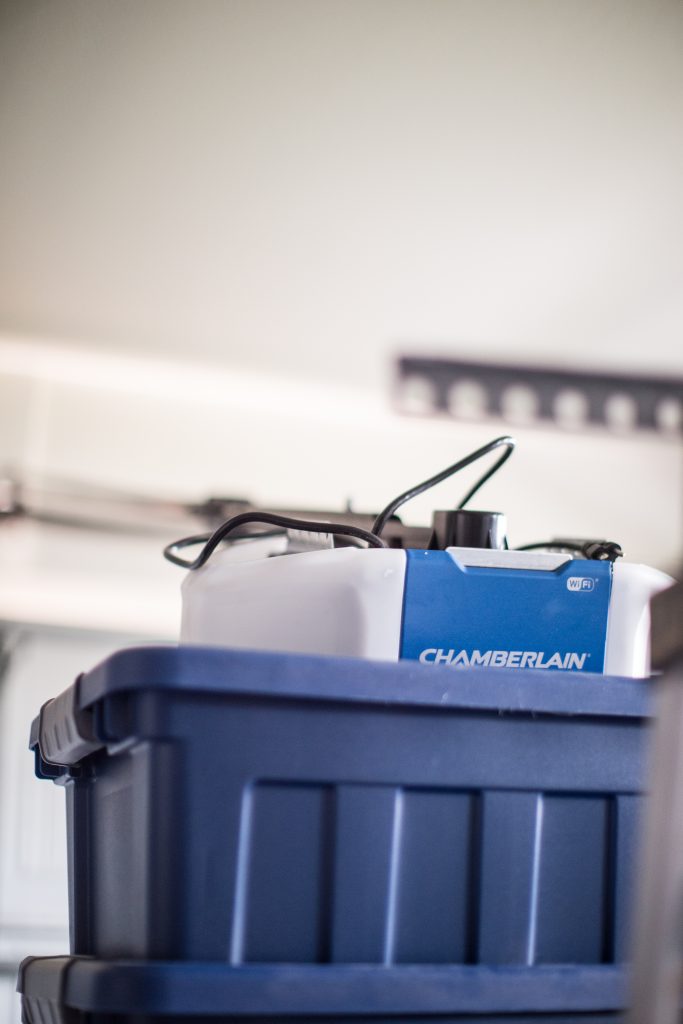
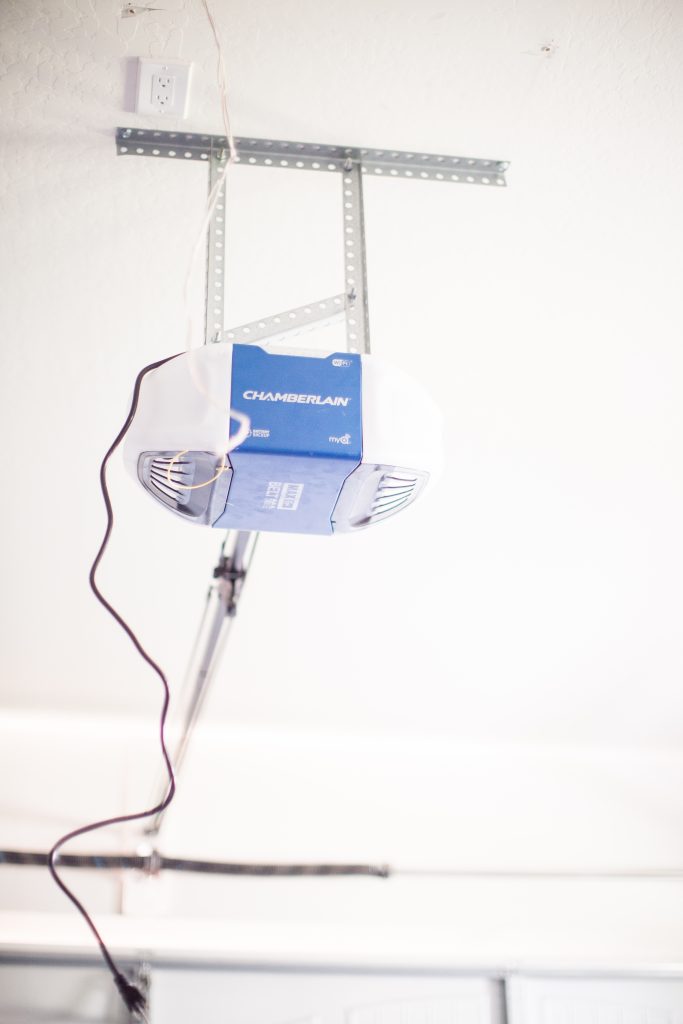
Today I’m talking about smart home technology in the garage! I received a Chamberlain Wifi Enabled garage door opener to install in our home so you guys could get a good look at what it’s about and how it functions!
Just like any good smart home product, the Chamberlain Smart Garage Door opener has an app so you can control it from your smart phone or any other device.
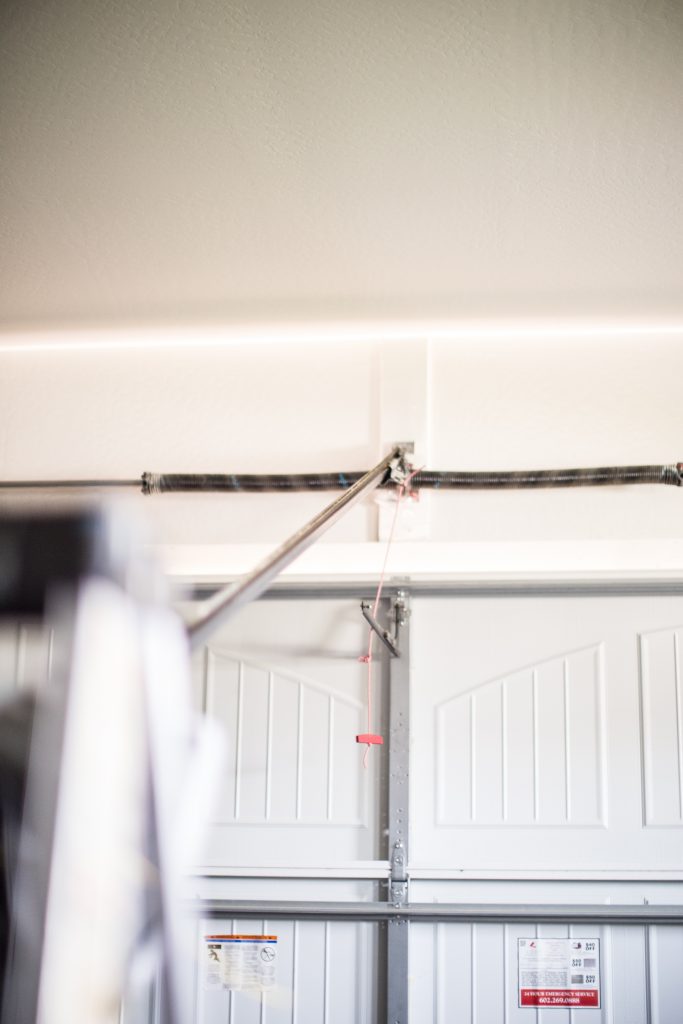
Here’s a look at the install I did. It took about 1/2 a day BUT if you’ve done it before it will probably take you about 2 hours or so. I also want to note that I installed it myself BUT extra hands are always helpful!
The Chamberlain Smart Garage Door opener comes with two notable upgrades:
Back up Battery -Which is great if your power goes out!
Ultra Quiet Belt- Less garage sounds! Perfect for a house with kids who still nap!
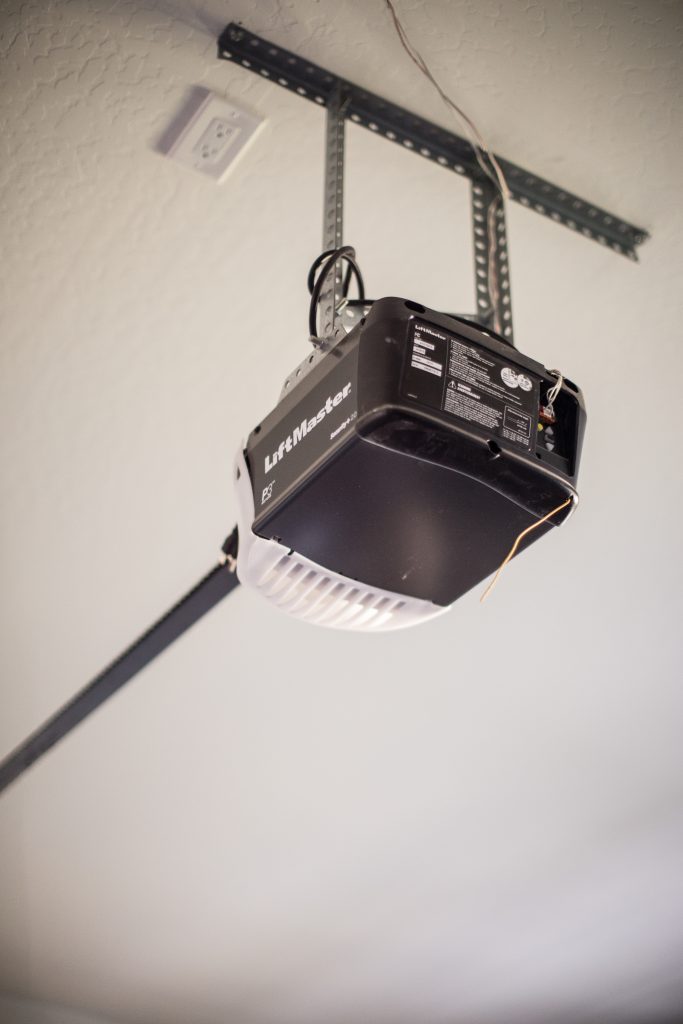
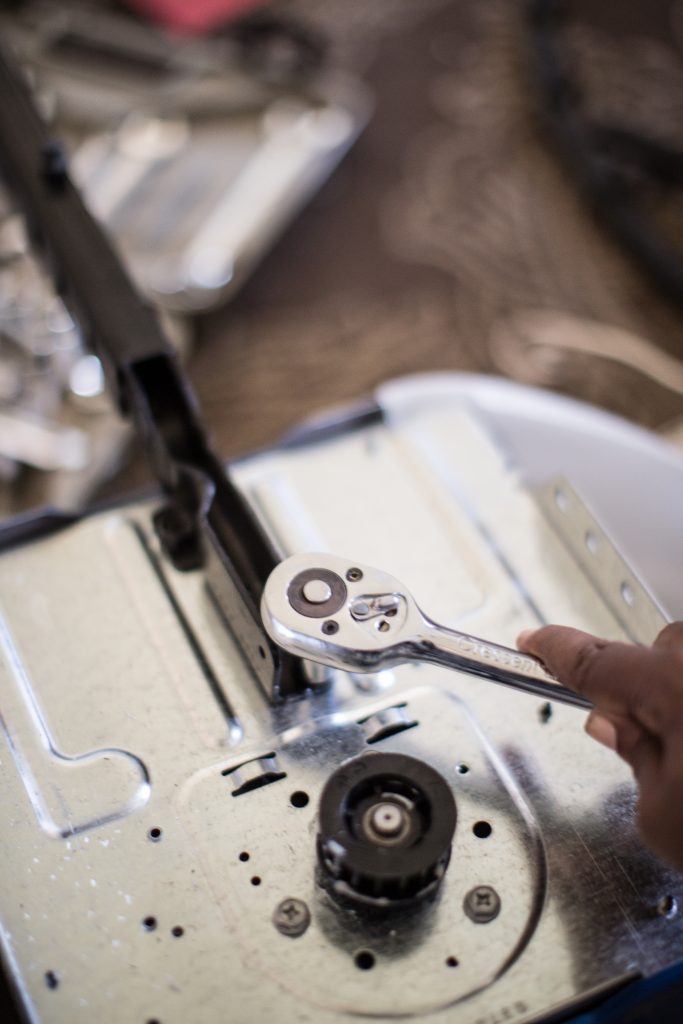
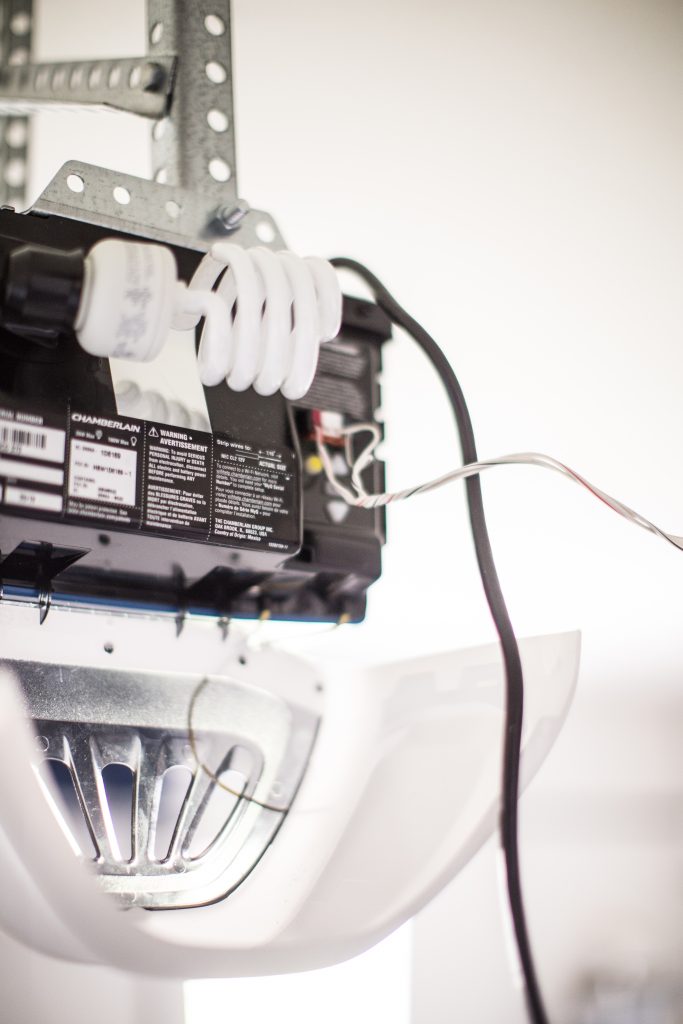
If you have an old unit that you are replacing like me the install goes a bit faster. Simply unplug the old unit and take note of the wires. I just snapped a picture on my phone to reference it for later! Loosen the bolts that are holding the unit in place. With one hand on the until gently lower it down. You can use a table or another ladder to help!
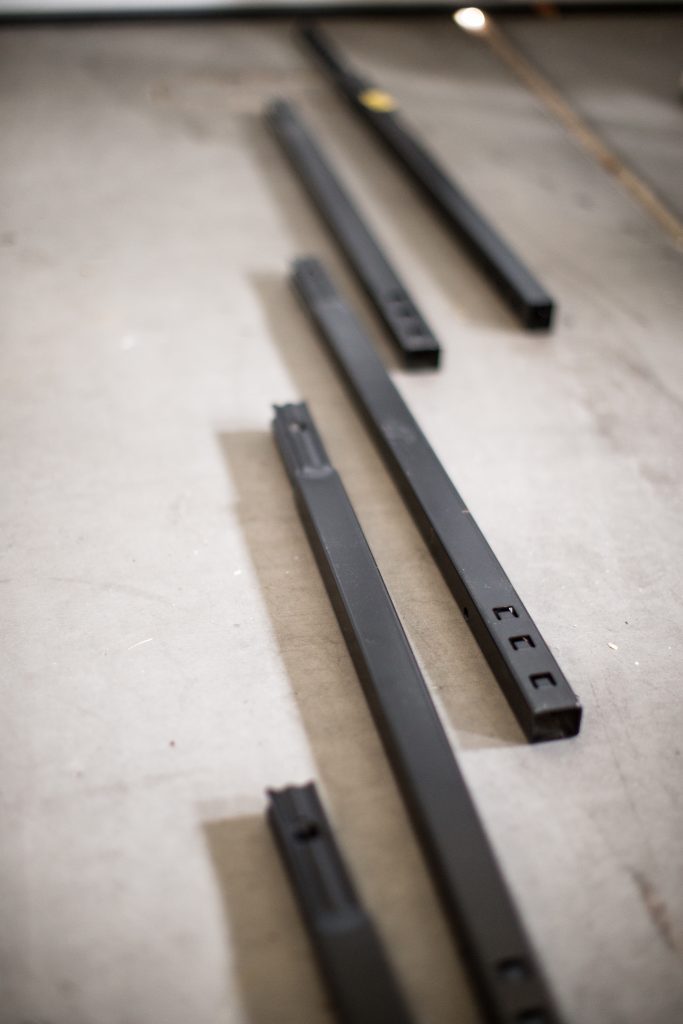
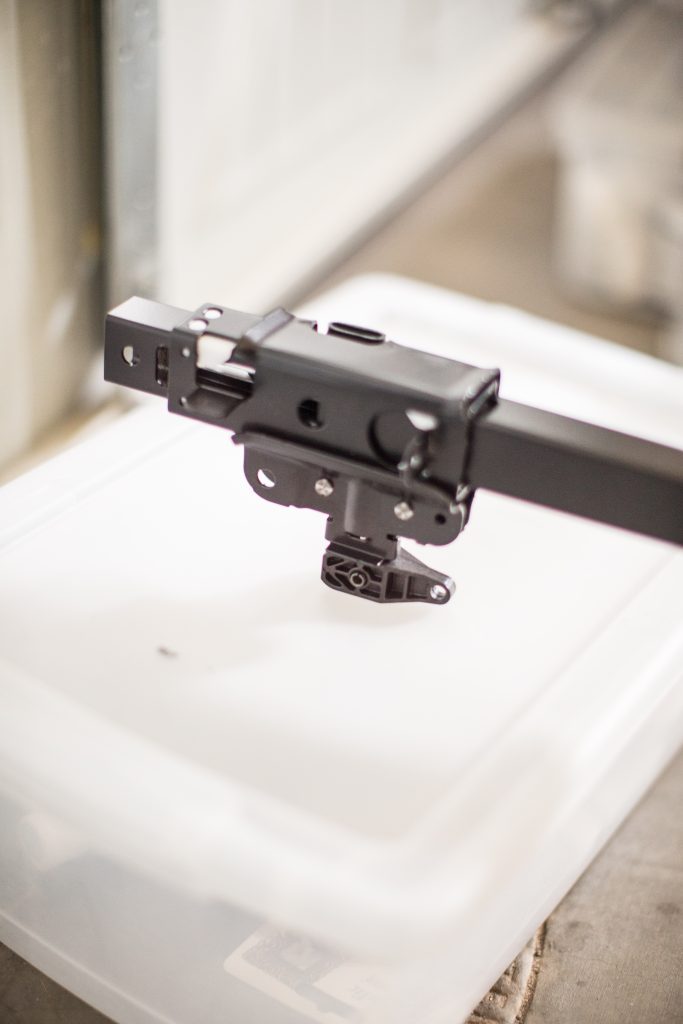
To install the new unit, you are going to first want to assemble the new garage door opener. It was super easy and actually the fastest part of the install. I had a manual to guide me and I also used the video Chamberlin provides on their You Tube channel which were super helpful!
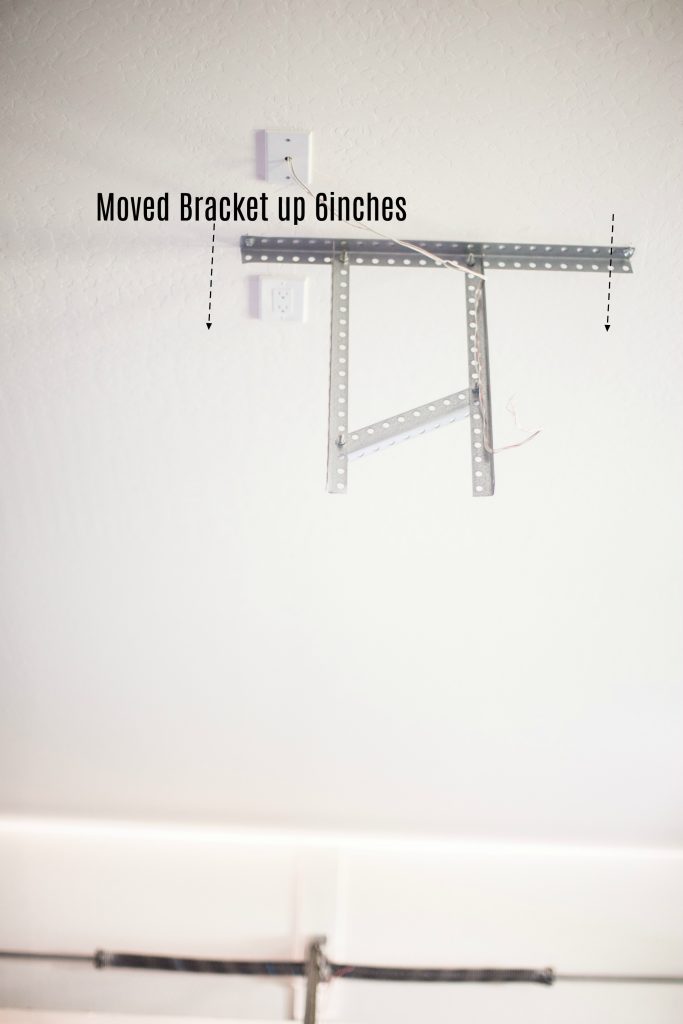
One of the biggest adjustments I had to make during the installation was moving my ceiling bracket up. Because my old unit was longer I had to move the brackets up to accommodate for the lost inches. Everything worked about great but it was an extra 30 minutes on my install.
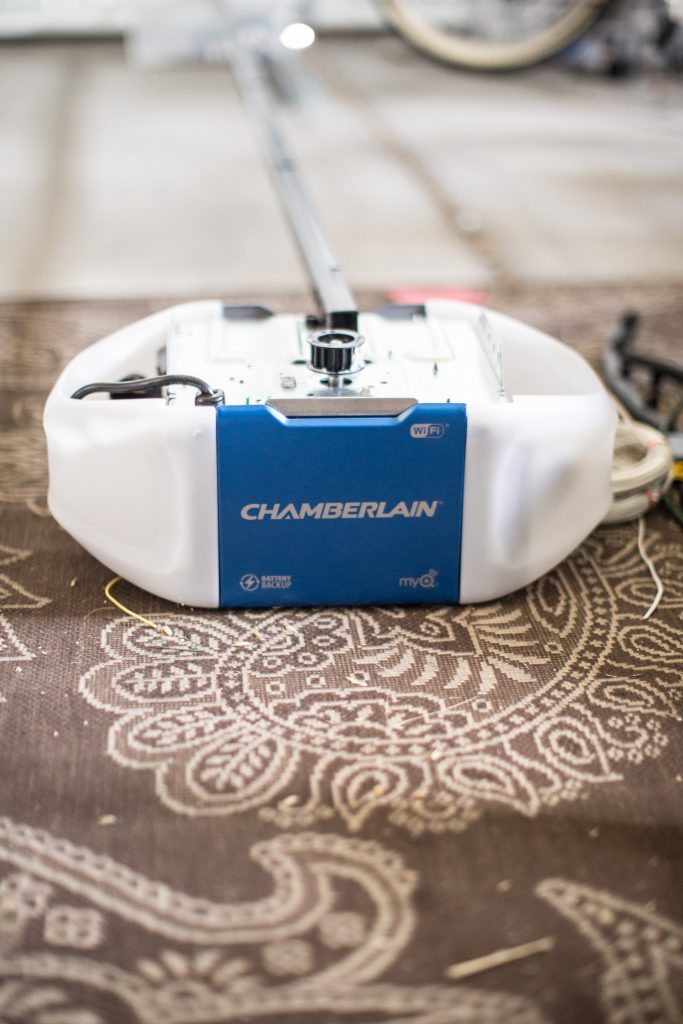
After I assembled the garage door opener I was ready to install. I used a few ladders and boxes to help get the unit up to the correct height. But like I said it was fairly easy because I was just replacing the old unit!
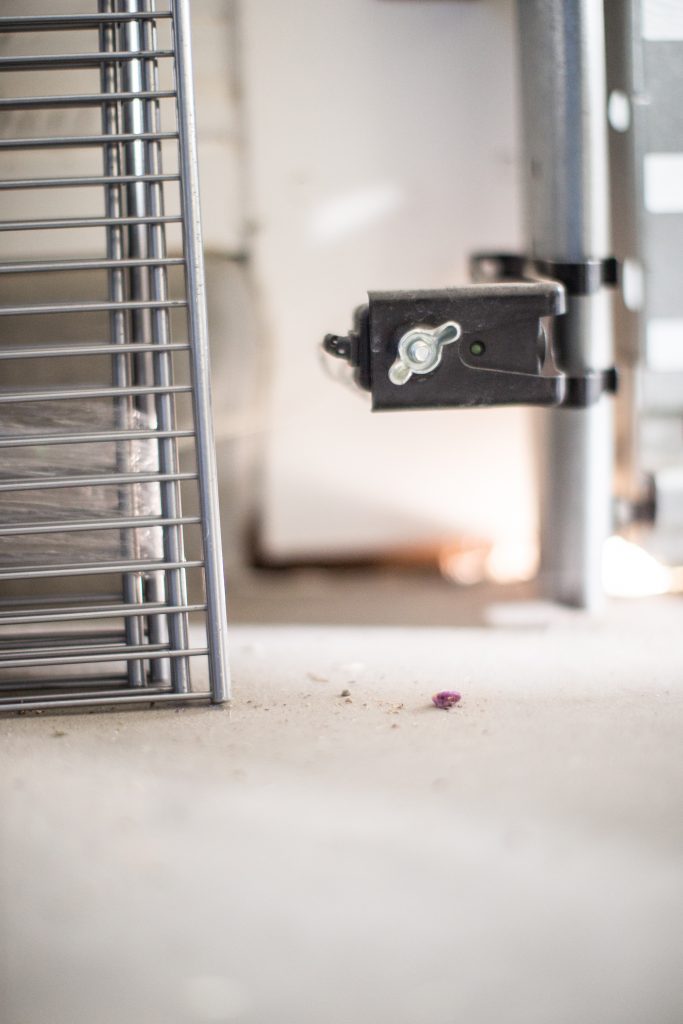
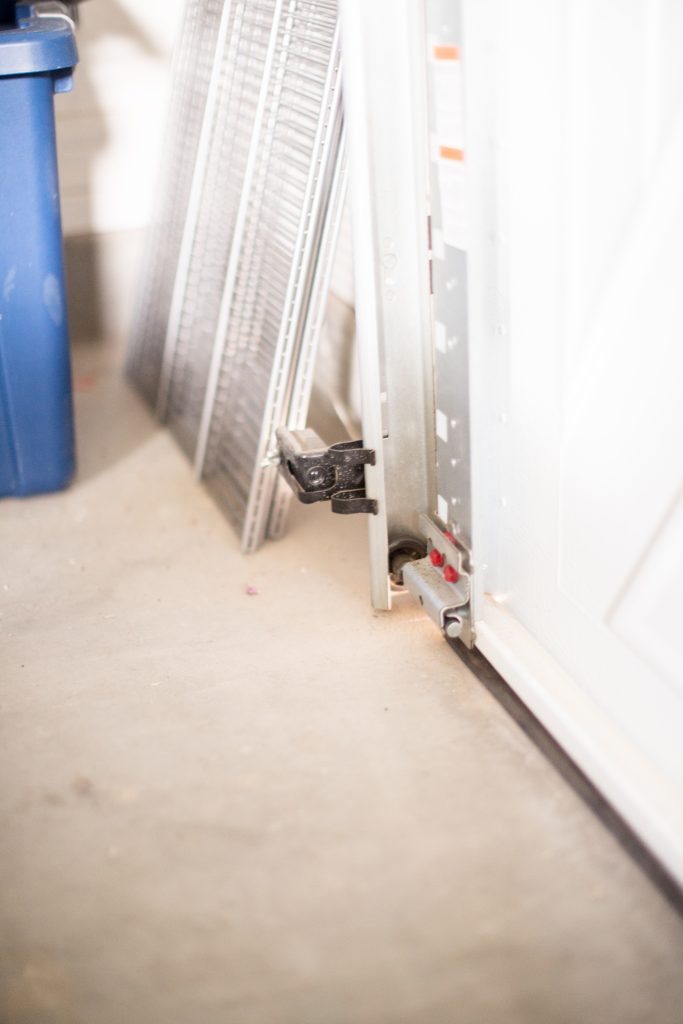
Because our house is new, we already had the sensors installed. We tested them out just as the manually suggested and they worked perfectly! This is a VERY important step! I tested it about 3 times and each time was a pass. You are your child could get seriously hurt if the sensors are not working correctly!

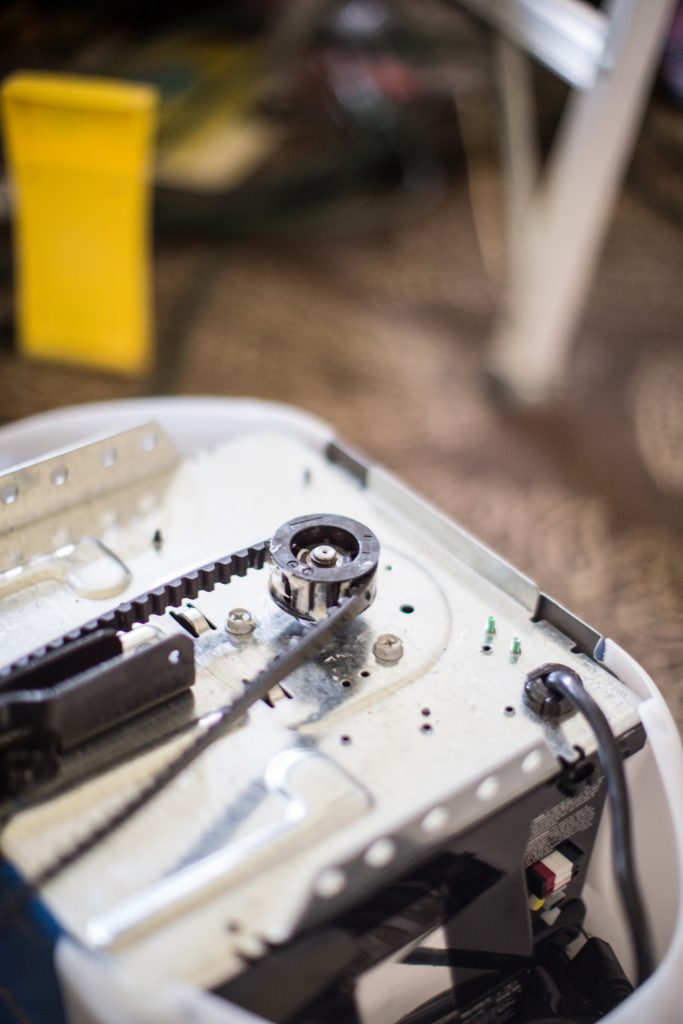
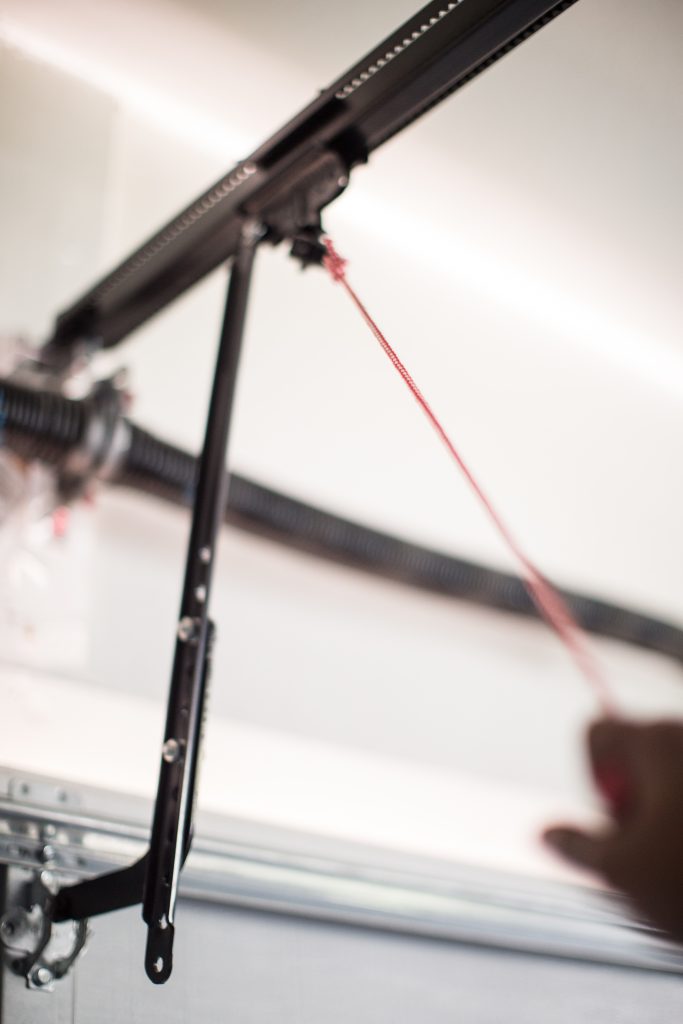
Once the unit was up I installed the faceplate for the garage , lights and the extra battery that it came with!
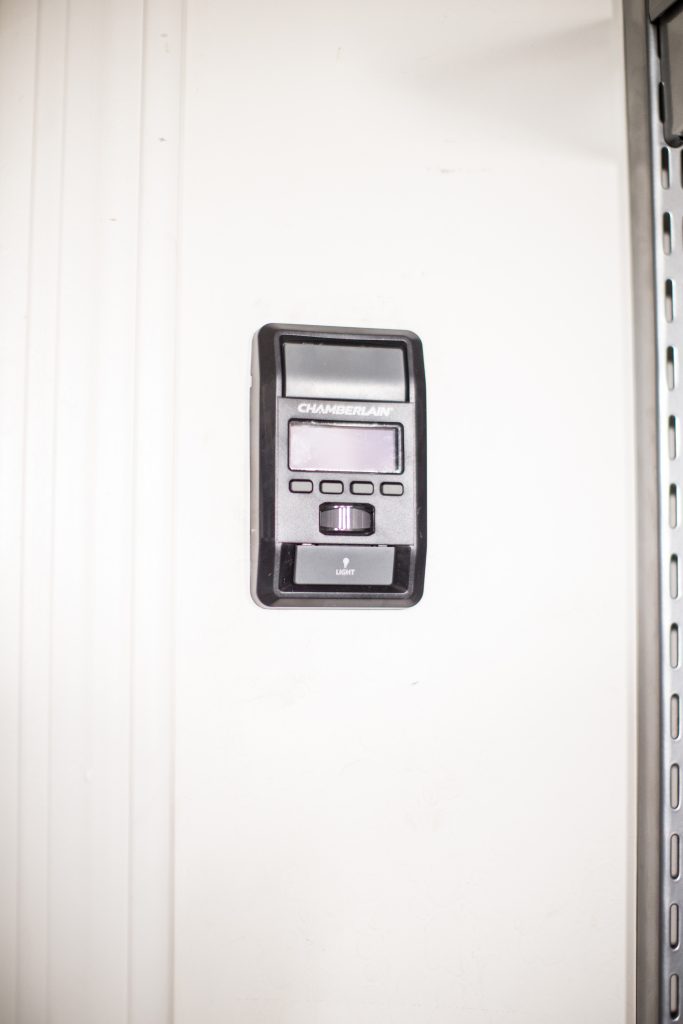
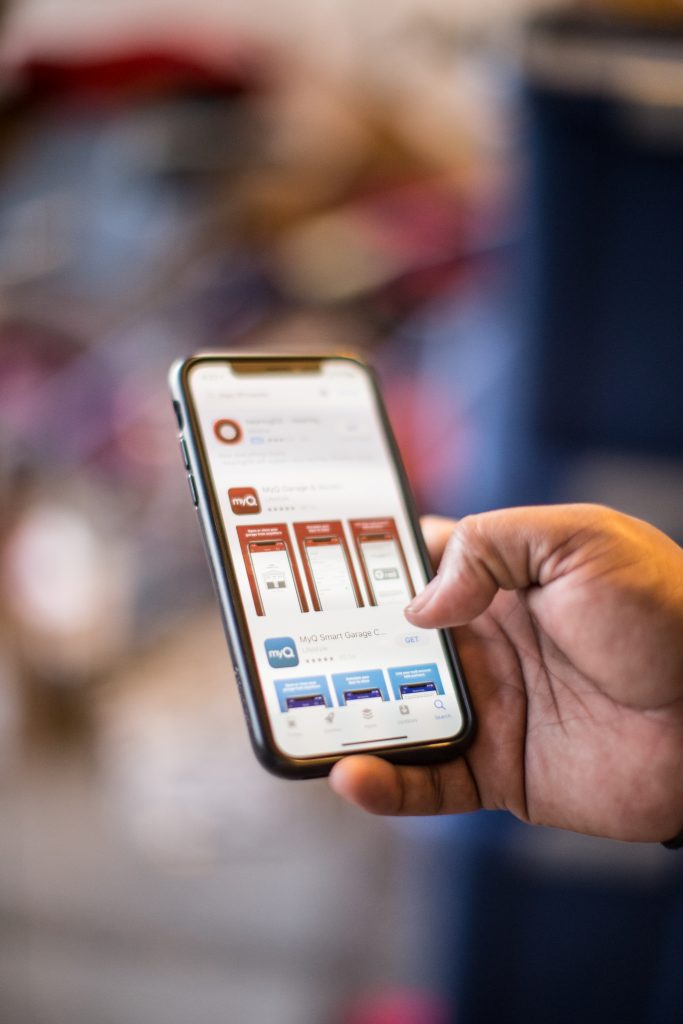
The wifi set up was also something that only took a few minutes to set up as well. Simply press the yellow button 3 times on the unit and wait for it to beep. After that you have 20 minutes to complete your install before it resets.
We found the MyQ app in our app store, downloaded and walked through step by step until it was complete!

Why are you going to love this smart garage door opener as a busy mom?
-Let neighbors in your garage to safely put your packages away while your at practice or volunteering at school
-You can see if your garage door is opened or closed after you leave. I know so many times I wondered ” Did I leave the garage door open?” This way you will know!
-You can let your kids in the garage after school from your smart phone!
-If you manage vacation homes or rental homes this is another piece of added security!