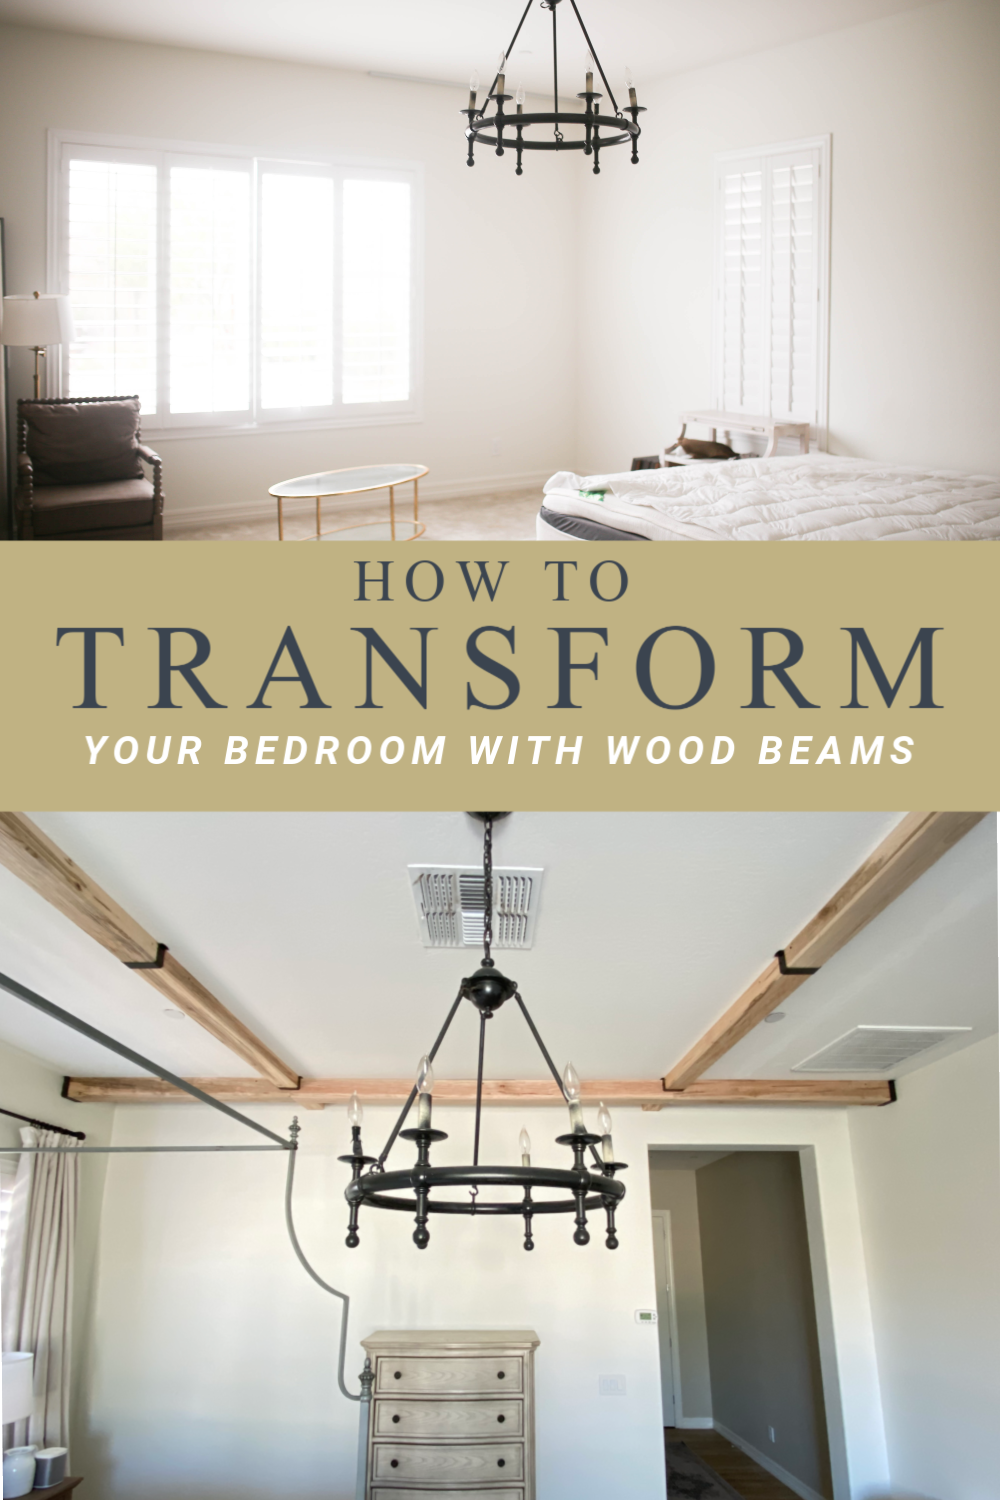

Easy Faux Ceiling Beams
This post is brought to you by my friends at Ornamental Moulding and Millwork.
I’m so excited to show you guys our new master bedroom! It’s all done and just about ready to be shared. With this entire freeze on the world some of my partners and I have decided to hold on a few shares. But these easy faux ceiling beams I’m sharing today is too good not to share so here we go.
 If you are looking to install faux ceiling beam in your home then let me introduce you to Ornamental Moulding and Millwork. A company that has been on the scene for a while but who I have just recently been introduced to just like you guys!
Ornamental Moulding and Millwork specializes in start to finish solutions for your interior mill and moulding projects. From the ceiling to the floor they have a huge selection of building materials available online at select retail stores like The Home Depot ( yay, my fav!!)
Faux Ceiling Beams
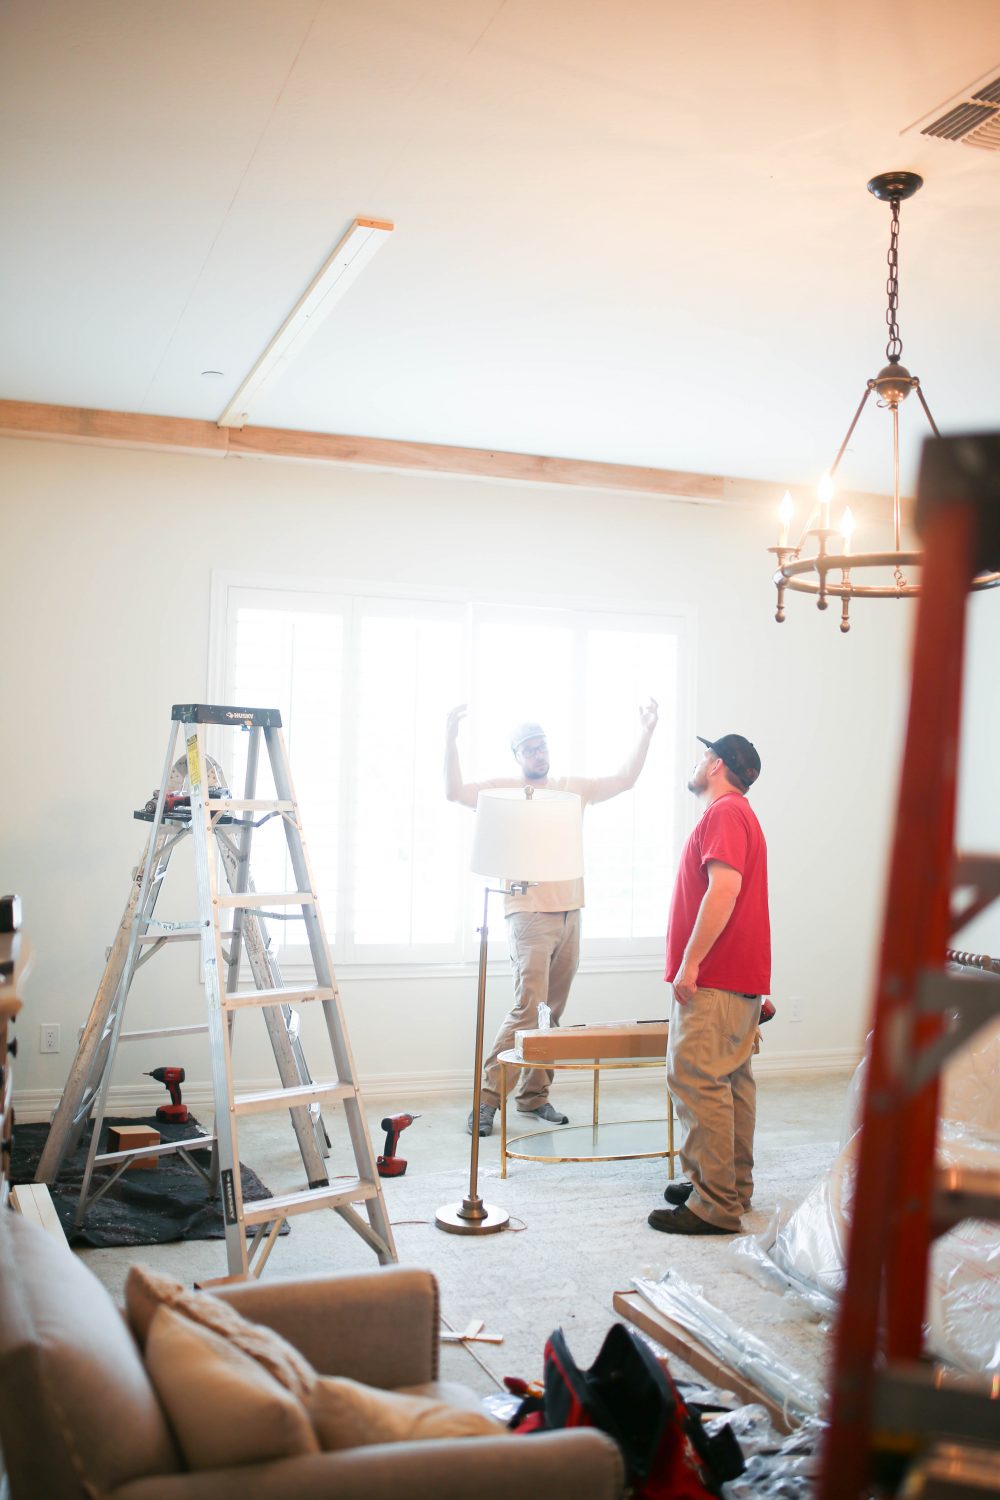
The star of this post however are their easy to install faux ceiling beams that we decided to install in our master bedroom. Make sure you check out my Instagram stories for behind the scenes of this install. You can see a close up of the beams, how they come delivered and the guys installing them.
If you go back to my inspirational post you can see I wanted to install some pretty beams to really give the room an upgraded look. So many times ( myself included ) designers and home decorators overlook the ceiling. Mostly because of budget concerns, but if you can help it don’t skip the ceiling. Even something as simple as beams can really give it a finished look.
How to Install
Full disclosure, we didn’t end up DYing this project. We actually got them installed right before the Coronavirus lock down took place but were short a few beams so the project was delayed a bit. But our contractor Paul, did a great job installing these and absolutely loved the ease of the product. I will take you step by step on how he installed everything!
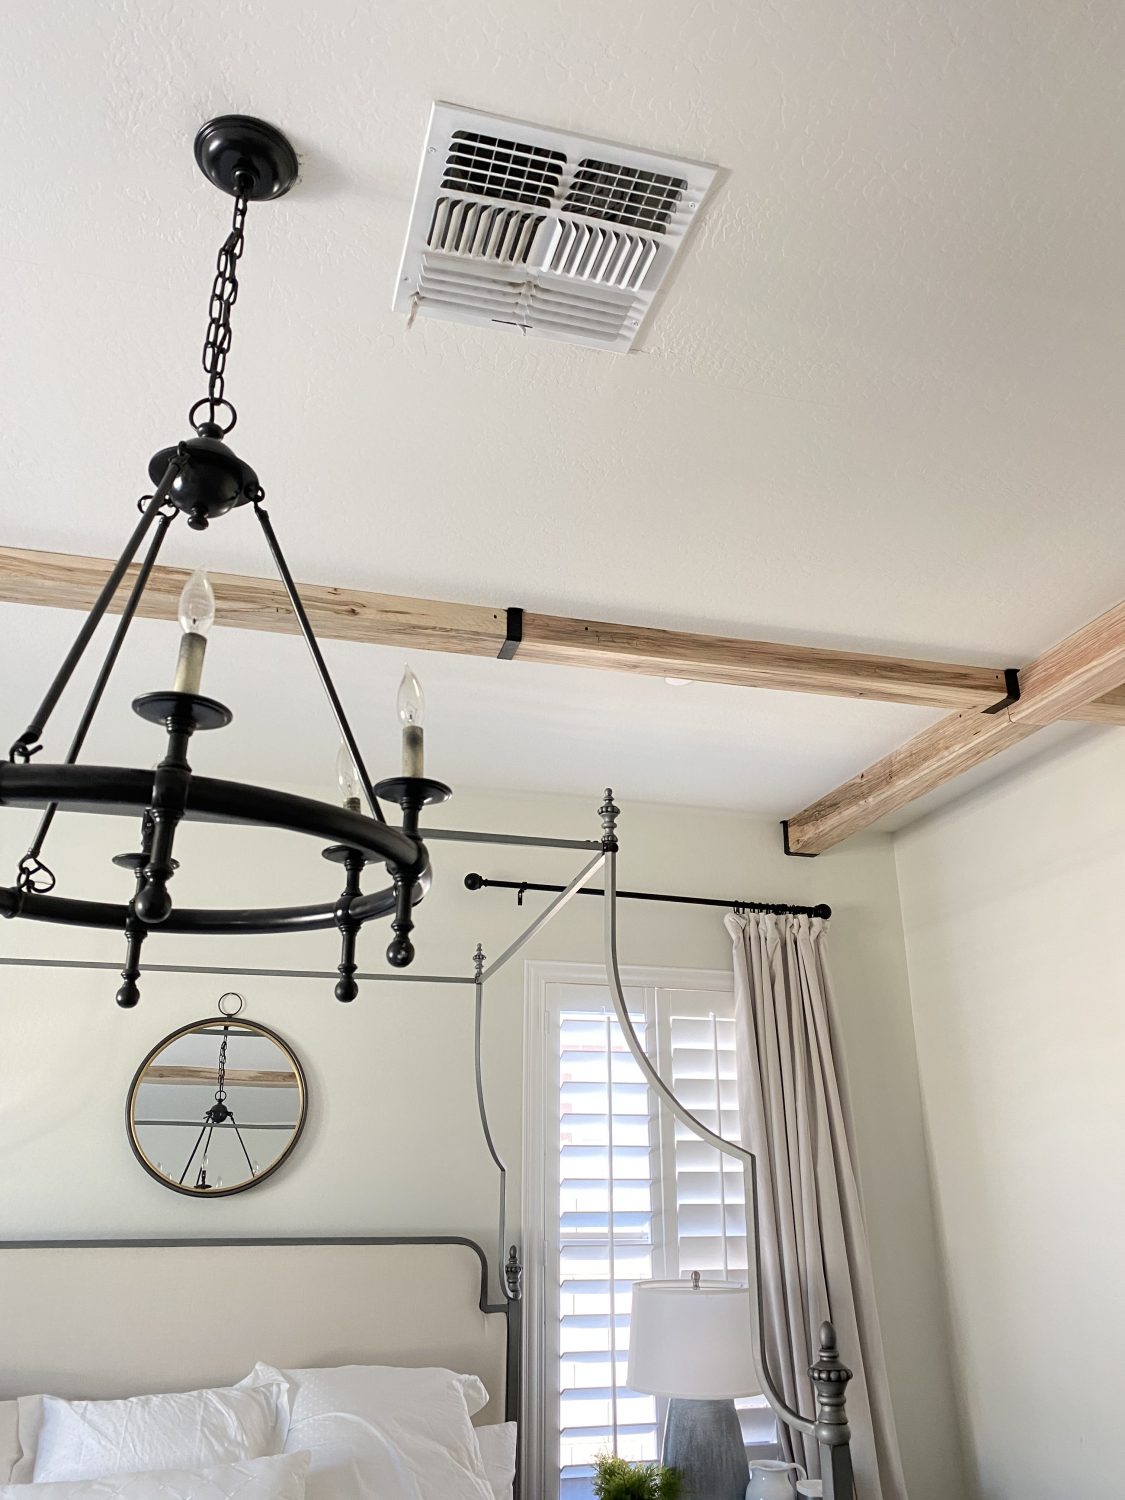
- Measure. The first thing you will want to do is measure your room and note any structures that you might have to work around on the ceiling like air vents, fans, lighting, fire sprinklers, or smoke detector.
- Decided on a pattern. After you do this you can then decided on a pattern for the ceiling. This is something that is critical! This step is a lot easier if you are working with one size beams going vertical or horizontal one way, but if you work with two different sizes like we did it takes some extra planning.
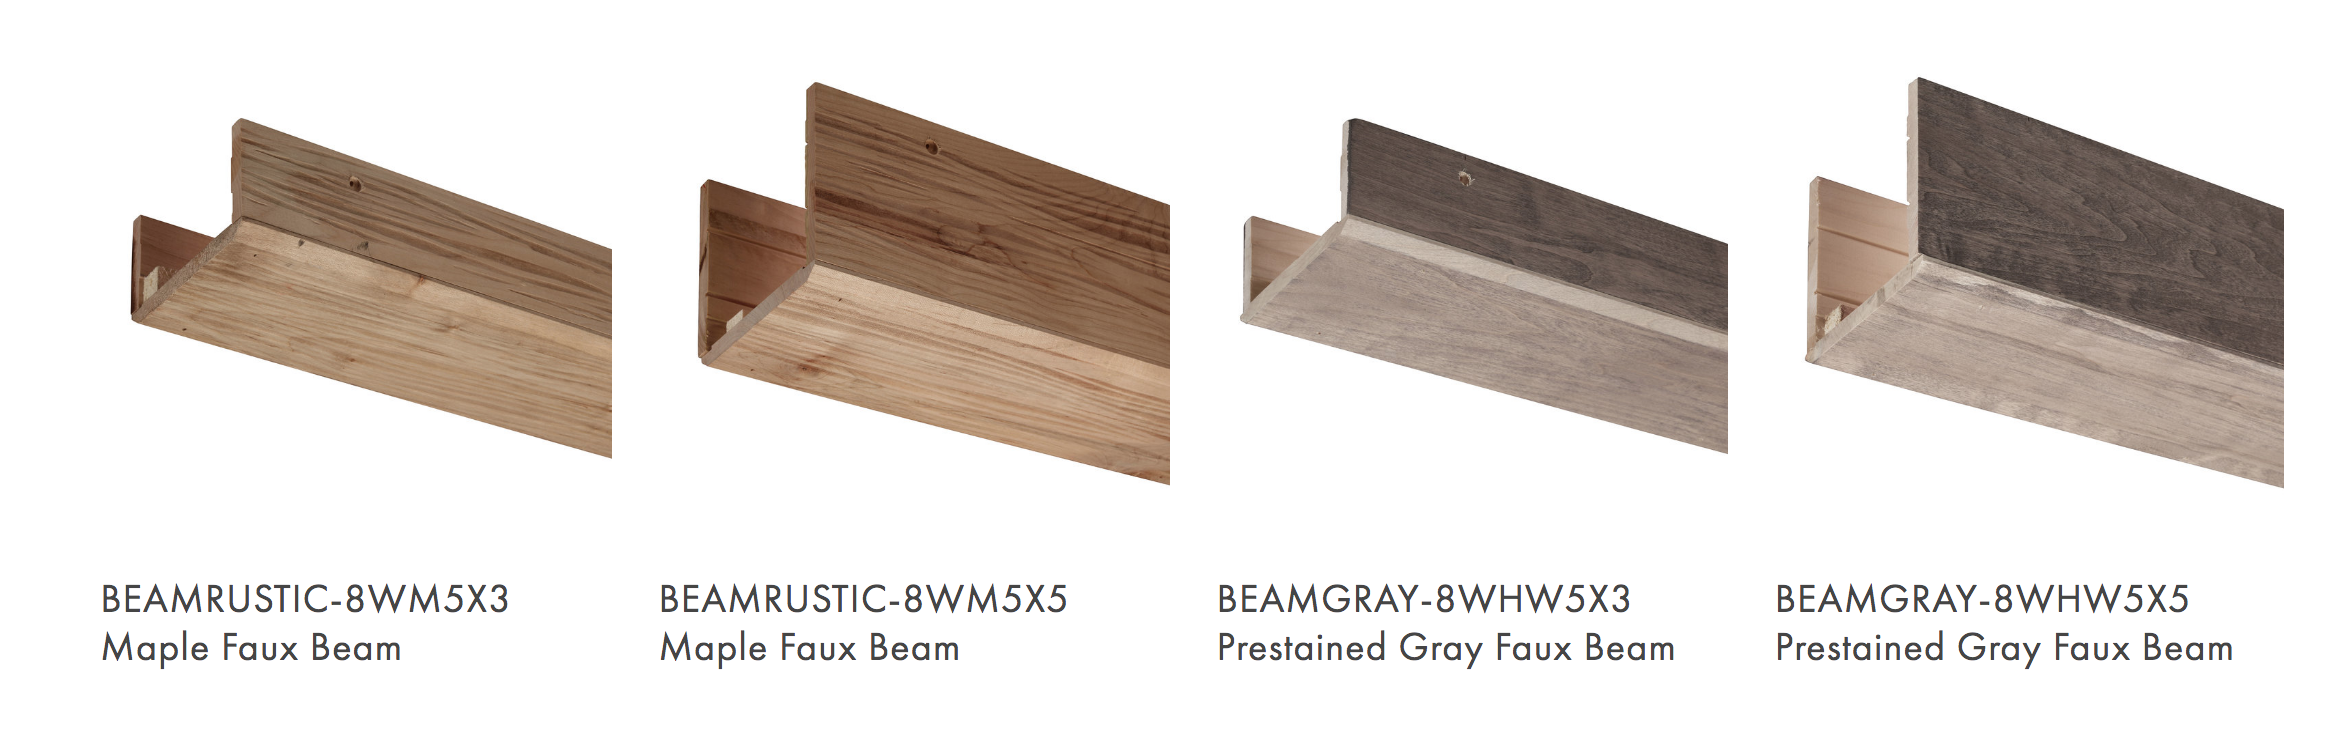
The beams come in two different finishes and sizes 8x5x3 and 8x5x5 so that you have the choice to do a staggered look like the photo below. They also have optional decorative brackets to cover seams and gaps and did I also mention that all of the wood is REAL wood. Yes! Real wood! 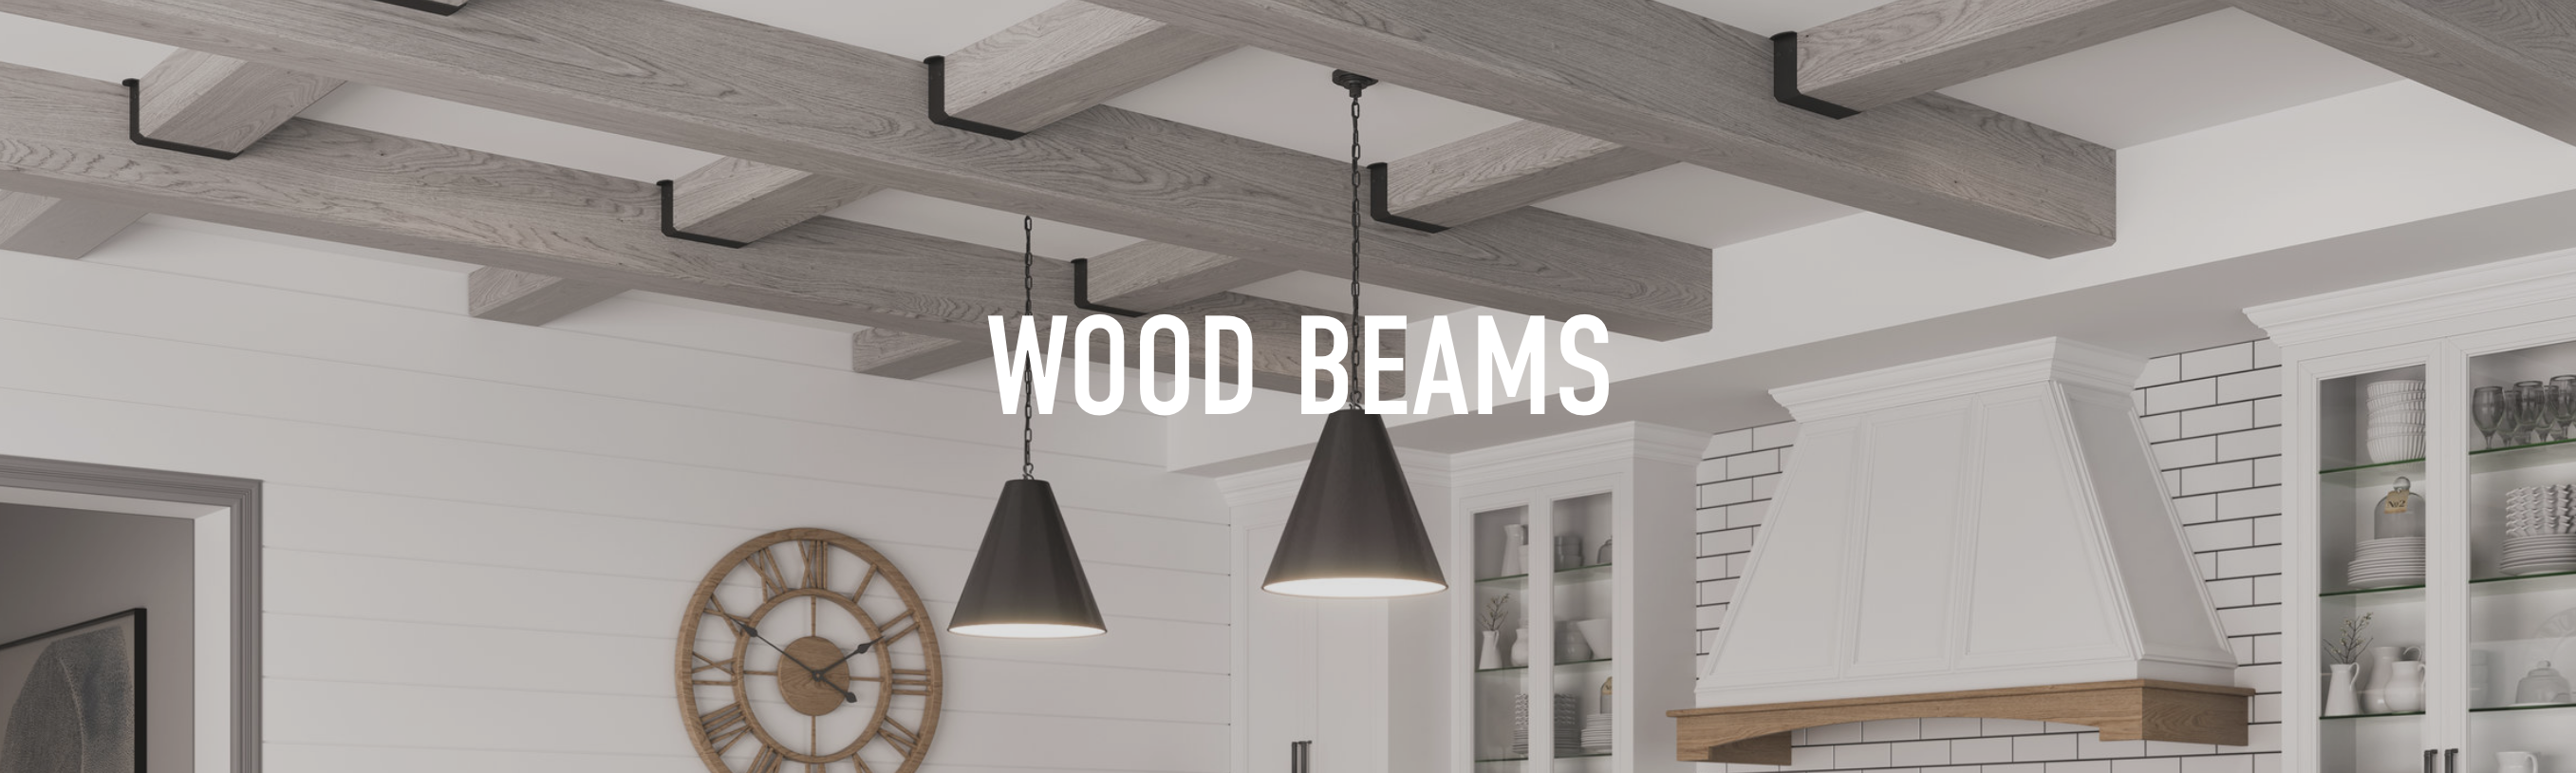
3. Use Chalk Line. Once we figured out a pattern, our contractor was ready to install them. First he chalk lined our pattern on the ceiling to make sure it was what I wanted. If you are DIYing this I suggest you do the same. This way you can make any adjustments you need. We decided to actually shift one of the beams after seeing the chalk line so I’m happy we did this!
This was the pattern we decided on. This is not to scale but you can get the idea.
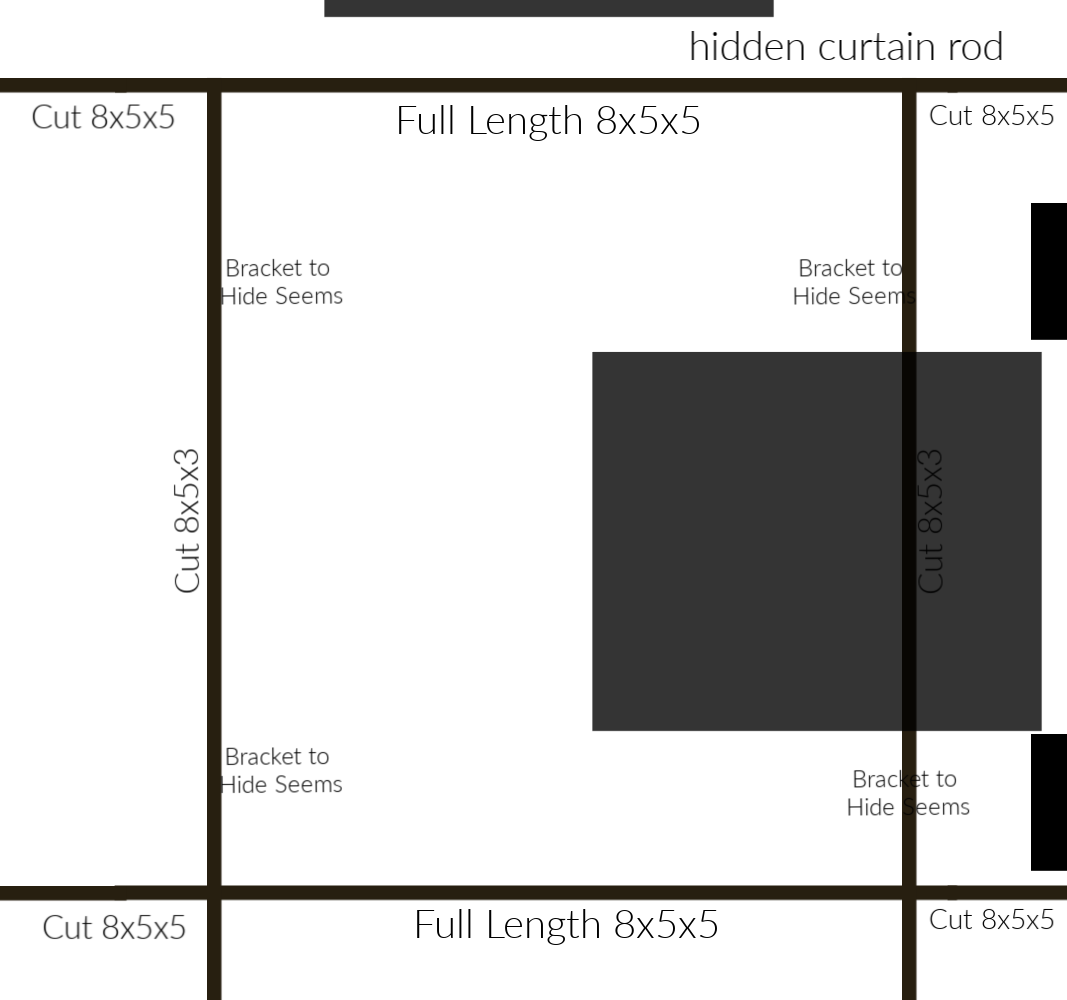
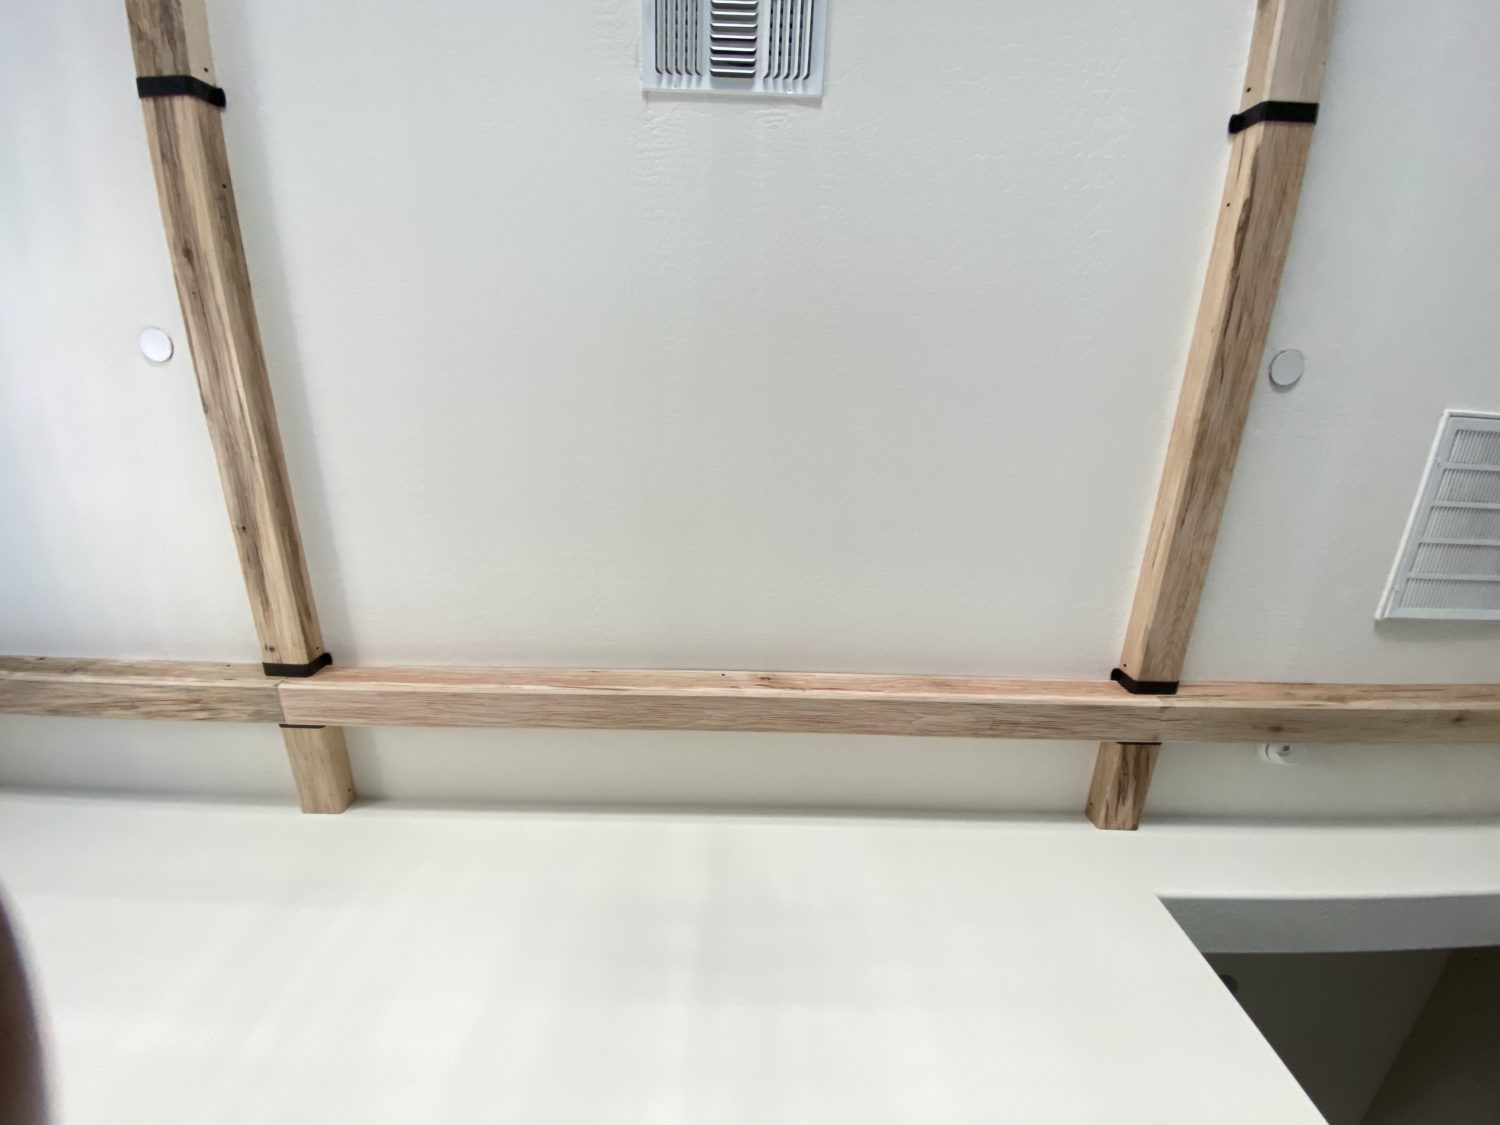
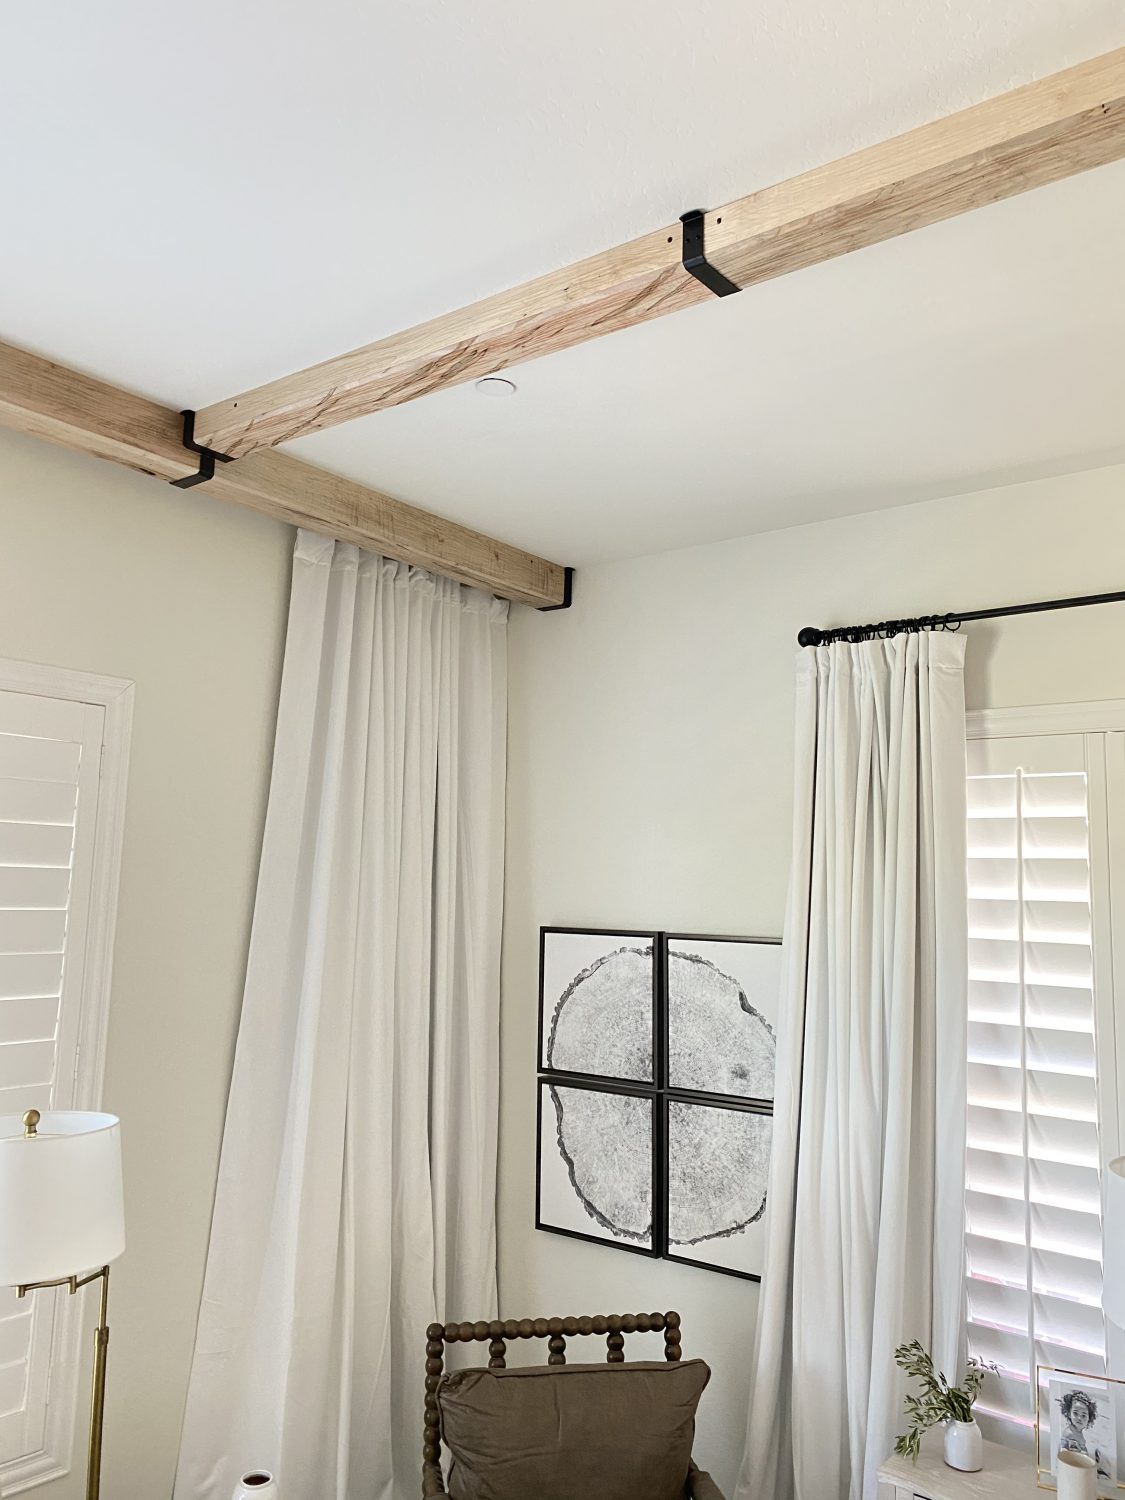
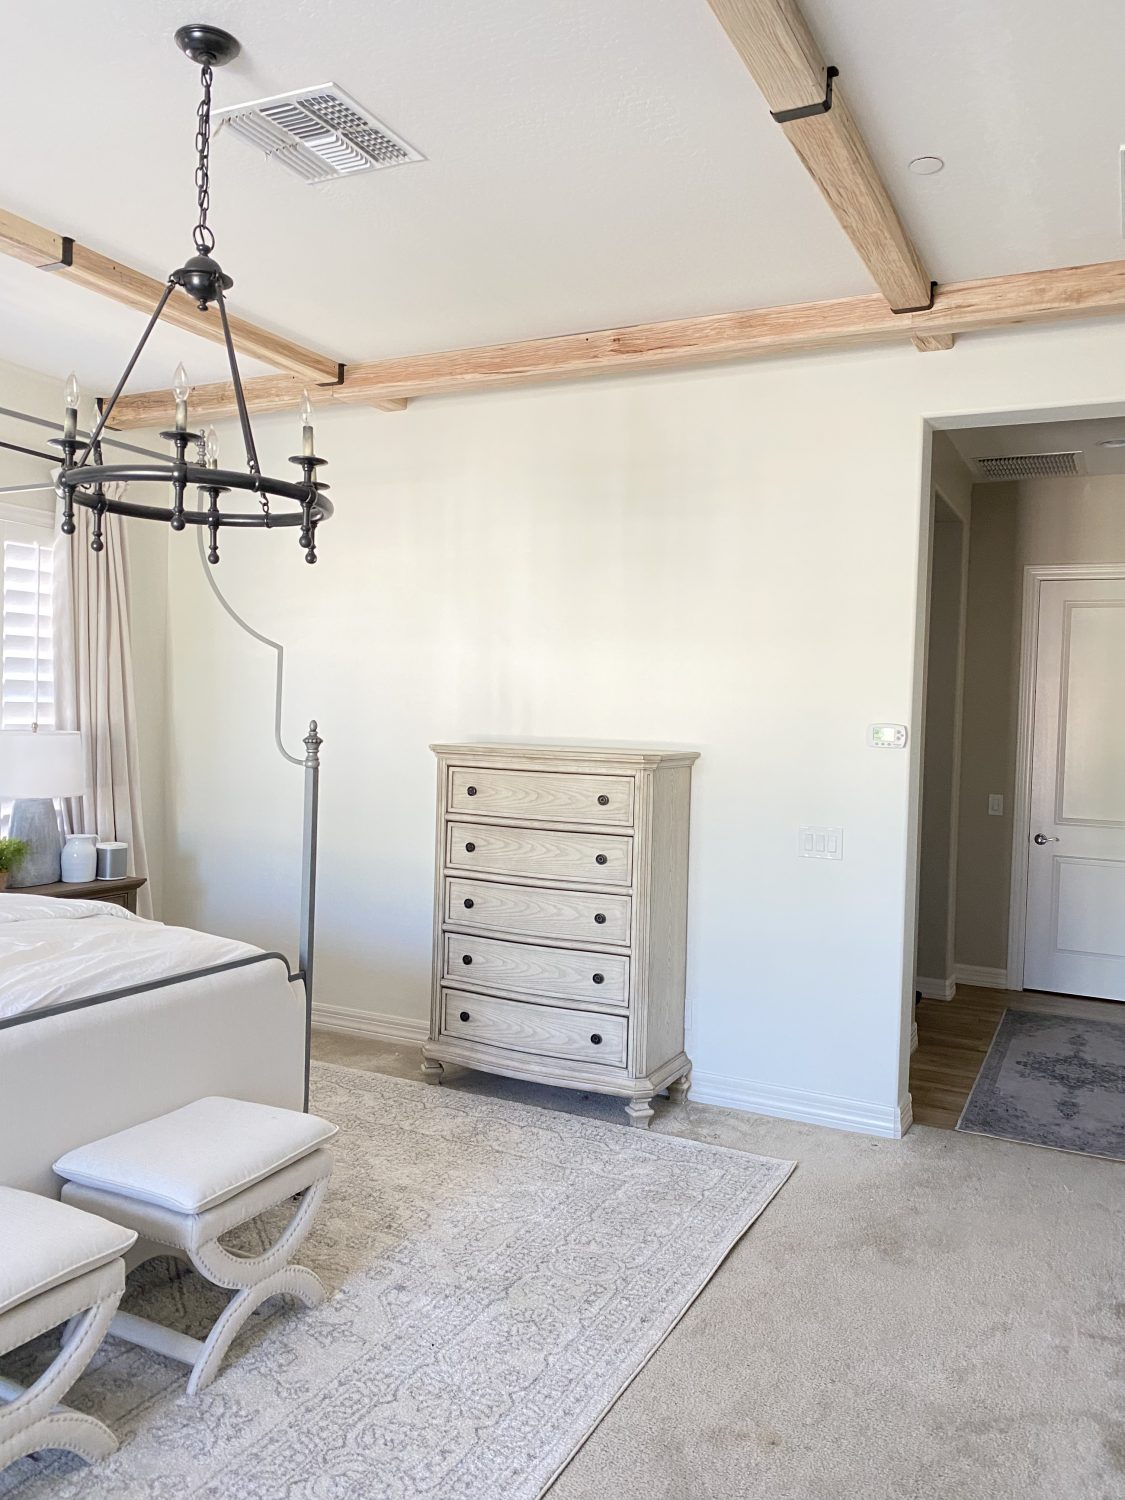
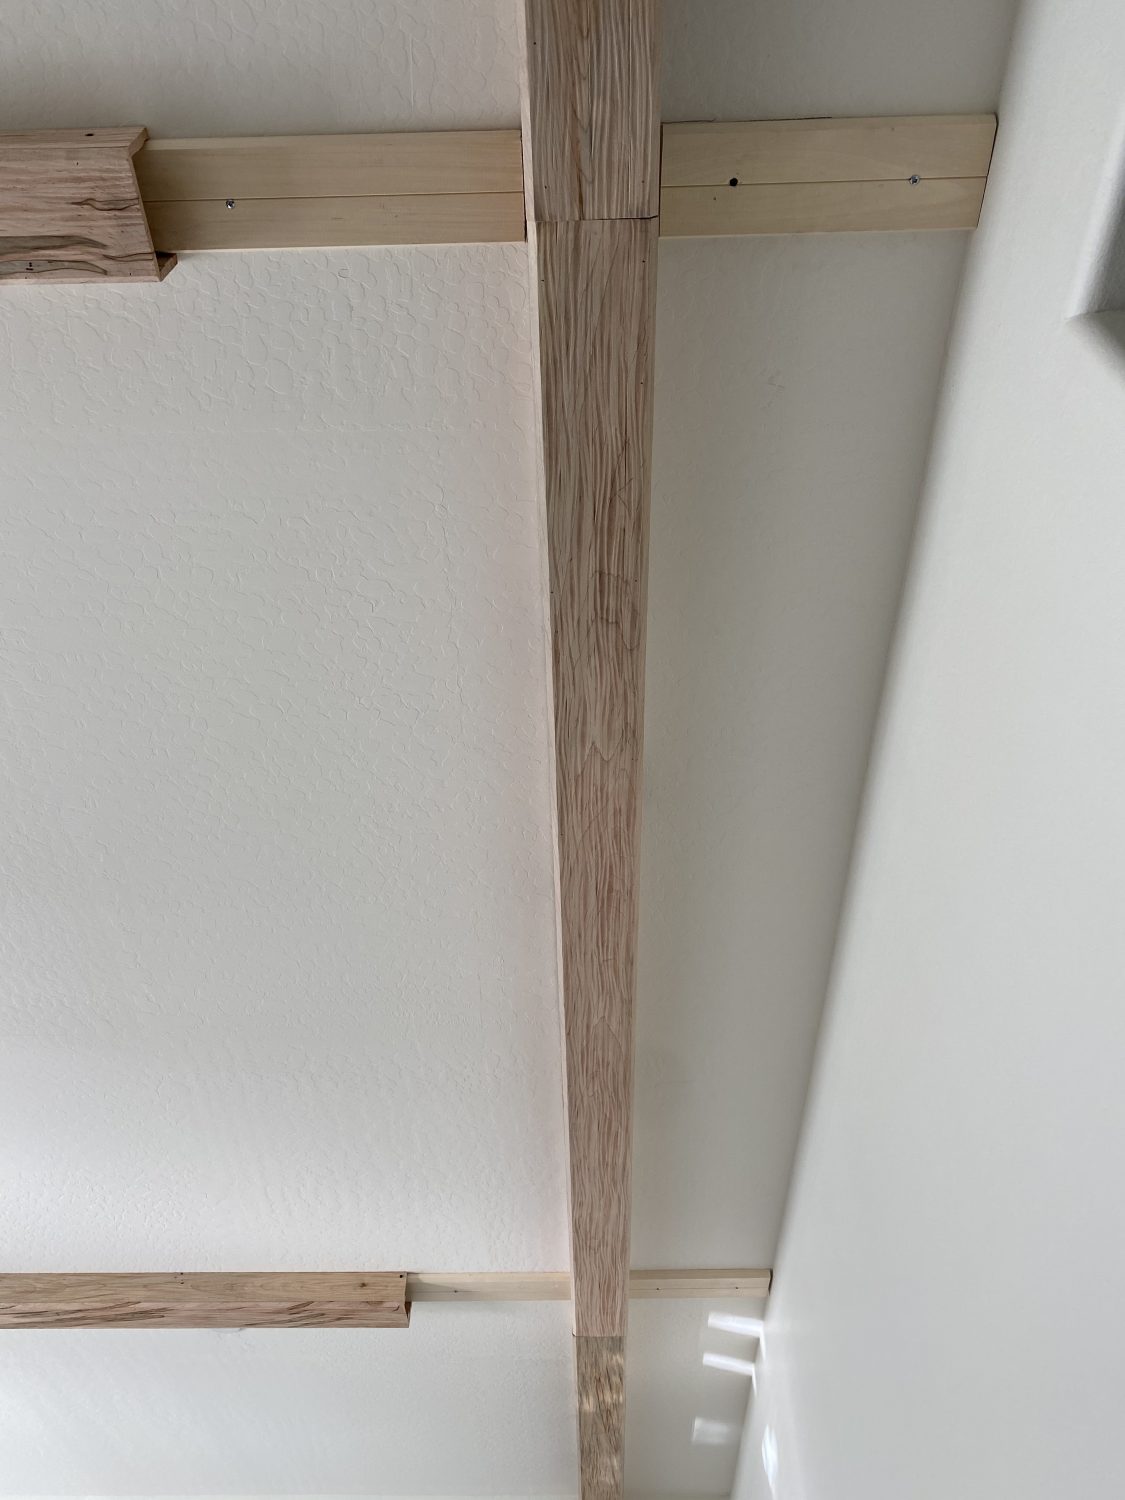
On our picture below you can see we got started right away! He installed the back beam to hide our curtain rod first. From there he installed the 8x5x3 beam to butt up against the 8x5x5. Following the chalk line ( the second one) he marked the studs to secure the mounting boards.
4. Install mounting board. He suggests using toggle bolt anchors if you find yourself with not enough secure studs to screw into. Each home is different and depending on your pattern you will need to adjust accordingly to make sure the mounting boards are secure! The mounting boards are what the hollow beam will attach to on both sides.
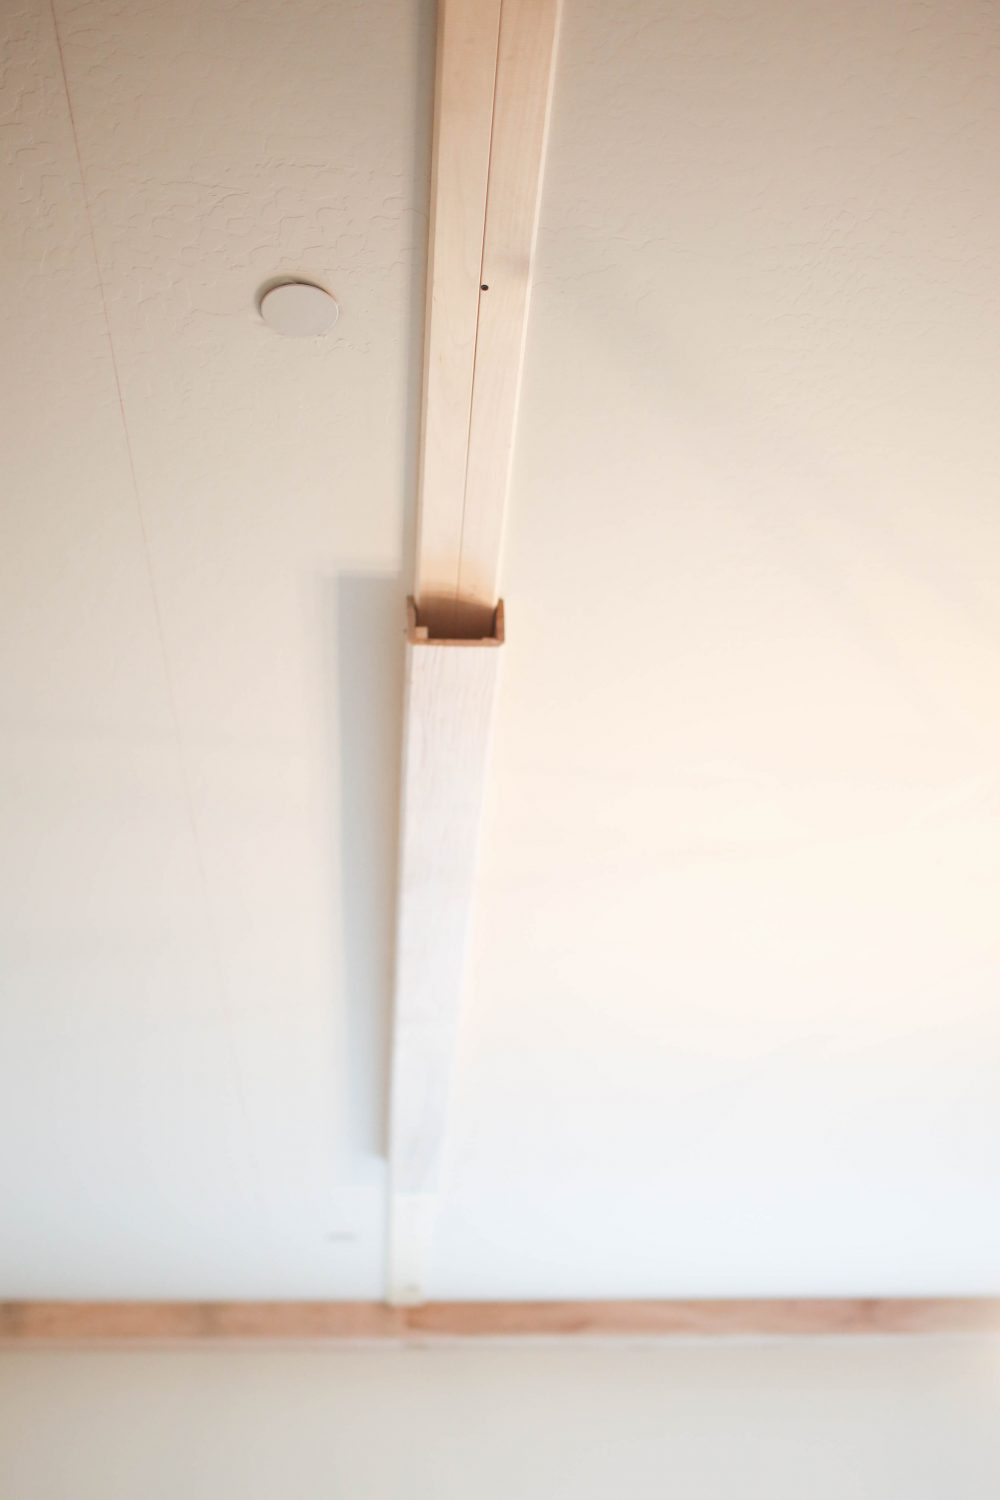
 4. Install Faux Beam. Next, you will want to attach the faux beam to the mounting board using the wood screws that come with the beams. There are pre drilled holes to help guide them into place with ease! You will need two people to get it in place so make sure you recruit a partner. As you can see here Paul,our contractor cut the beam according to our plan and what would look pleasing to the eye. Our room is not perfectly square so we had to use some math to help trick the eye!
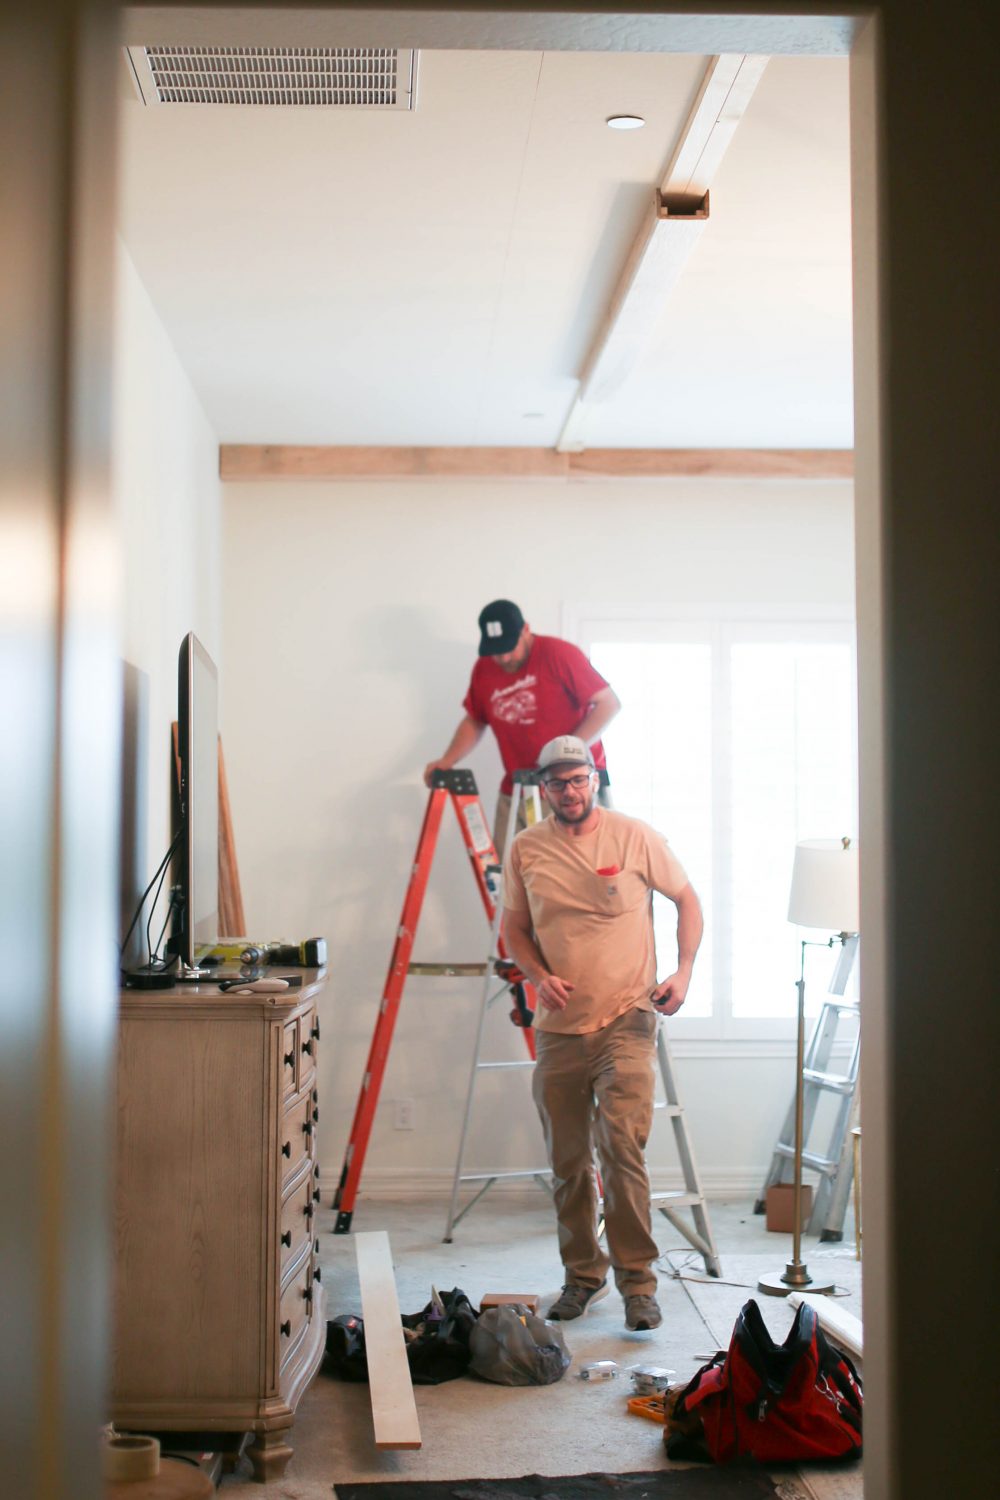
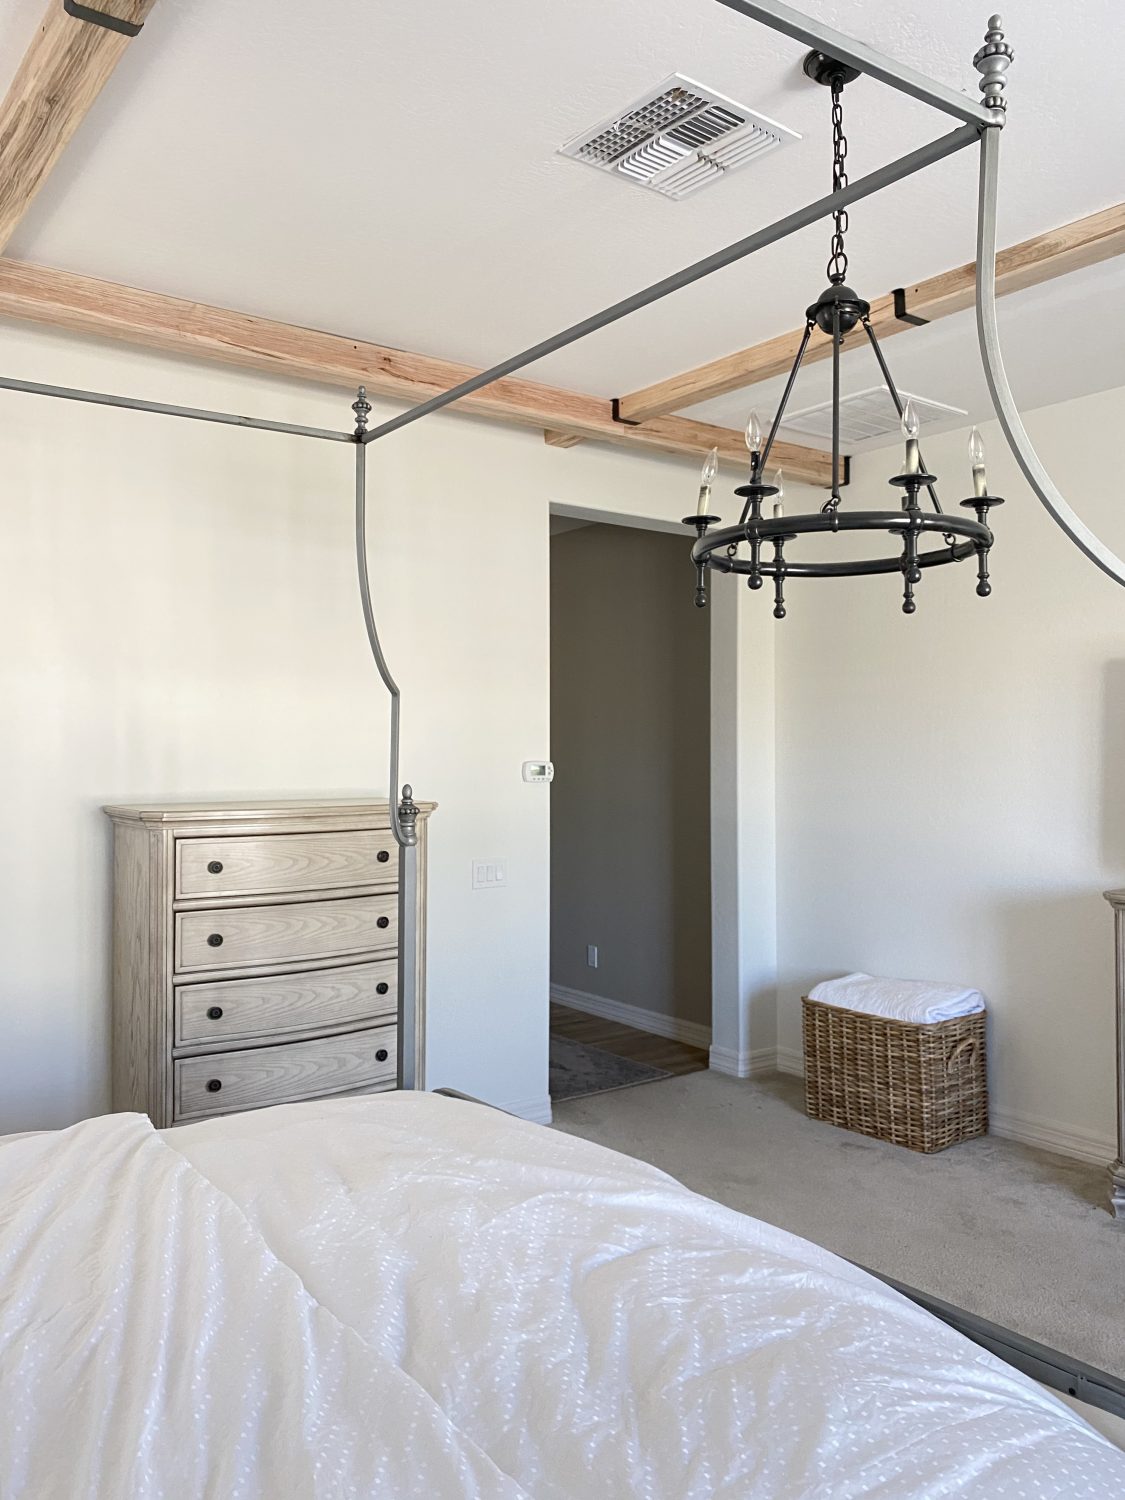
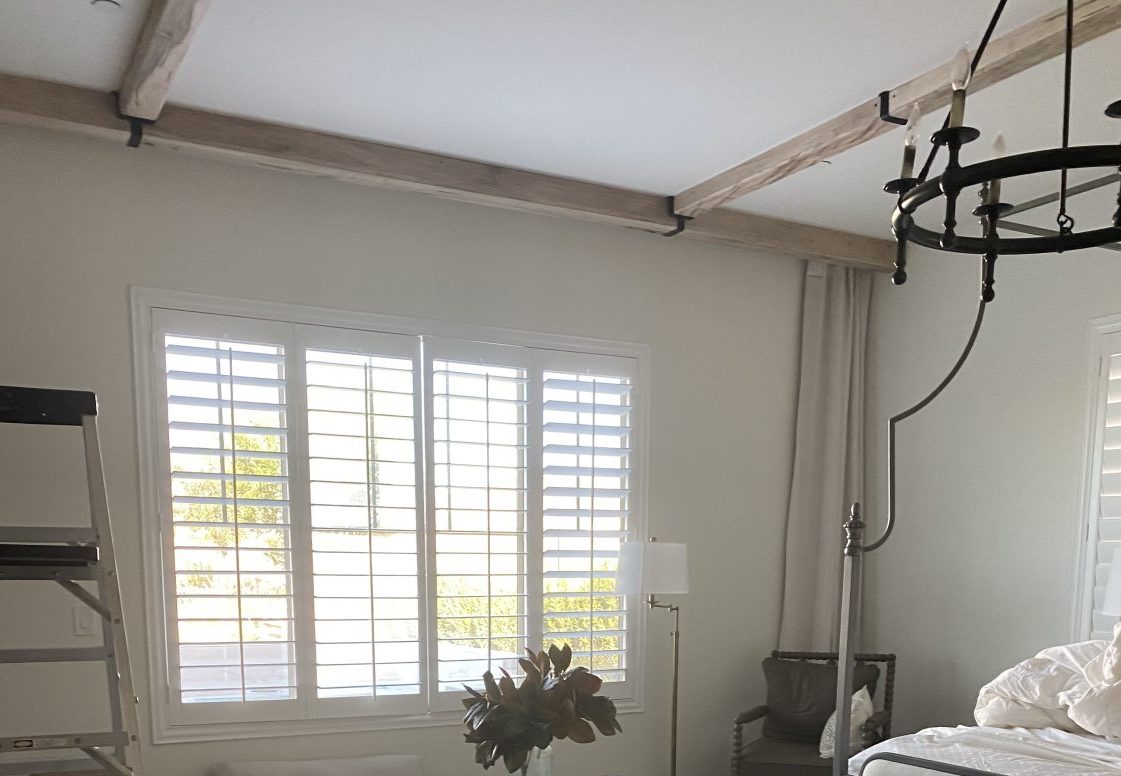 Like I mentioned above for the seams Ornamental provided these decorative brackets that add that extra charm to the beams and makes them look a bit more rustic, which I love!
Here are some more shots! Like I said before I can’t WAIT to show you guys this entire room soon! In the meantime take a visit over Ornamental Millwork and Moulding and start planning your next project or these easy to install faux beams!